

Clay-Soil Preparation and Sod Installation in Littleton, CO: Start with the Root Zone
A healthy sod lawn starts with the soil beneath it. In Littleton, clay soil may hold water and nutrients, but compaction, poor grading, or uneven sprinkler coverage can keep new roots from establishing. Before laying sod, check the soil, drainage, and irrigation; correct the problems you find; then prepare a firm, smooth root zone.
The right preparation depends on your yard. Compost can help when it’s appropriate for the soil and mixed into the root zone. A thin layer of topsoil over compacted ground, or a blanket recommendation to add sand or gypsum, is not a substitute for diagnosing the cause of poor drainage or growth.
1. Check the soil, grade, and problem areas
Walk the lawn after rain or irrigation. Mark puddles, runoff, low spots, bare or dry patches, and areas where water moves toward the house. Dig a few small inspection holes in representative places to look for compacted layers, construction debris, old thatch, or shallow topsoil over a different soil.
Clay itself is not necessarily a problem. Compaction reduces the larger pores that allow air and water to move through soil, restricting root growth. As Colorado State University Extension explains, construction and traffic—especially on wet soil—can compact the root zone.
A soil test can help guide decisions about pH, nutrients, organic matter, and salinity. It does not replace inspecting the grade or checking for compaction, so consider the results alongside what you see in the yard. Testing is especially useful if the lawn has struggled repeatedly, contains imported fill, or needs significant amendment.
2. Remove old turf and plan the finished height
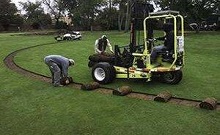
If the existing lawn is thin, weedy, or uneven, remove the failed turf and debris before preparing the new root zone. Plan the finished height with the sod thickness in mind so the lawn meets walks and edging cleanly, sprinkler heads remain at the correct height, and drainage is not obstructed.
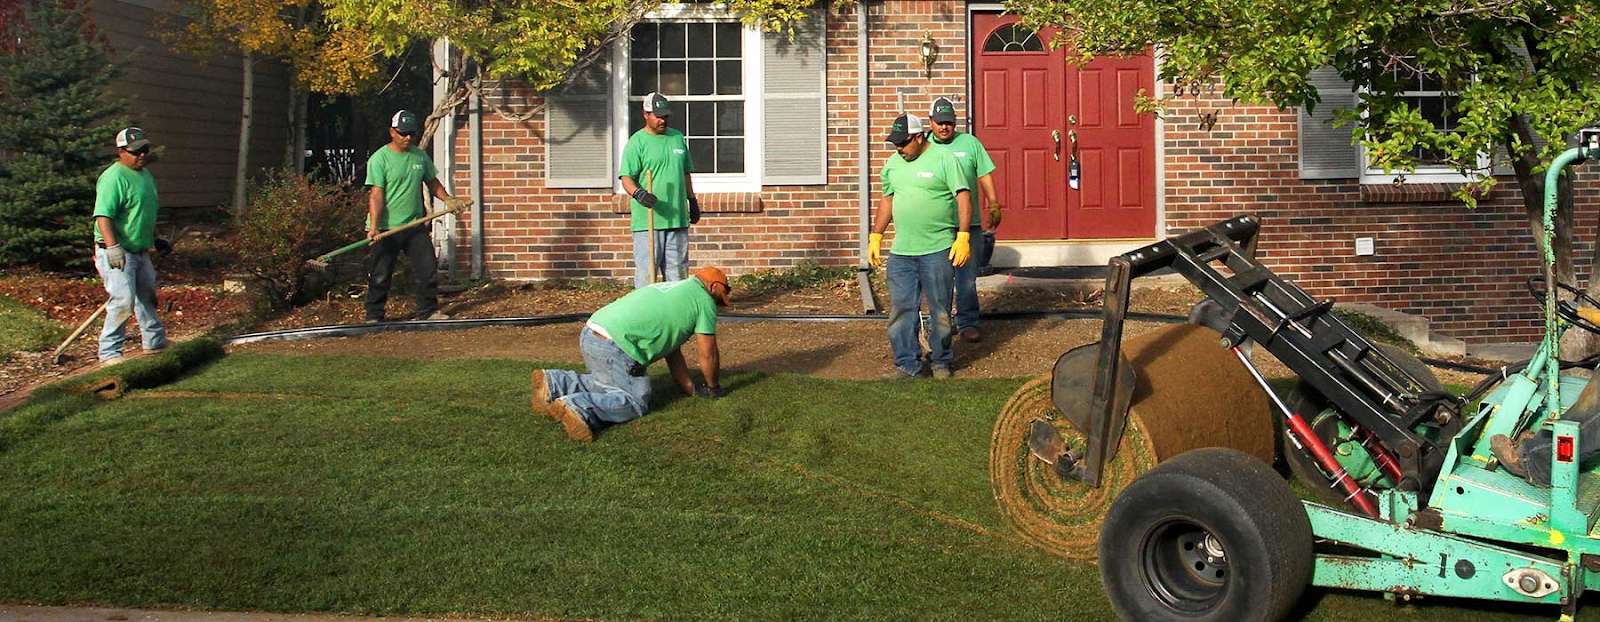
For extensive removal, difficult access, damaged irrigation, or major grade changes, a site assessment can help determine the scope before work begins. Green Valley Turf describes its sod installation and soil-preparation services, including sod removal, grading, and installation.
3. Relieve compaction and choose compost carefully
When soil is compacted, prepare a root zone deep enough to avoid leaving new sod over a hard barrier. CSU’s sod-installation guidance advises cultivating compacted soil to a depth of 12 inches where appropriate. For compacted or clayey soil, CSU recommends incorporating organic amendments through the top six to eight inches.
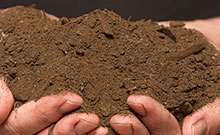
Compost can improve soil structure, porosity, aeration, and water movement, but it needs to be mixed into the soil rather than laid down as a separate layer. CSU’s soil-amendment guidance lists one to two inches of low-salt compost before incorporation for a one-time lawn application. The right amount depends on the existing soil, the product, and its salt content.
Green Valley Turf publishes a typical application range of three to five cubic yards of compost per 1,000 square feet as part of its installation work. Treat that as a starting point for discussing a project—not a universal prescription. Ask about the compost’s source and available product information, particularly for manure- or biosolids-based compost, which may have higher salt levels.
Cultivate clay only when it is workable. Squeeze a handful of soil: if it crumbles with gentle pressure, it may be ready; if it reshapes into a ball, wait. Tilling wet clay can create long-lasting clods and damage soil structure.
4. Don’t use sand or gypsum as automatic fixes
Adding a small amount of sand to clay is unlikely to improve the root zone. CSU Extension notes that enough medium-to-coarse sand would be needed to reduce the clay content substantially—effectively replacing soil rather than making a simple amendment—and that some sand-and-clay mixtures can become concrete-like.
Gypsum is not a general treatment for compacted clay. Colorado soils are commonly calcareous, and CSU says gypsum will not break up compacted soil there; it can add salts. It may be appropriate when a high-sodium soil is confirmed and suitable low-salt irrigation water is available for reclamation. Base that decision on a diagnosis, not on the presence of clay alone.
5. Grade for drainage before the sod arrives
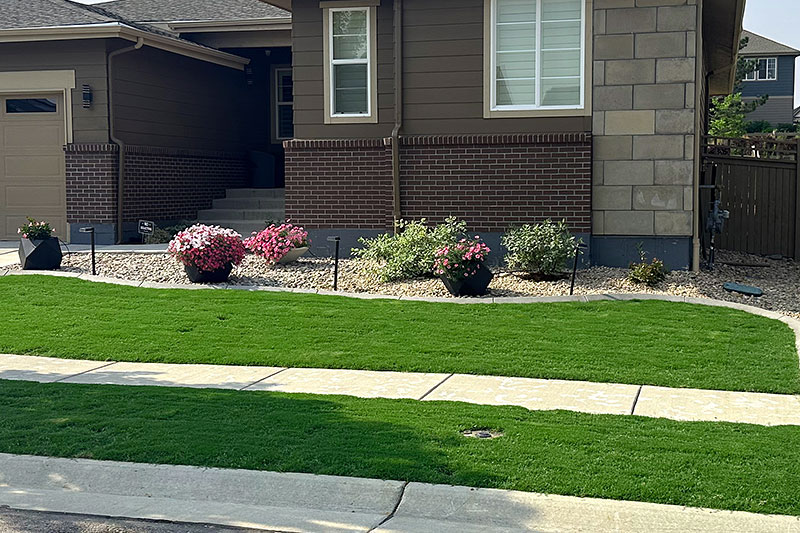
Shape the prepared soil to direct water away from buildings and prevent pockets where water can collect. Make permanent grade changes before installation, preserve the intended finished height next to walks and edging, and smooth the surface by removing debris and breaking up large clods.
Avoid covering compacted soil with a thin, distinct layer of different-textured topsoil and considering the preparation finished. A sharp texture change can interfere with water movement and root spread. Where additional fill is needed, blend the transition into the soil below as practical and check that water has a clear drainage route.
Green Valley Turf says its crews can cut, fill, raise, lower, fine-grade, and smooth areas as part of its soil-preparation and sod-installation service.
6. Test irrigation while the soil is exposed
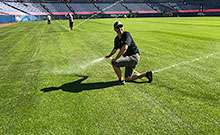
Run every lawn zone before installation. Look for broken or leaking heads, blocked or uneven spray patterns, misting, overspray onto pavement, and heads that are too low or too high. It is easier to adjust or repair the system while the soil is exposed.
Check whether water reaches the whole lawn evenly. Place identical straight-sided containers in different parts of a zone, run the sprinklers for the same interval, and compare the collected water. Large differences may signal poor coverage or a faulty head. CSU Extension describes head-to-head coverage and irrigation-system checks.
On compacted clay or slopes, water may run off before it soaks in. CSU recommends cycle-and-soak irrigation in these situations: divide the zone’s watering time into shorter runs, with pauses that let water infiltrate. Fix poor coverage rather than simply running a zone longer, which can overwater some areas while others remain dry. Check with your water provider for any current local watering rules.
7. Install sod on a firm, smooth surface
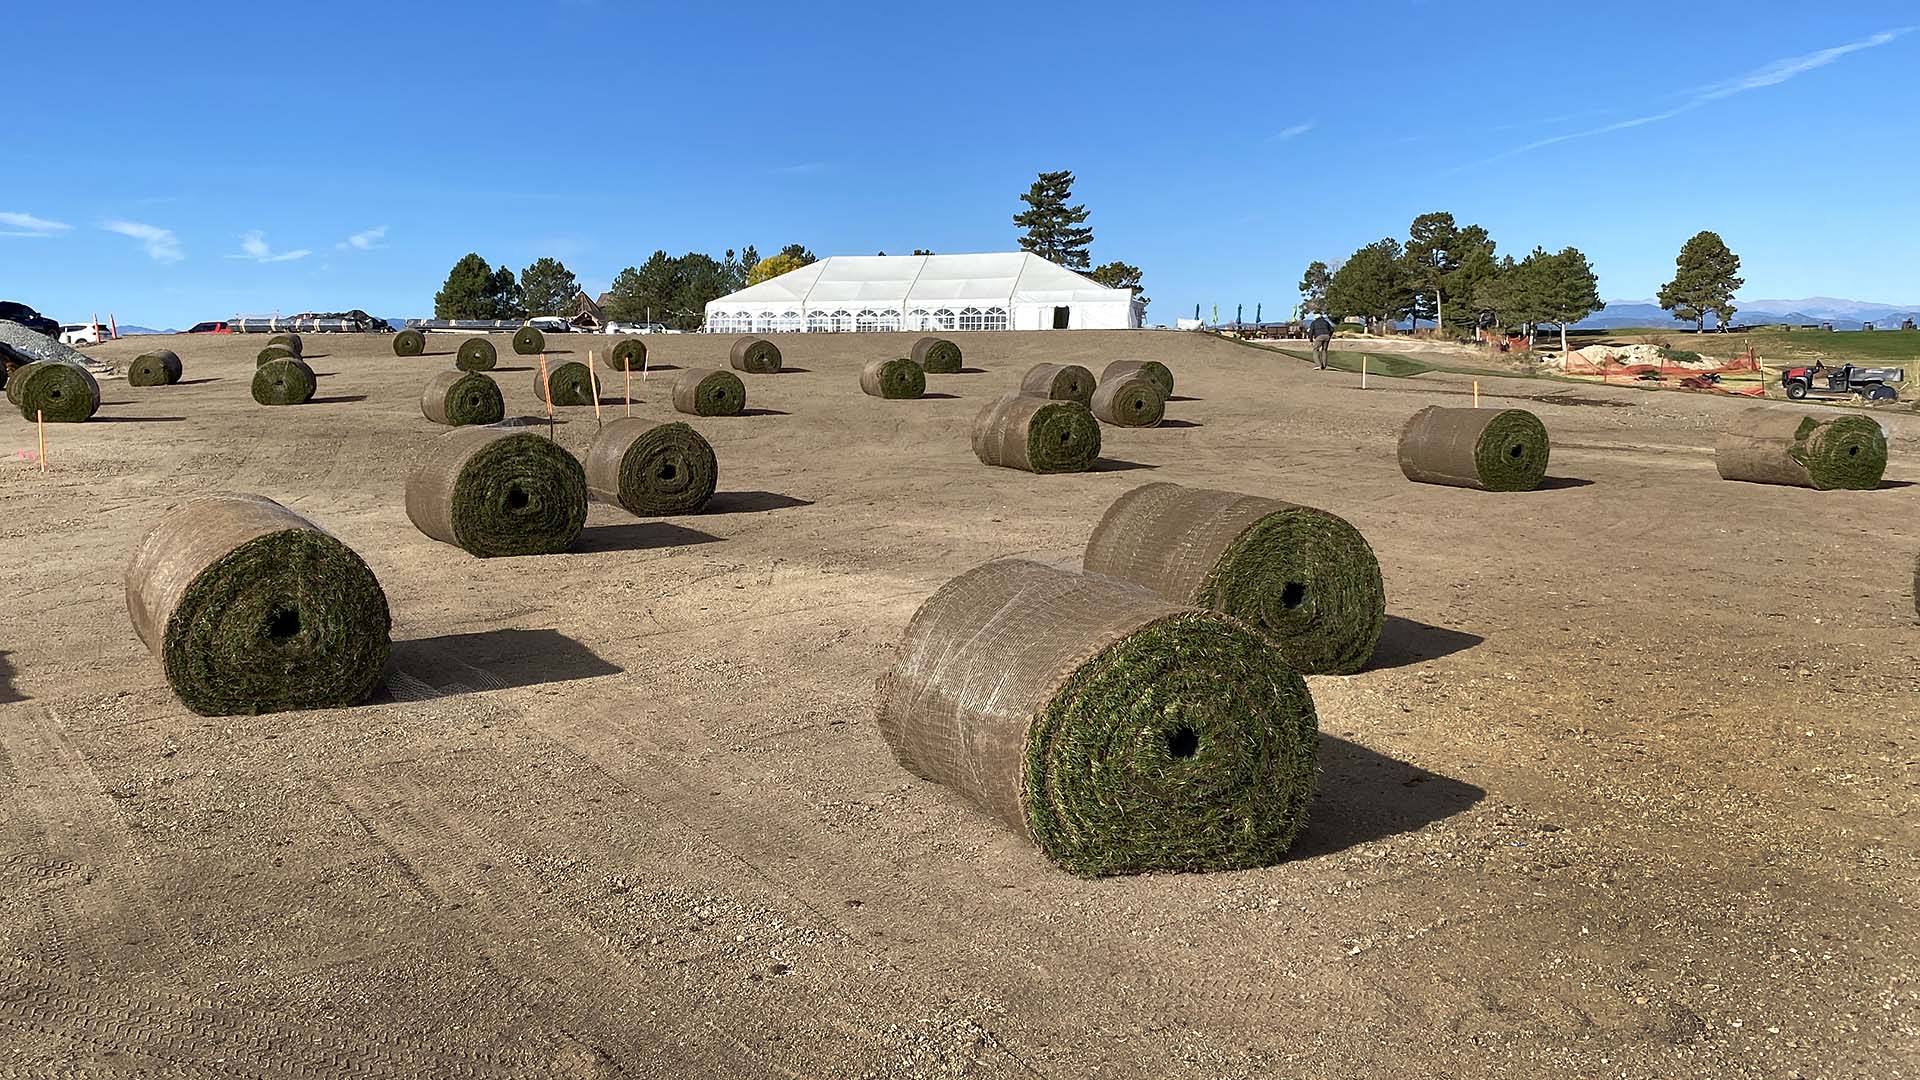
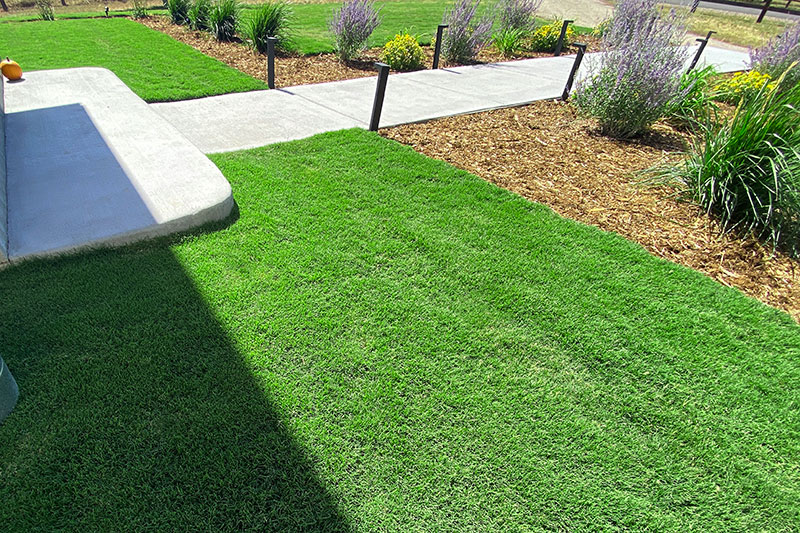
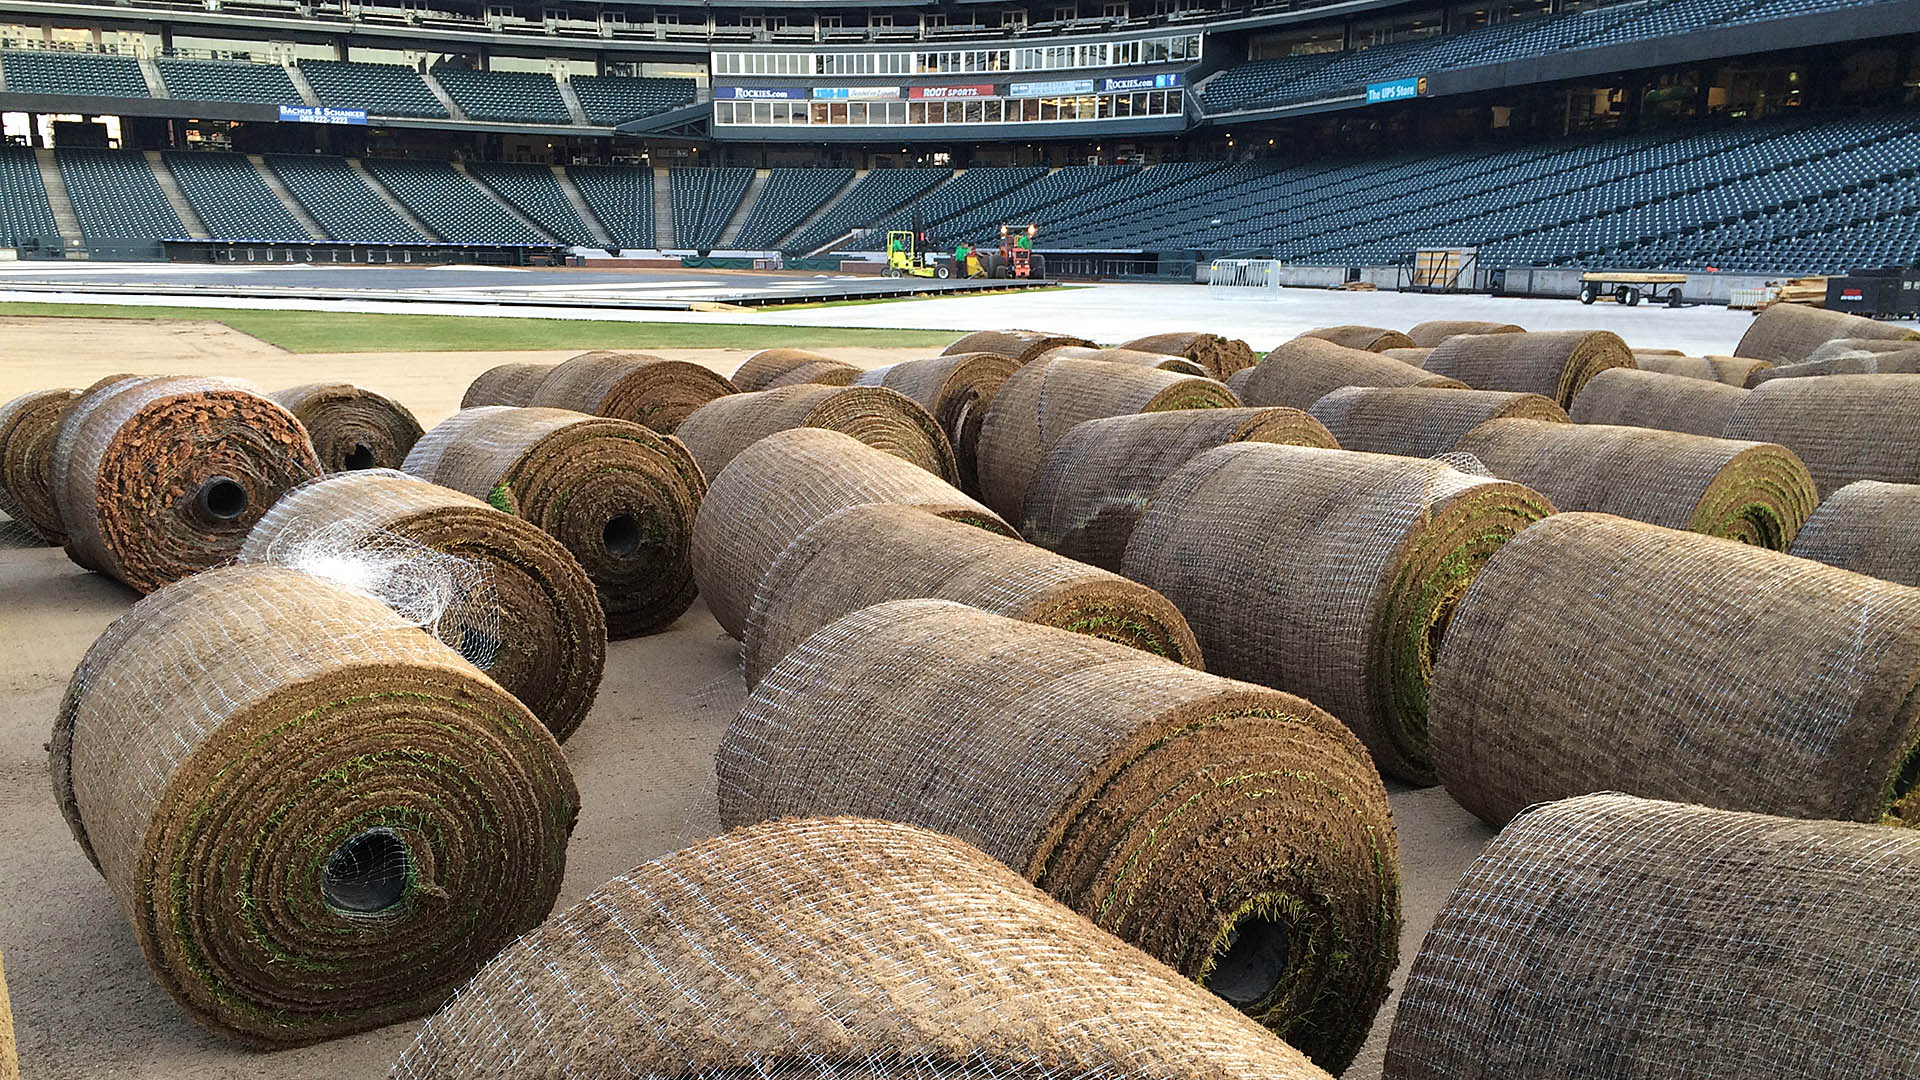
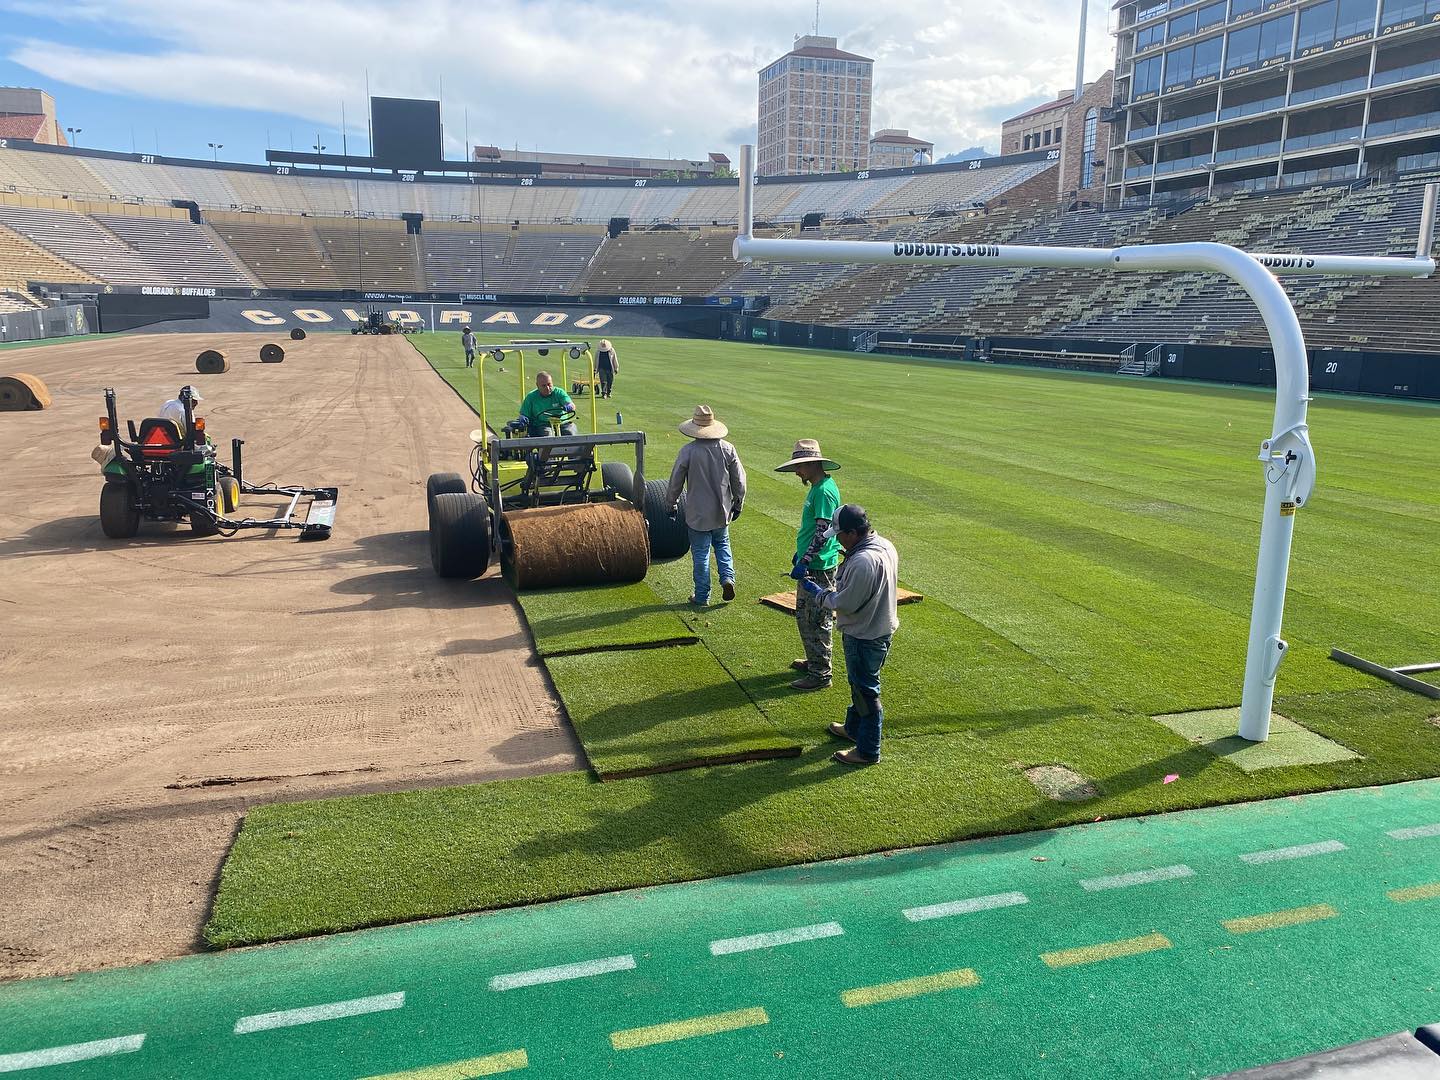
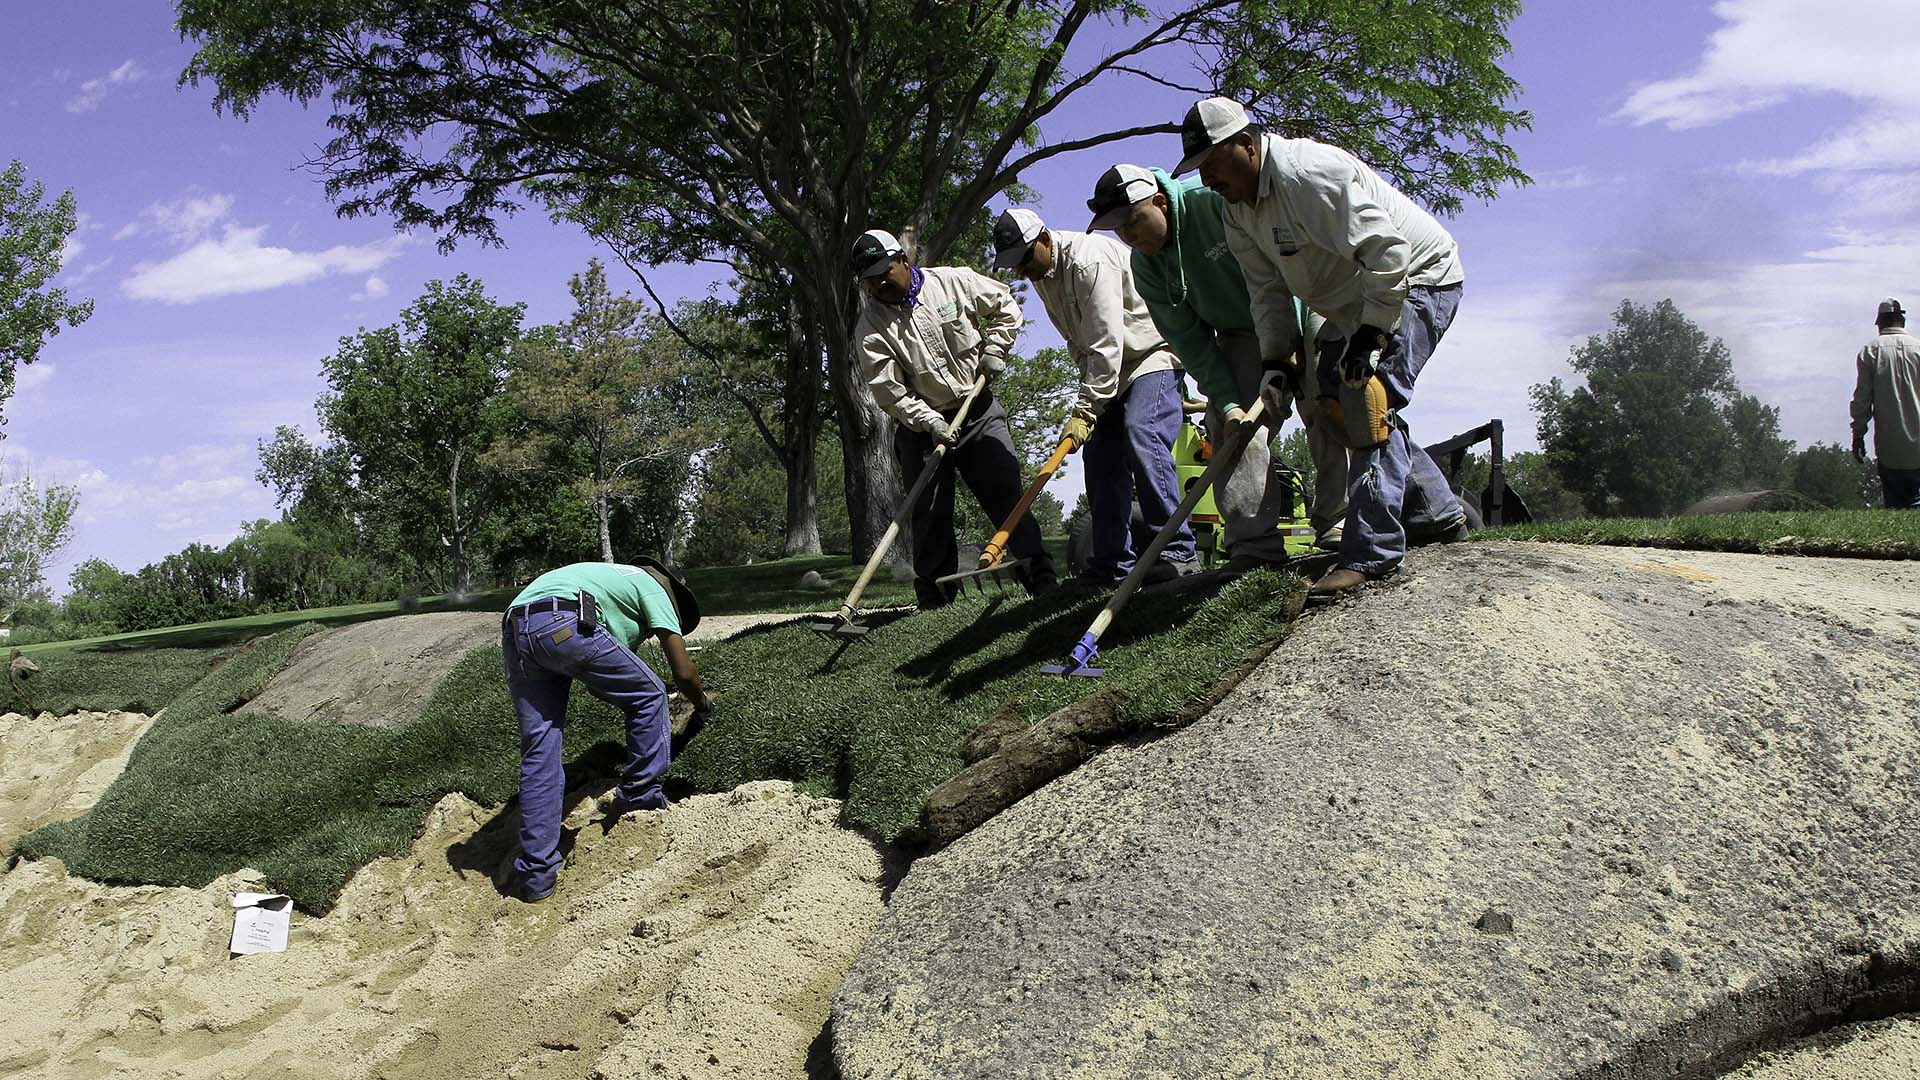
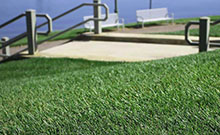
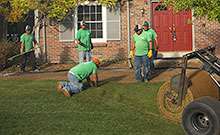
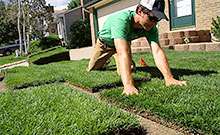
Once soil, grade, and irrigation are ready, install sod promptly on soil that is firm and slightly moist—not wet enough to compact. Lay pieces tightly together without stretching or overlapping them, stagger the seams, and trim neatly around edges and heads. Good contact between sod and prepared soil helps roots grow downward.
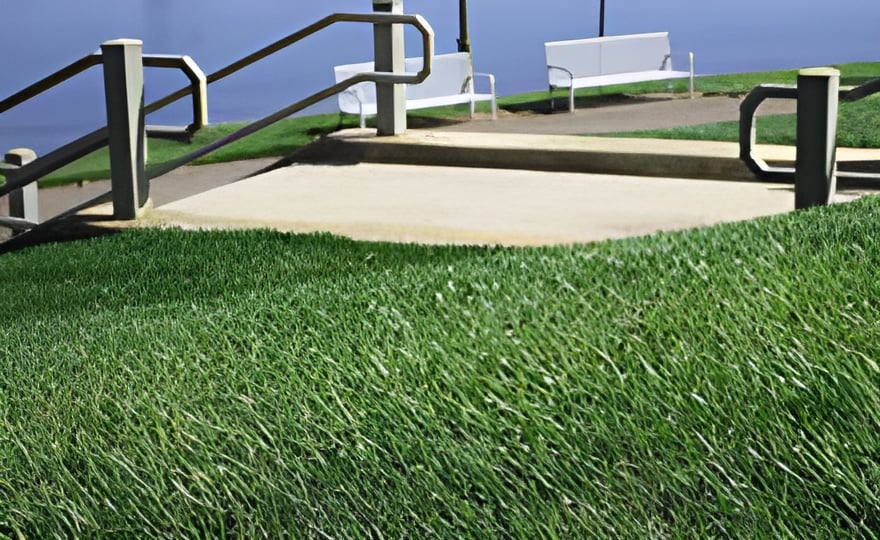
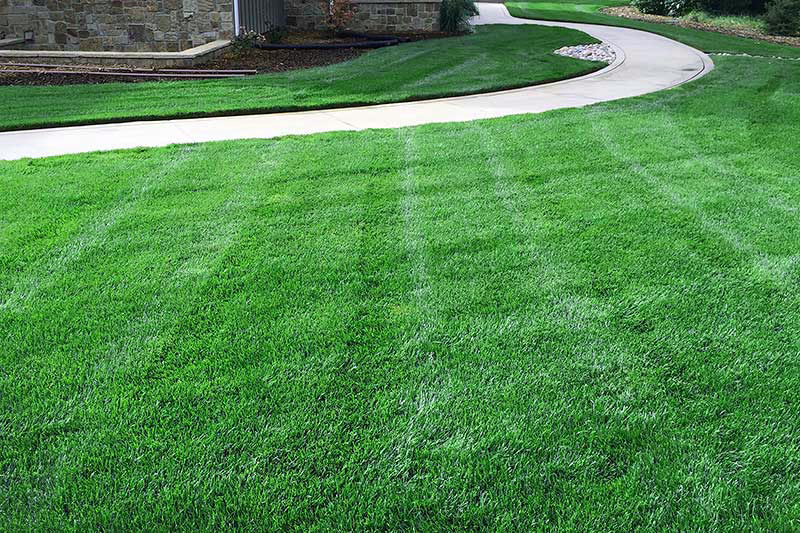
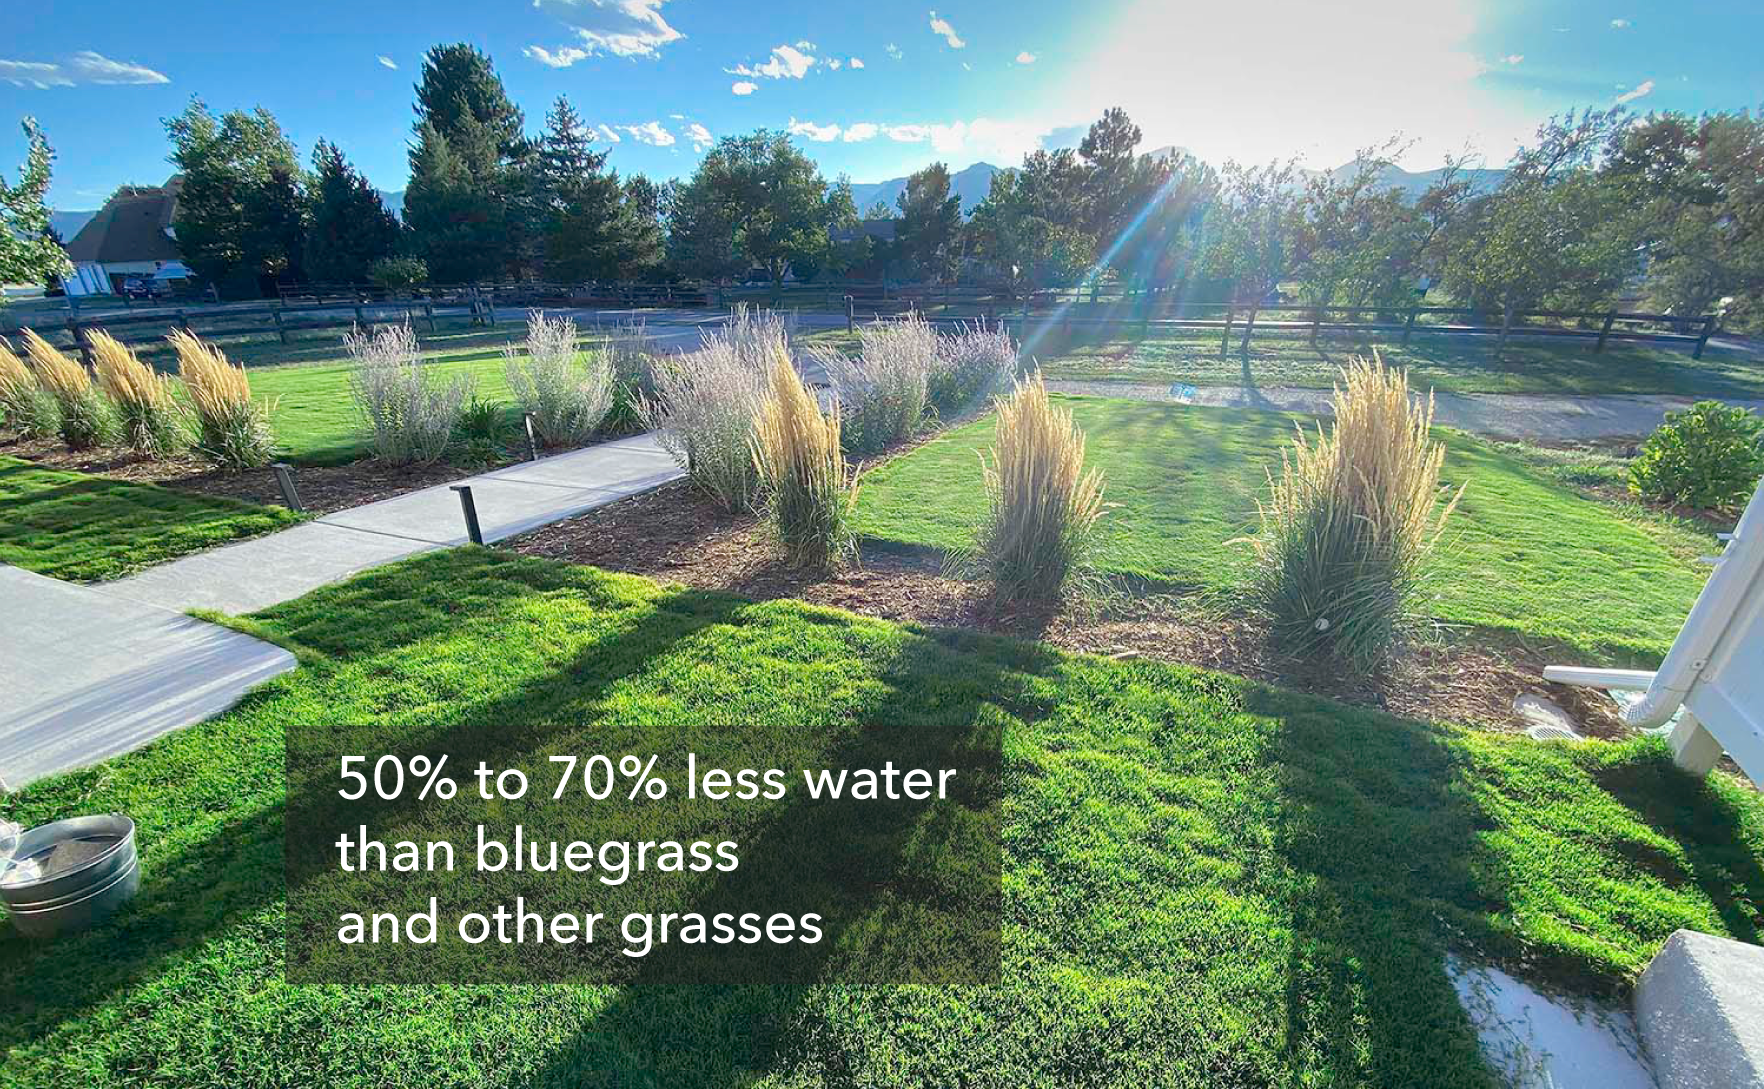
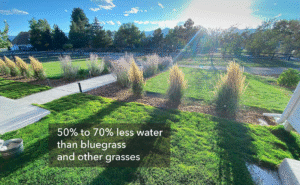
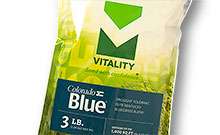
Green Valley Turf’s Colorado Blue™ sod is described by the company as a Kentucky bluegrass blend for full sun to light shade and higher-traffic uses. Choose sod to suit the site and intended use, and confirm current availability before planning installation.
After installation, keep the sod and the soil beneath it moist but not soggy while roots establish. CSU suggests checking establishment with a gentle tug; once the sod is rooted, water less frequently while applying enough water to encourage deeper rooting. Adjust for sun, shade, wind, soil moisture, and sprinkler output rather than relying on a fixed calendar.
Frequently asked questions
Should I add gypsum before installing sod in Littleton?
Not as a standard clay-soil treatment. Gypsum may be appropriate for confirmed high-sodium soil when conditions for reclamation are suitable, but it is not a general fix for compaction. Start with site diagnosis and soil-test results.
How deep should compost be incorporated for a new lawn?
For compacted or clayey soil, CSU Extension recommends incorporating organic amendments through the top six to eight inches. The appropriate compost rate depends on the soil and the product’s characteristics, including salt content.
Why does water puddle on my old lawn?
Puddling can result from compaction, a low spot, a change in soil texture, or irrigation that applies water faster than it can infiltrate. Inspect the grade and sprinkler coverage before choosing an amendment. Cycle-and-soak watering may reduce runoff, but it does not replace correcting a drainage or soil-preparation problem.
Can I install sod before repairing the sprinklers?
It is better to test and repair irrigation first. New sod needs dependable, even moisture while it establishes, and exposed soil makes it easier to adjust or replace heads. Check coverage again after installation because grading and sod thickness can affect sprinkler-head height.
Can I prepare the soil myself or request installation?
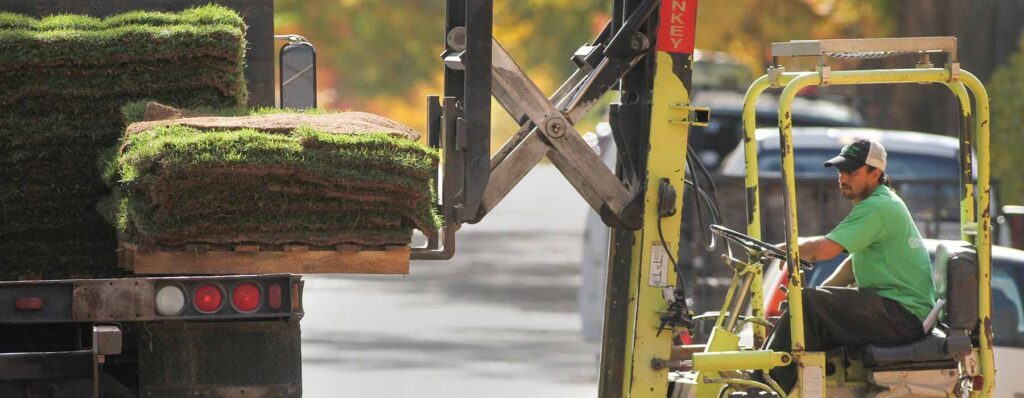
That depends on the project’s size, access, removal needs, grading, and irrigation work. Green Valley Turf offers sod pickup, delivery, installation, soil preparation, and grading. Its installation request form lets you describe the project and arrange an estimate. For materials and pickup, see the Littleton location information.
Request a site-specific soil and sod plan
A durable lawn renovation is built from the bottom up. Before choosing sod, consider the existing soil, drainage path, irrigation coverage, access, and finished grade. Then decide whether the project needs turf removal, compost incorporation, grading, sprinkler repairs, sod delivery, or professional installation.
Request a sod installation estimate from Green Valley Turf to discuss the conditions at your Littleton property and the preparation work required. You can also call (303) 798-6764 to confirm current scope, availability, and next steps.