

Definitive Guide to Front Range Sod Success
Definitive Guide to Front Range Sod Success
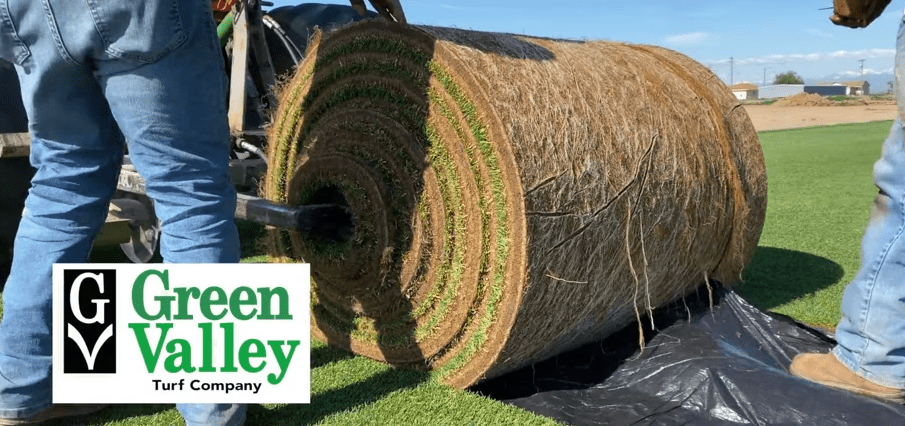
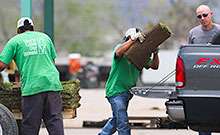
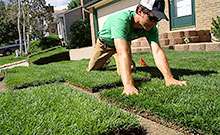
Finding sod for sale near me is the first step in a time-sensitive transplant of living grass that requires local expertise to survive Colorado’s harsh conditions. Our low humidity and intense sun make fresh-cut turf highly perishable, meaning homeowners in Littleton and Platteville must have their soil chemistry and irrigation systems fully ready before the delivery truck arrives.
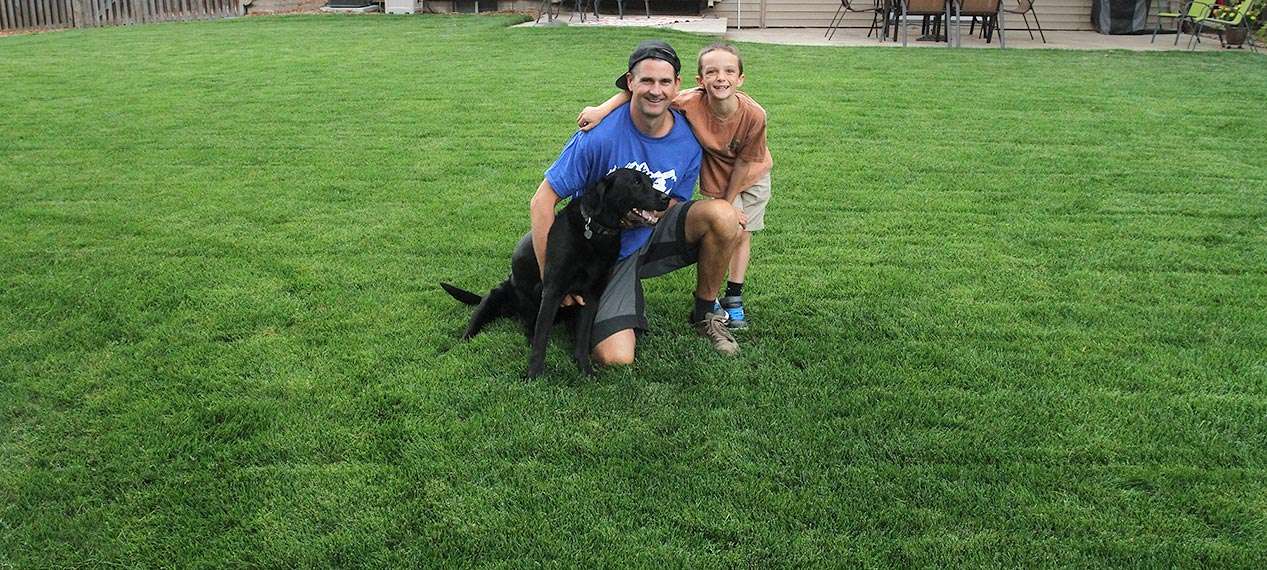
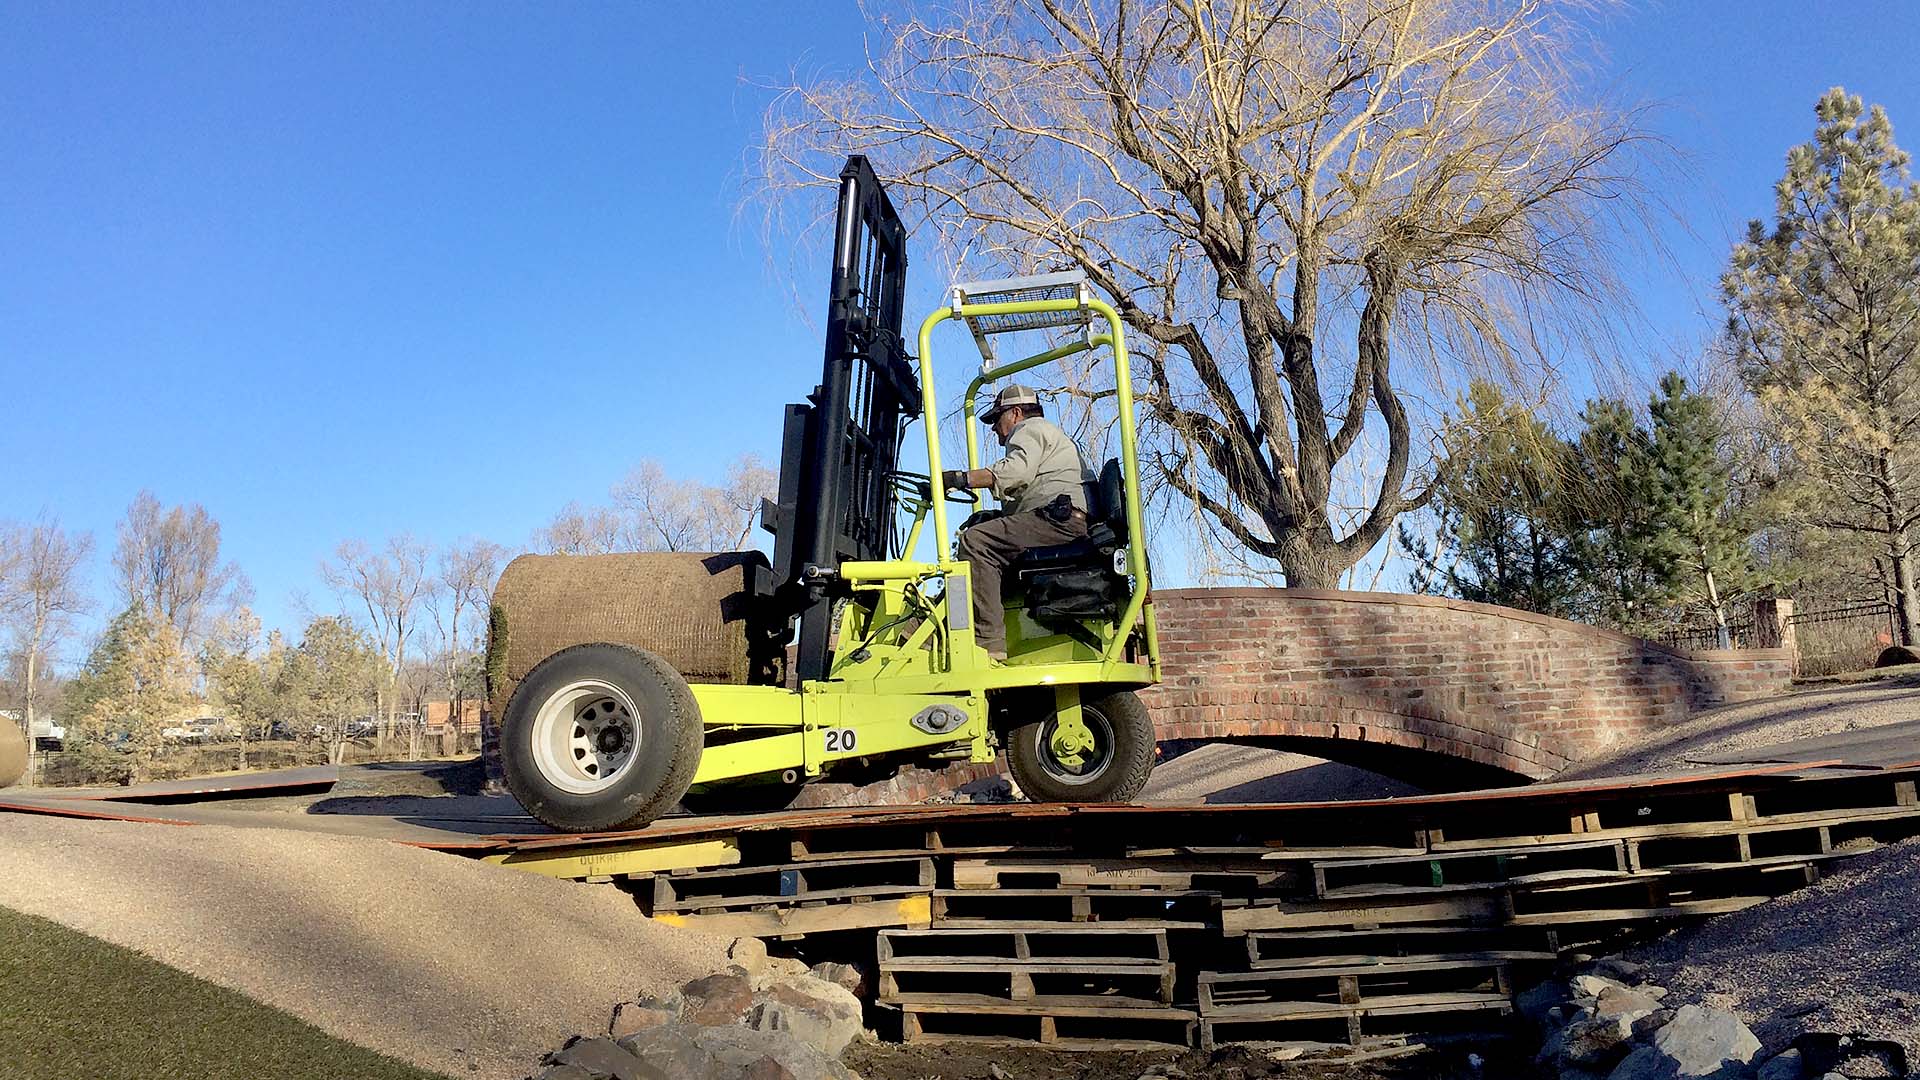
Sourcing your lawn from a local grower like GVT (Graff’s Turf) ensures you receive acclimated turf grown specifically for the Front Range. A successful, permanent landscape depends on establishing a deep root system in moist, well-prepared soil the same day turf is harvested.
Seasonal Timing: Navigating the Colorado Planting Window
While sod can be installed as long as the ground isn’t frozen, timing your project can significantly impact how quickly the lawn becomes healthy and sustainable. In the Front Range, the shoulder seasons typically provide the best biological conditions for success.
- The Spring Window (April–May): Cool air temperatures and naturally higher soil moisture allow for rapid root expansion without the high-heat stress of July. This is the ideal time for Kentucky Bluegrass varieties to establish their rhizome systems.
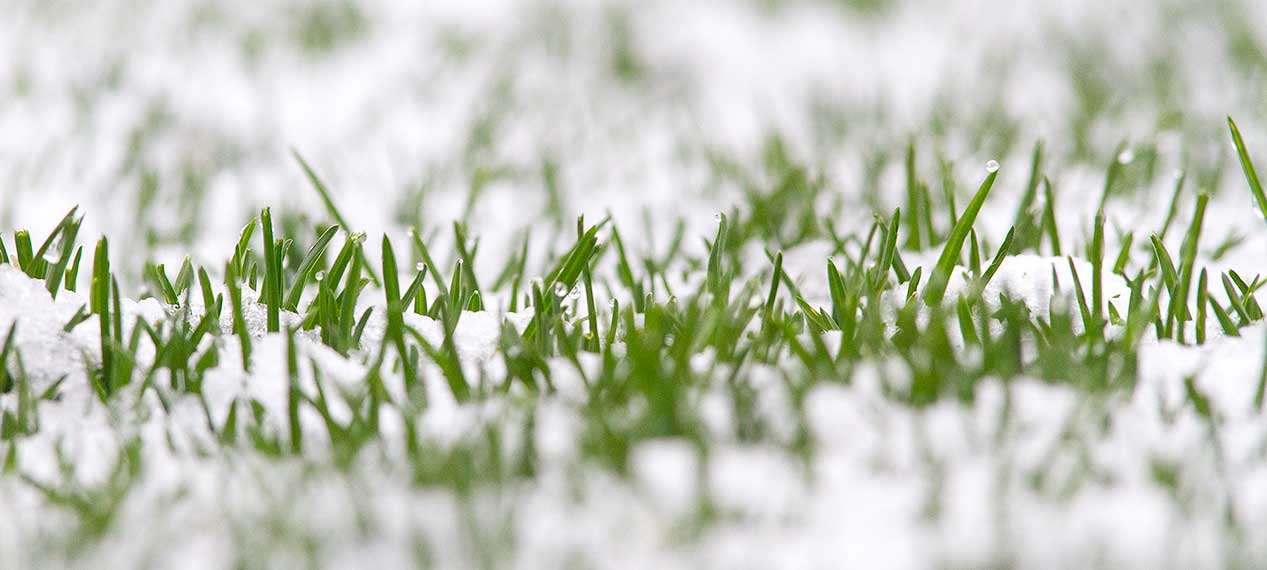
- The Fall Window (September–October): Warm soil combined with cooler evenings triggers a massive downward growth of roots. This “root-first” growth is essential for surviving the dry, windy Colorado winters.
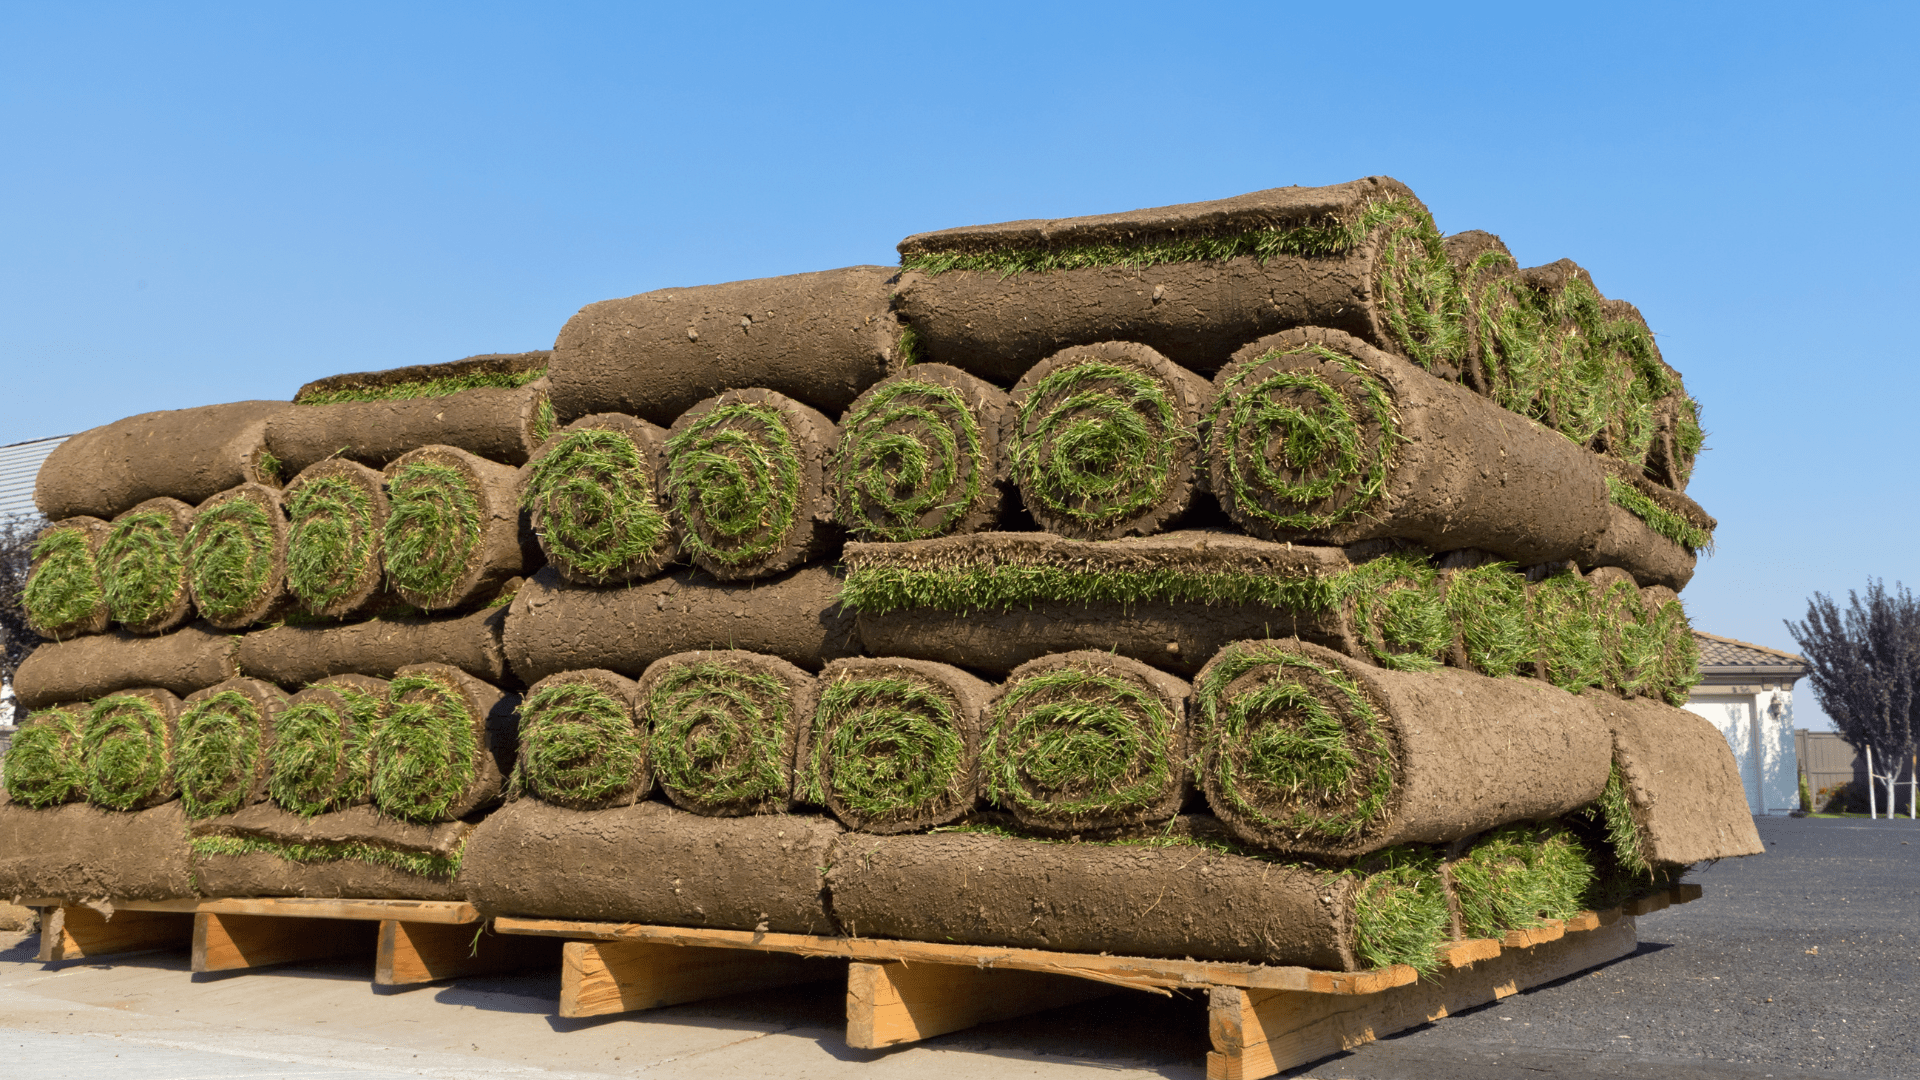
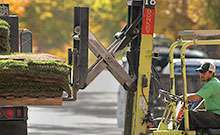
- Summer Challenges: If installing sod in mid-summer, your logistics must be perfect. The high UV index in Platteville and Littleton can cause pallet burn within hours if left unshaded and unwatered.
The High-Altitude Advantage: Why Source Location Outweighs Initial Cost
When you start hunting for sod for sale near me, don’t just look at the price per square foot. Look at the zip code where it was grown. Sod is a living crop, and in the Colorado Front Range, altitude shock is a real threat to your investment.
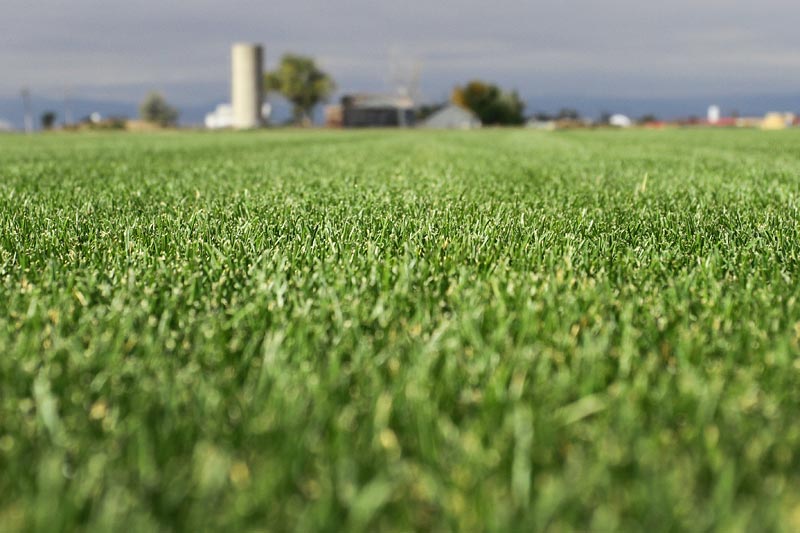
At GVT (Graff’s Turf), we cultivate top-quality sod at our farms in Littleton and Platteville. Since our turf is hardened in the same thin air and intense UV light of the Mile High region, it doesn’t experience physiological stress the moment it’s planted in your yard. Buying local means your sod is already adapted to Colorado’s erratic weather.
Performance Metrics: Matching Turf Biology to Your Yard’s Workload
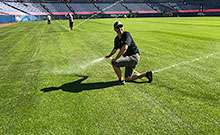
Kentucky Bluegrass: The Standard for High-Traffic Durability
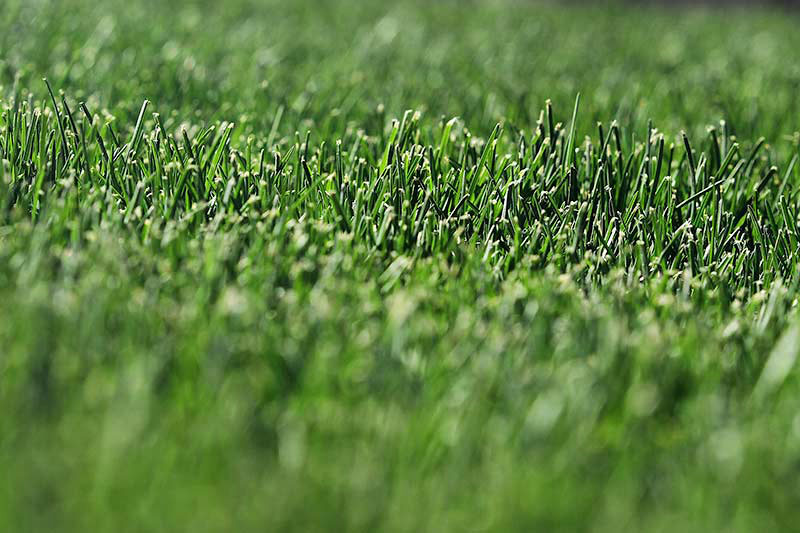
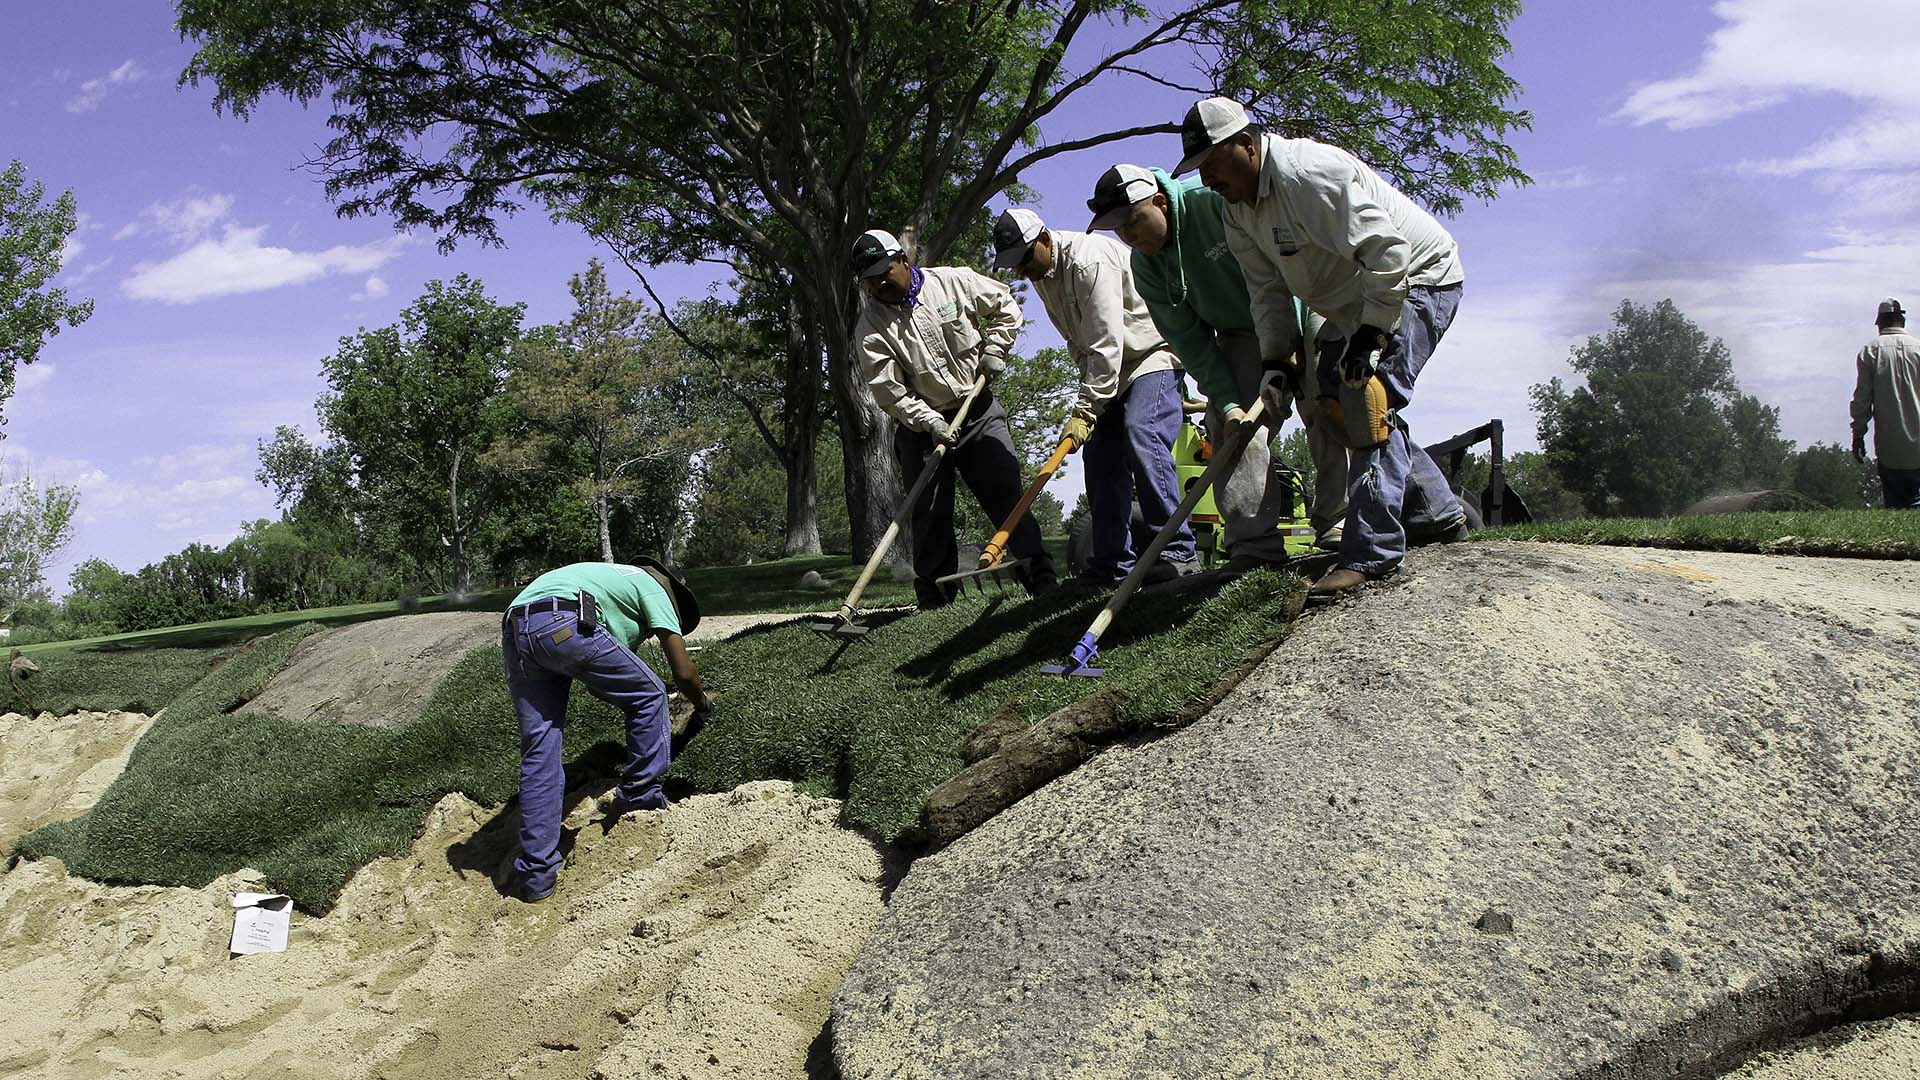
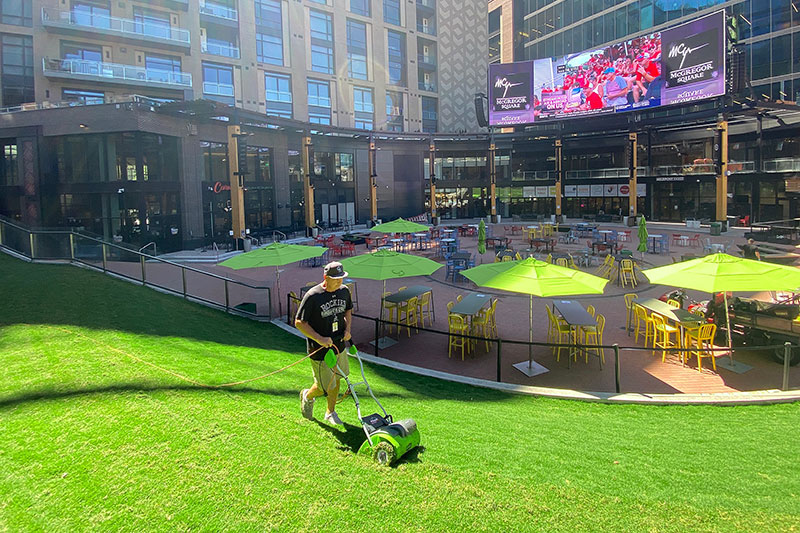
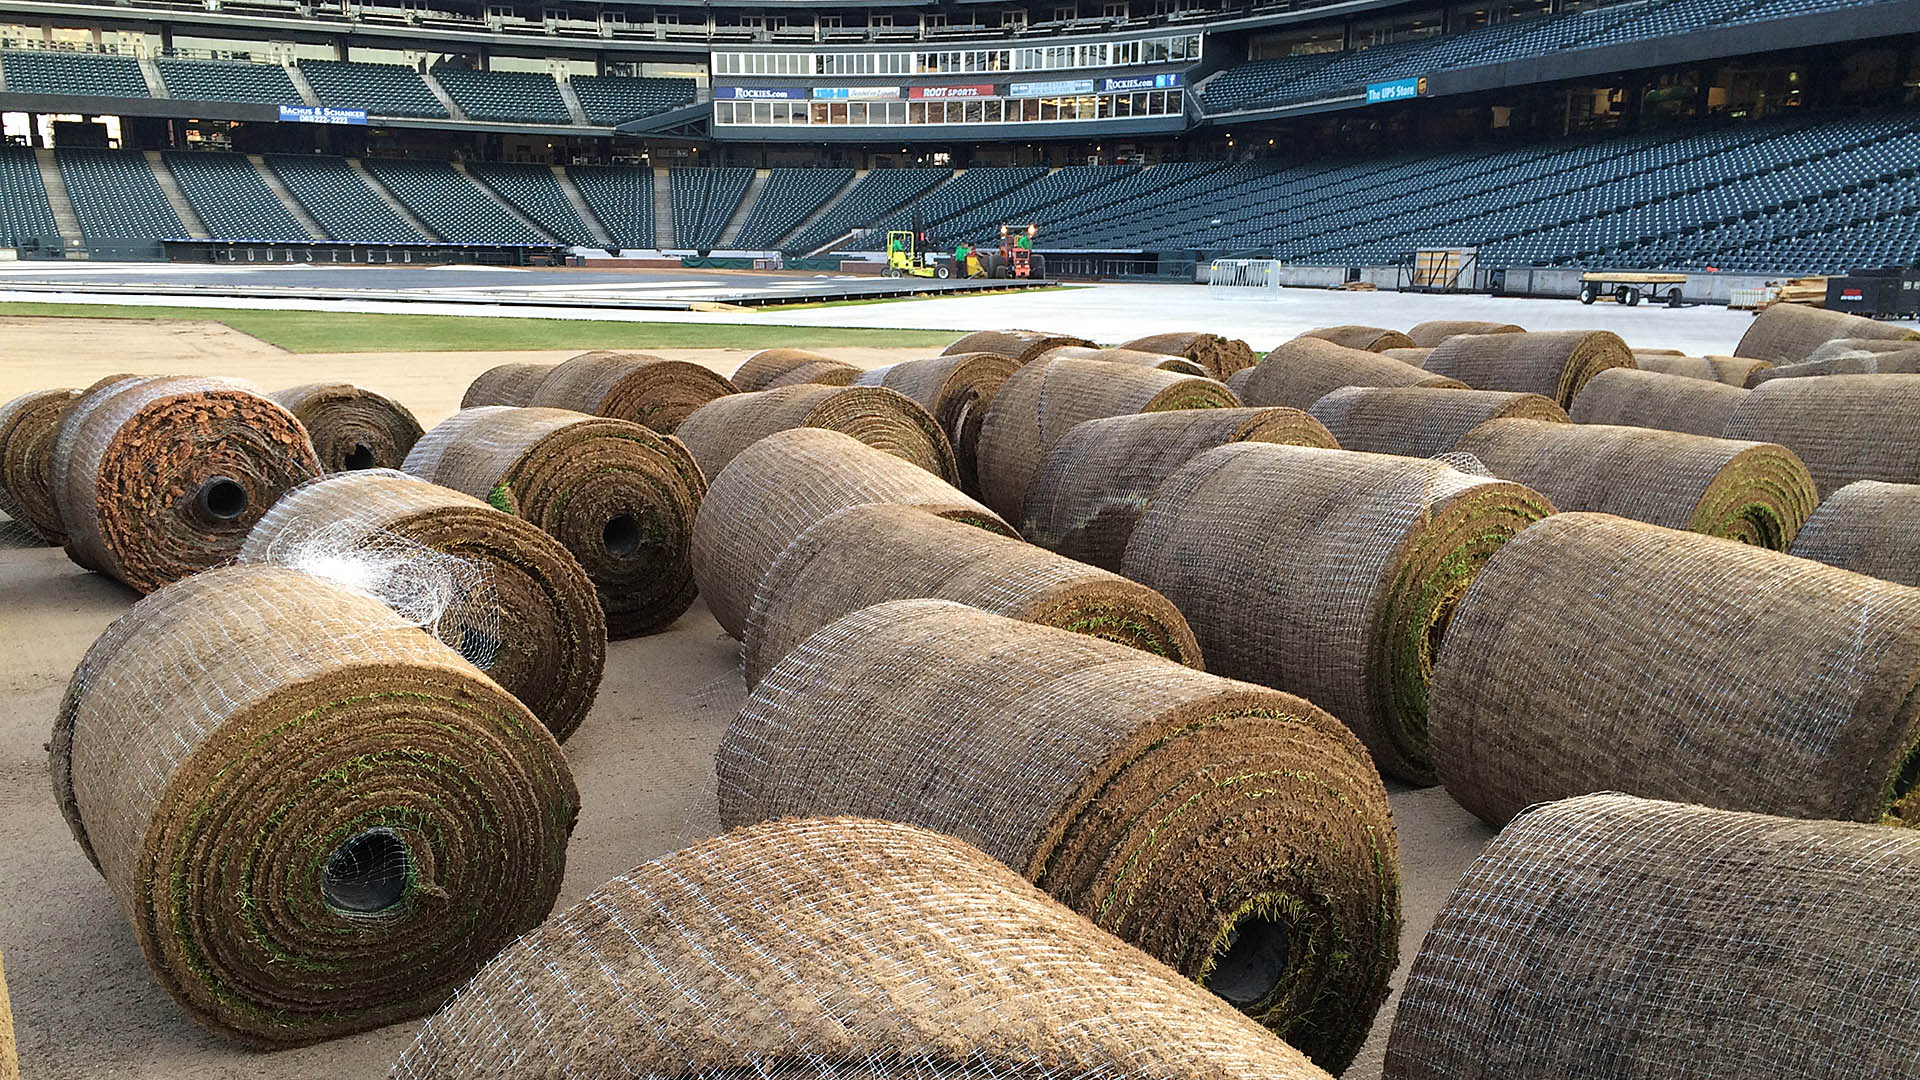
Professional sports venues in the region often rely on Kentucky Bluegrass because of its aggressive reproductive system. This variety utilizes rhizomes—specialized horizontal underground stems that produce new shoots as they extend.
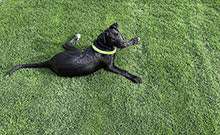
- Self-Repair Mechanism: When a section of the lawn is damaged by pets or foot traffic, these rhizomes fill in bare areas through lateral spread.
- Front Range Density: This growth habit creates a thick sod mat that helps crowd out local weed species like crabgrass and thistle.
- Recovery Rate: For active households, this capacity for regeneration is a primary requirement to avoid seasonal re-seeding.
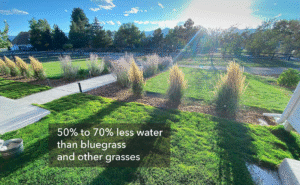
Water-Wise Hybrids for Deep-Rooted Resilience
- Subsoil Moisture Access: While standard grasses may have roots only 2–3 inches deep, Texas Hybrids and Tall Fescues develop a root architecture that extends much further into the subsoil.
- Alkaline Tolerance: These varieties perform better in the high-pH (alkaline) soils common in Littleton and Platteville.
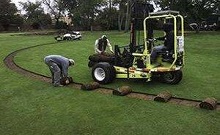
Precision Logistics: Quantifying Your Turf Investment
- Site Evaluation: Before ordering, identify “dead zones” like continuous shade under pines or high-heat areas along west-facing concrete walls. You may need different seed or sod types for these specific spots.
- The Radial Waste Rule: If your flower beds have flowing curves, you will lose material to trimmings. Add 12–15% to your total for these areas.
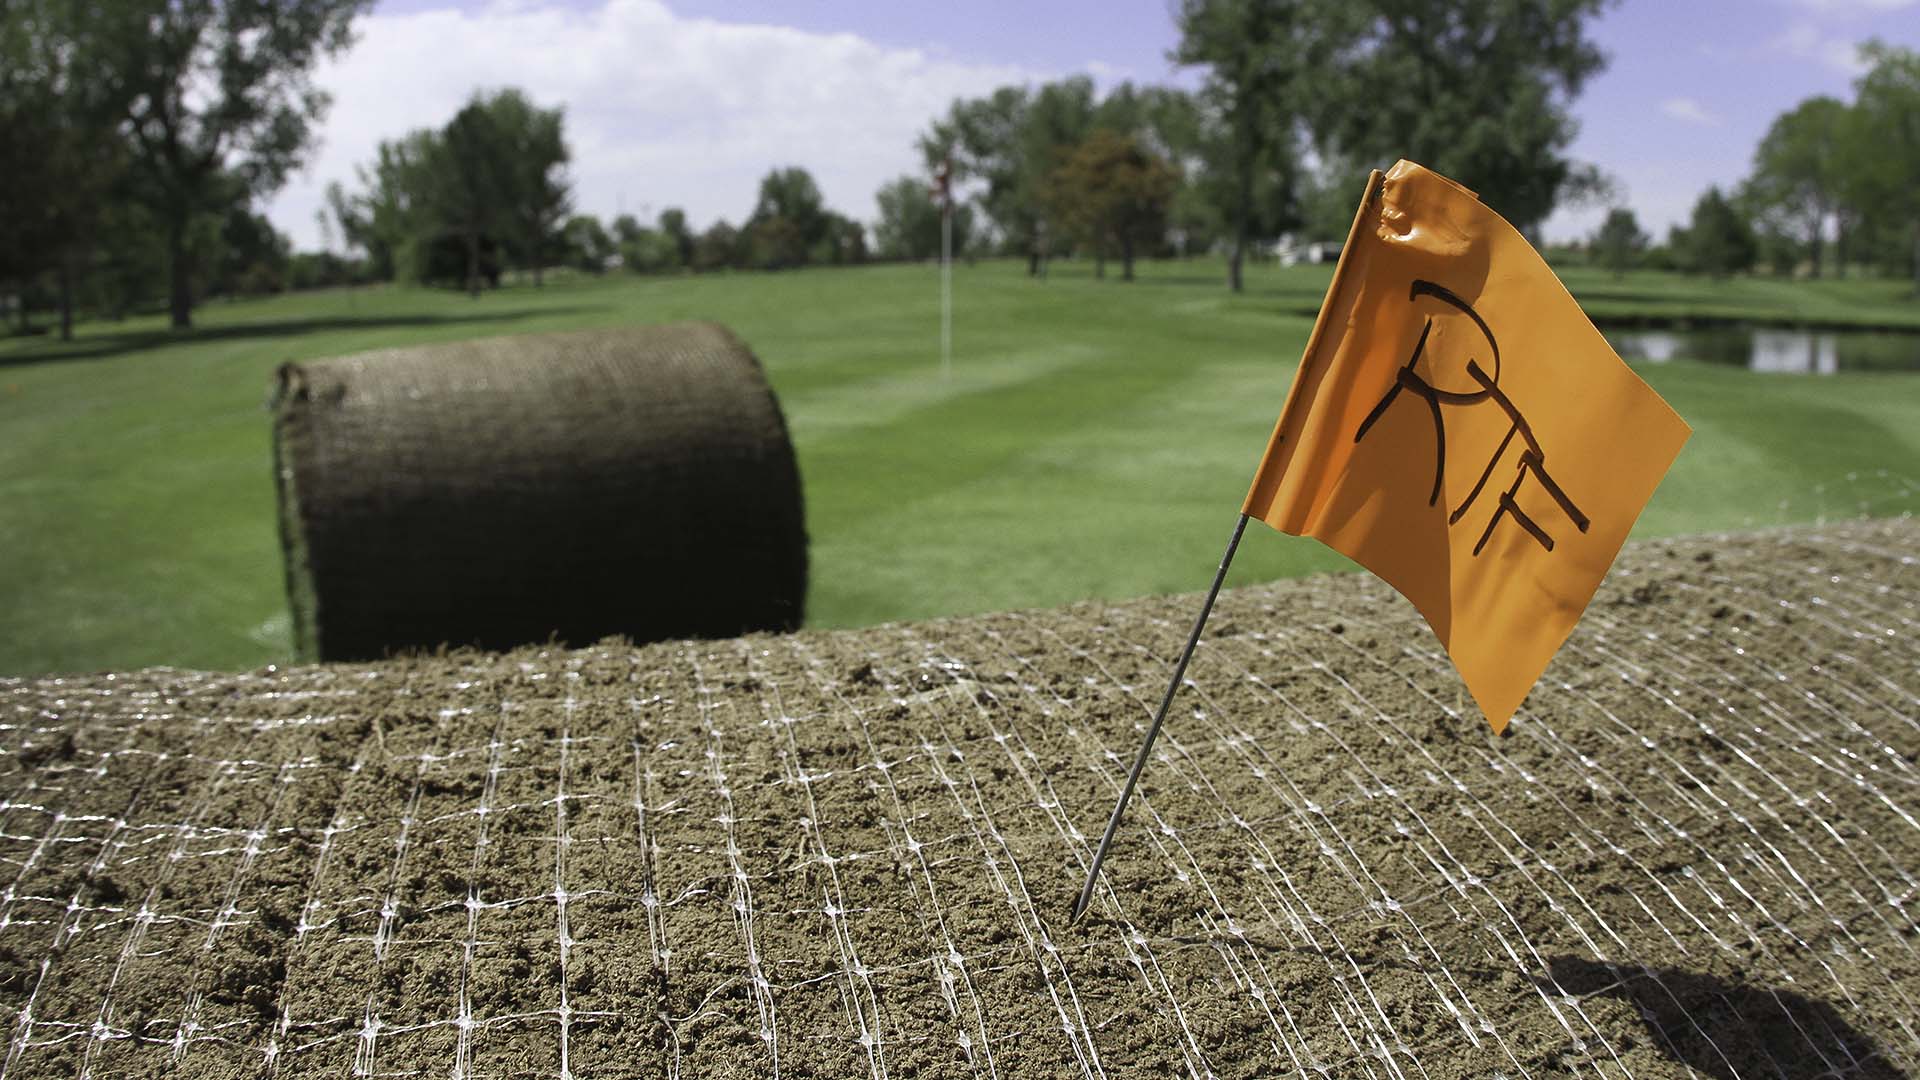
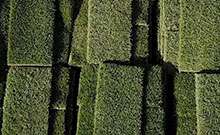
- The Pallet Buffer: GVT ships in standardized pallets (usually 500 sq. ft.). If your math says you need 1,020 square feet, buy three pallets. Those extra rolls are essential for patching around irrigation heads or fence posts.
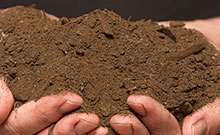
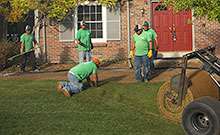
Sub-Surface Engineering: Three Steps to Prep Your Soil
New grass needs a receptive environment to survive. Before your sod arrives, establish these three technical benchmarks:
- The 6-Inch Rule: Colorado dirt is often as hard as sidewalk cement. Use a rototiller to break up the top six inches and mix in compost. This loosens the ground, so roots can grow deep into the earth instead of sitting on top.
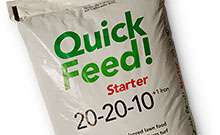
- The Right Fertilizer: New grass needs energy for its roots, not its blades. Use a starter fertilizer high in phosphorus on your freshly turned dirt before the sod goes on top. This acts as fuel to help the grass anchor to your yard.
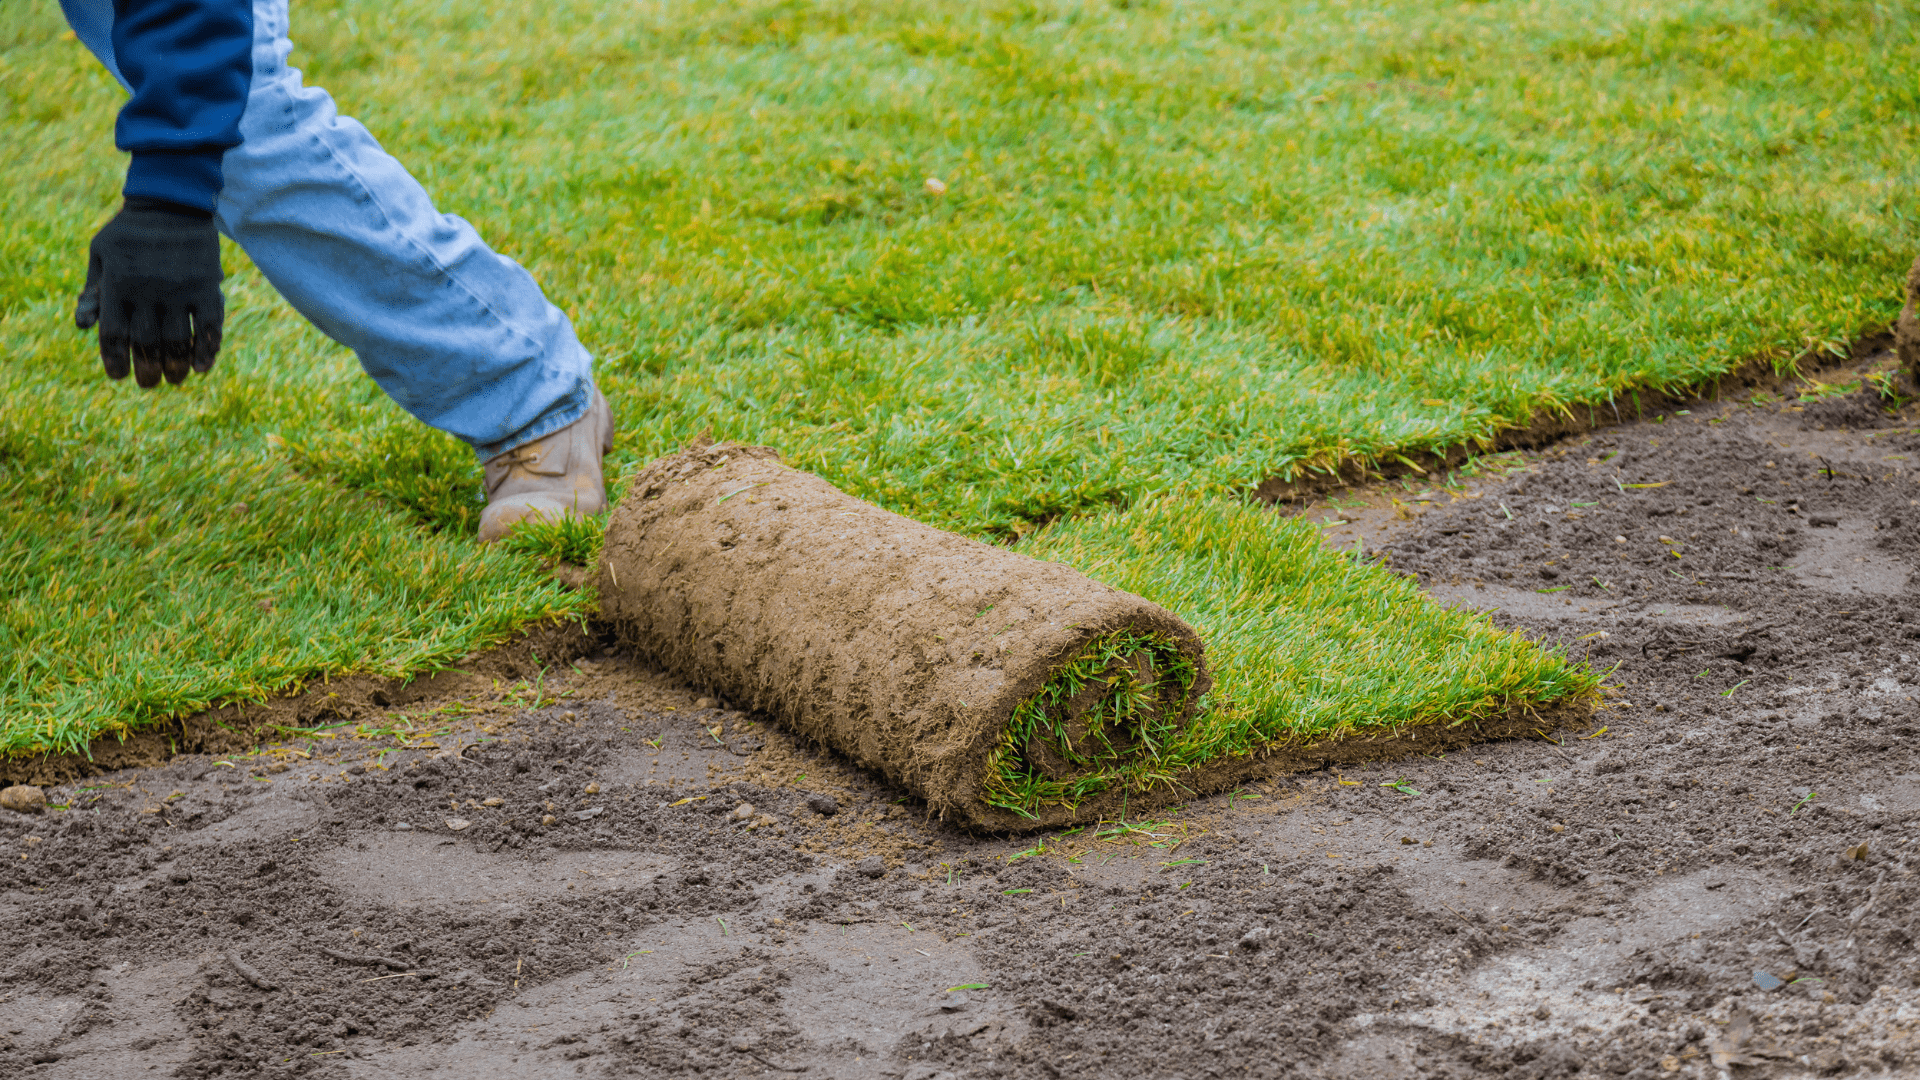
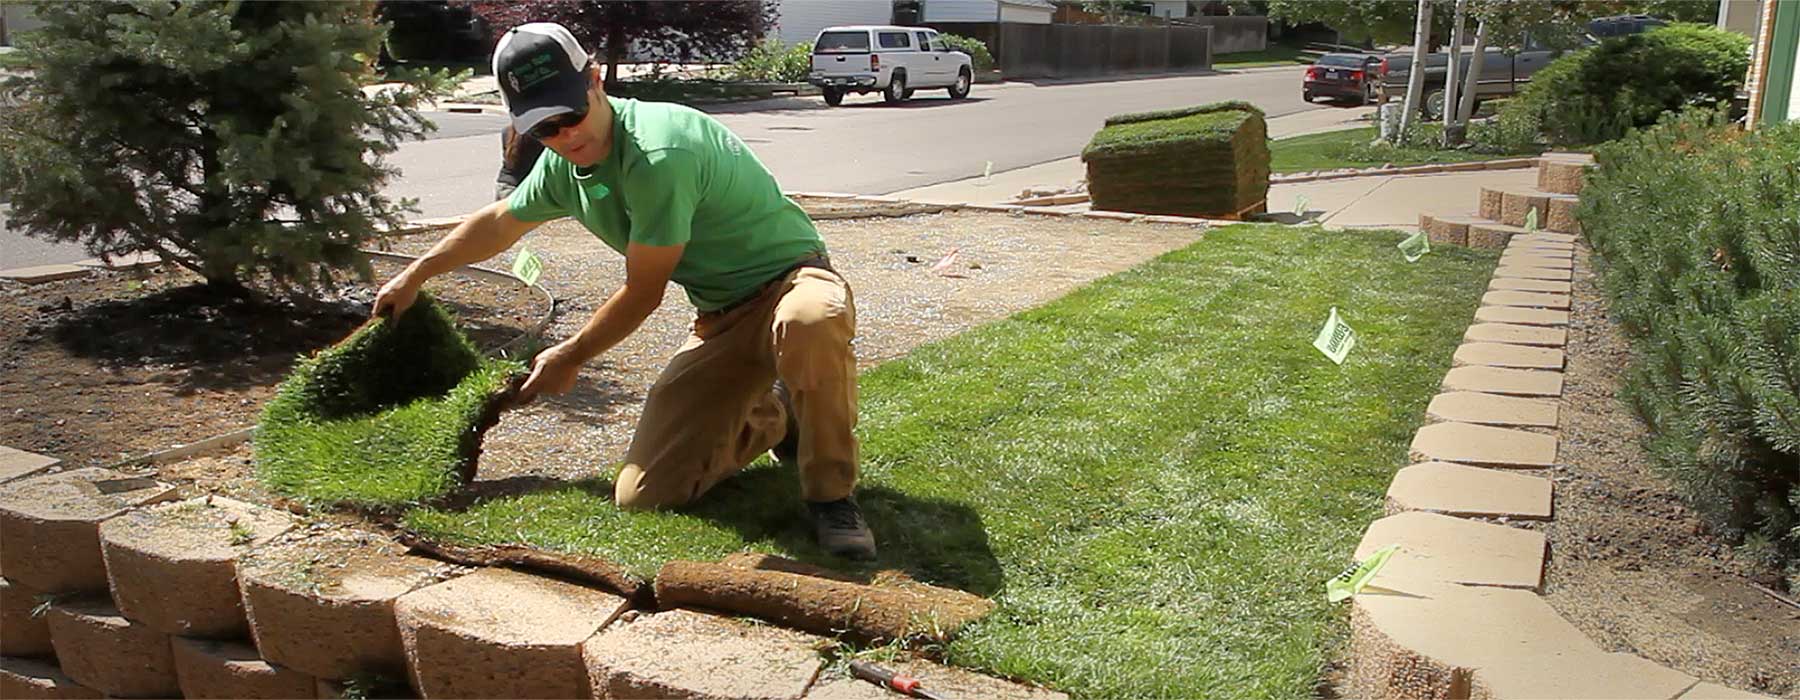
- The 1-Inch Drop: Grade your dirt exactly one inch lower than your sidewalks and driveway. Since each roll of sod has its own layer of dirt and roots, this one-inch gap ensures the grass ends up perfectly flush with your concrete.
The 14-Day Hydration Intensive
- The Squish Test (Days 1–7): During the early days of installation, your lawn must stay wet. If you walk on the grass, and it does not feel like a wet sponge or “squish” under your feet, the roots may be at risk of drying out.
- Deep Watering (Days 8–14): Move to one long, deep soak daily. This forces the roots to grow deeper into the ground to find moisture as the surface dries.
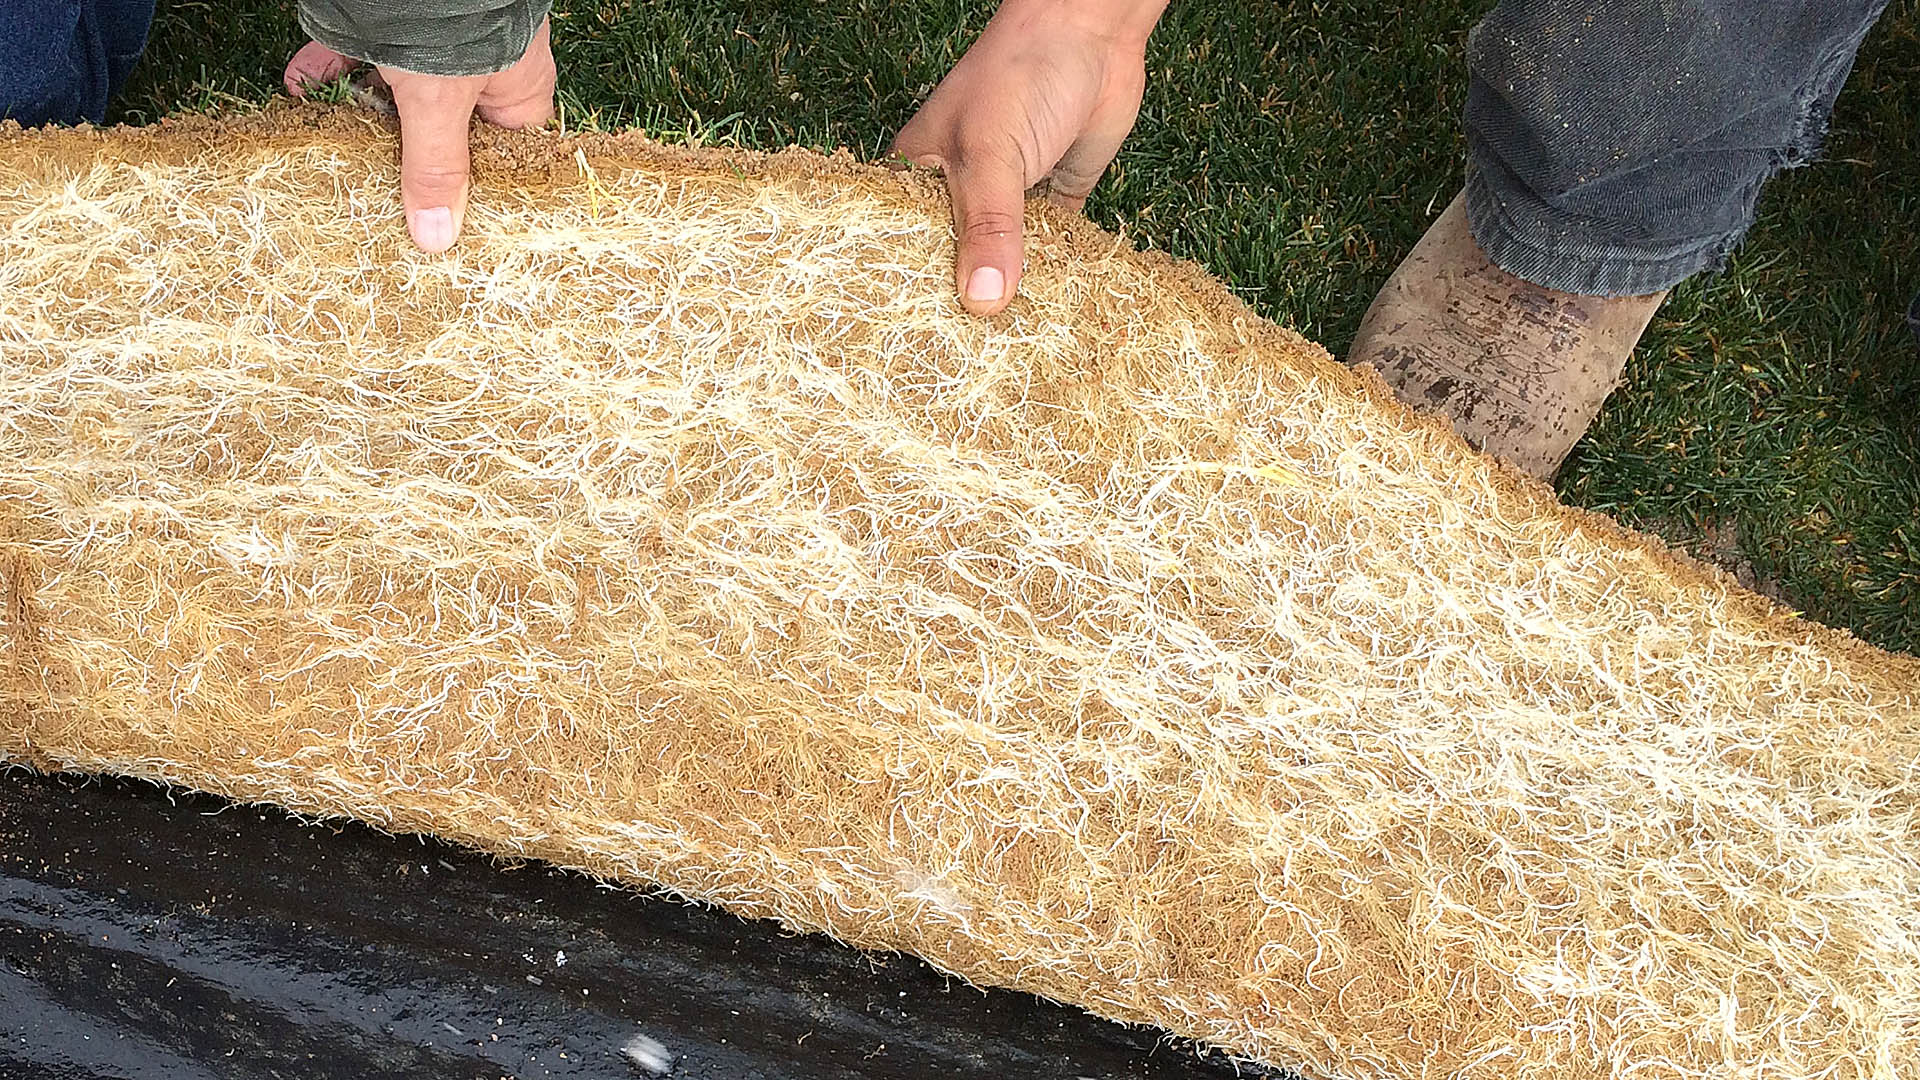
- The Tug Test (Day 15+): Gently lift a corner of the sod. If it resists and feels anchored, the roots have successfully attached. You can then begin a normal watering schedule.
Green Valley Turf Company has Your Sod Needs Covered
Our sod headquarters is your one-stop destination for front and backyard perfection.
Check out our sod inventory, shop our online store and take advantage of our services. Better yet, give us a call at (303) 798-6764 or contact us online to learn more.
Compare Colorado sod prices and get expert tips for quality turf.
Transform your Colorado lawn with top sod picks: Bluegrass, fescue, and more for perfect results. Read the articles for more.