

Explore Your Options: Sod Varieties for Sale Near Me
Explore Your Options: Sod Varieties for Sale Near Me
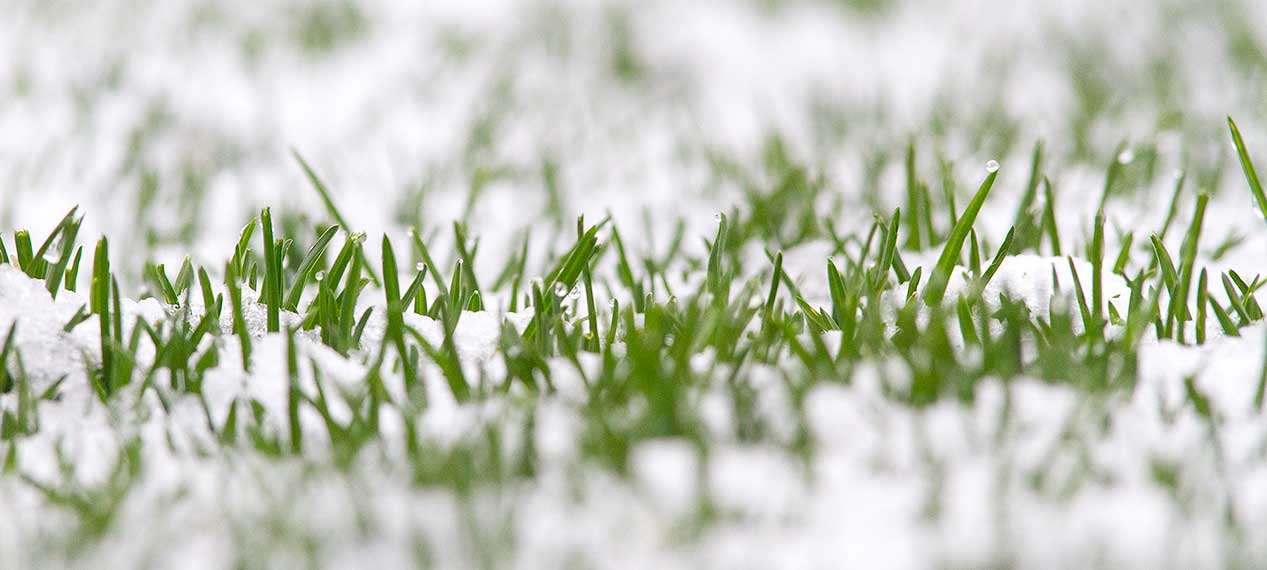
Sod That Outlasts Colorado’s Extreme Weather: Does It Exist?
Colorado’s climate undergoes extremes because of how abruptly the high Rocky Mountains meet the vast Eastern Plains. Sudden temperature fluctuations and lack of rain can affect grass growth throughout the state. In response to extreme weather, grasses must develop deep roots to reach water, adjust their growth rates based on elevation and rainfall, and sometimes enter dormancy to survive Colorado’s unpredictable weather.
Sod varieties with deep-reaching roots, drought tolerance, and strong resilience to intense weather patterns are what we at Green Valley Turf Company call “survivors”. Sod that thrives in Colorado’s climate uses less water, reduces lawn stress, and requires minimal maintenance. This informative guide to the best sod for sale near me can help you decide which sod best addresses your landscape and cultivation needs.
Stop Searching for Sod Varieties for Sale Near Me: GVT Has the Best Sod for Colorado Homes and Businesses
Kentucky Bluegrass Sod
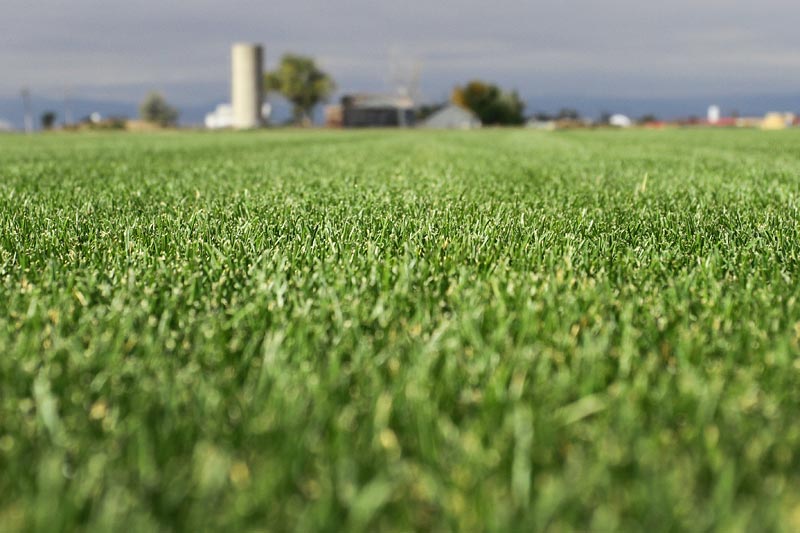
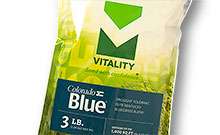
Kentucky bluegrass tolerates cold temperatures well by going dormant in the winter and emerges lush and green in the spring. Our drought-resistant Colorado Blue Kentucky bluegrass presents high resilience to foot traffic and adaptability, making it a popular choice for both home and business owners, golf courses, and busy parks.
Advantages of Kentucky Bluegrass
Kentucky Bluegrass offers a dark green color with a delicate yet dense texture to produce a healthy lawn. Its underground rhizomes help it spread and repair damaged areas, forming a strong, continuous grassy turf. This grass also rebounds quickly after a beating by heavy foot traffic, making it a practical choice for busy homes and businesses seeking a resilient, attractive lawn.
Disadvantages of Kentucky Bluegrass
Although widely popular in Colorado for its classic beauty and self-repair ability, Kentucky Bluegrass does require regular watering and fertilizing, which may be an issue for some Rocky Mountain State residents. If stressed by heat and dryness during the summer, Kentucky Bluegrass is prone to a fungal disease called necrotic ring spot. However, proper lawn maintenance can prevent this disease from affecting the grass.
Bermuda Grass Sod
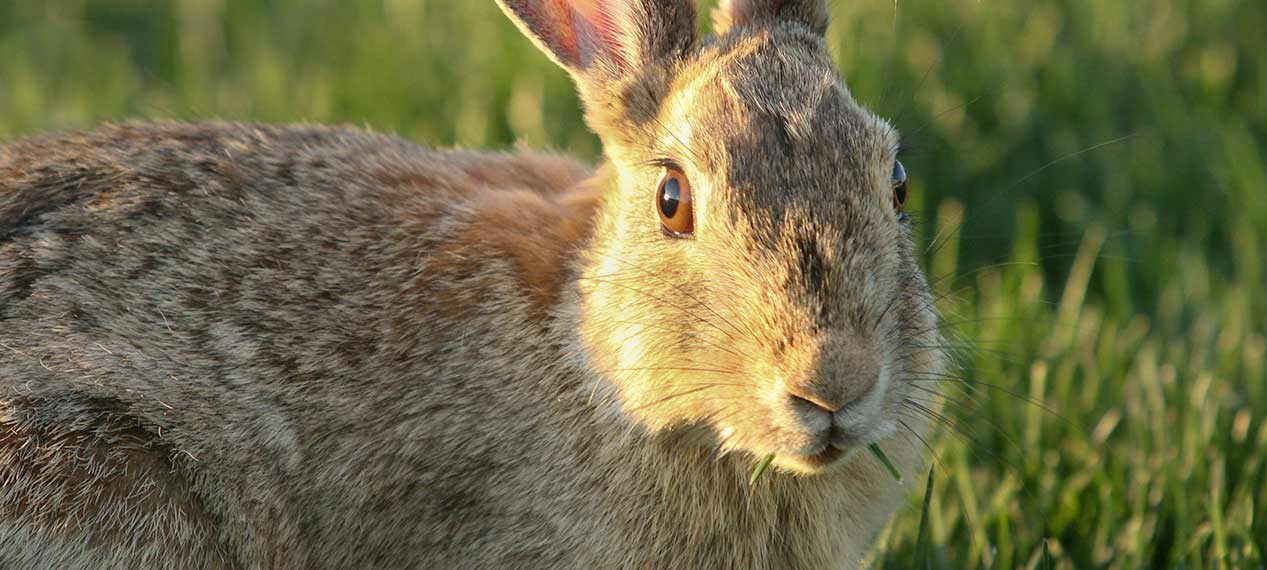
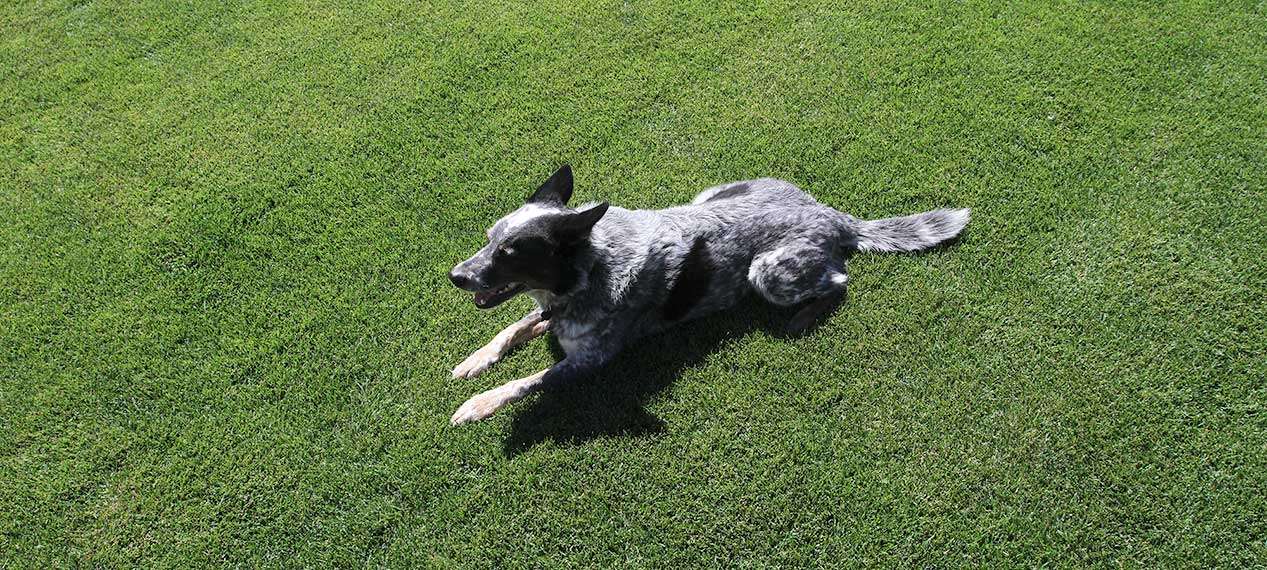
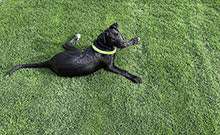
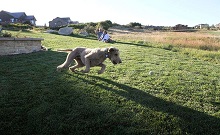
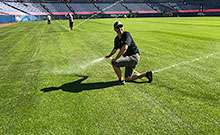
With its extensive root system equipped to access moisture during drought, Bermuda grass is perfect for Colorado commercial and residential landscapes. Although you won’t need to water our special variety of Bermuda sod all the time, it’s recommended that Bermuda grass be watered during periods of drought so that it doesn’t revert to dormancy. High tolerance to heavy foot traffic also means Bermuda grass makes great grass for kids, pets, sports fields, and around outdoor swimming pools.
Advantages of Bermuda Grass
Bermuda grass is the ultimate warrior against heat and drought, staying green and healthy under a blazing sun that would wilt other grasses. If you’re searching for sod for sale near me and want a tough, low-maintenance lawn, Bermuda sod offers unmatched durability and is excellent for rebounding from active lifestyles and heat.
Disadvantages of Bermuda Grass
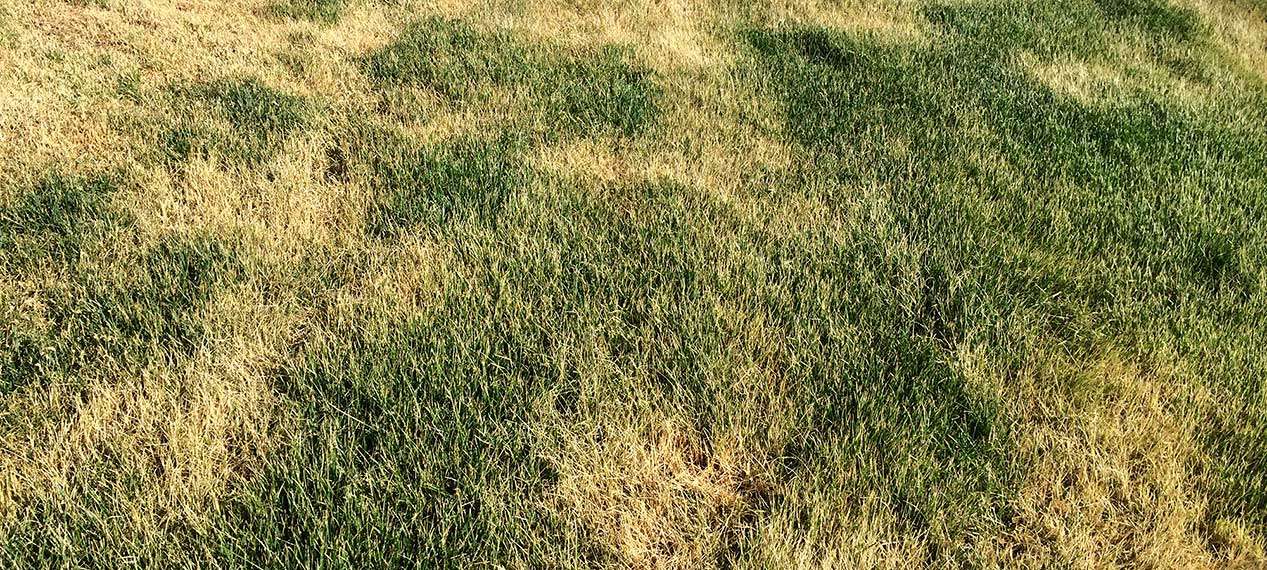
Bermuda grass can survive extended droughts, yet may deteriorate in cold temperatures and shady spots. In winter, it typically turns dormant and brown, frustrating those desiring a consistently vibrant lawn. Additionally, its rapid growth can overrun flower beds or gardens if you don’t keep an eye on where it is spreading. Regular mowing and edging help maintain its boundaries and appearance.
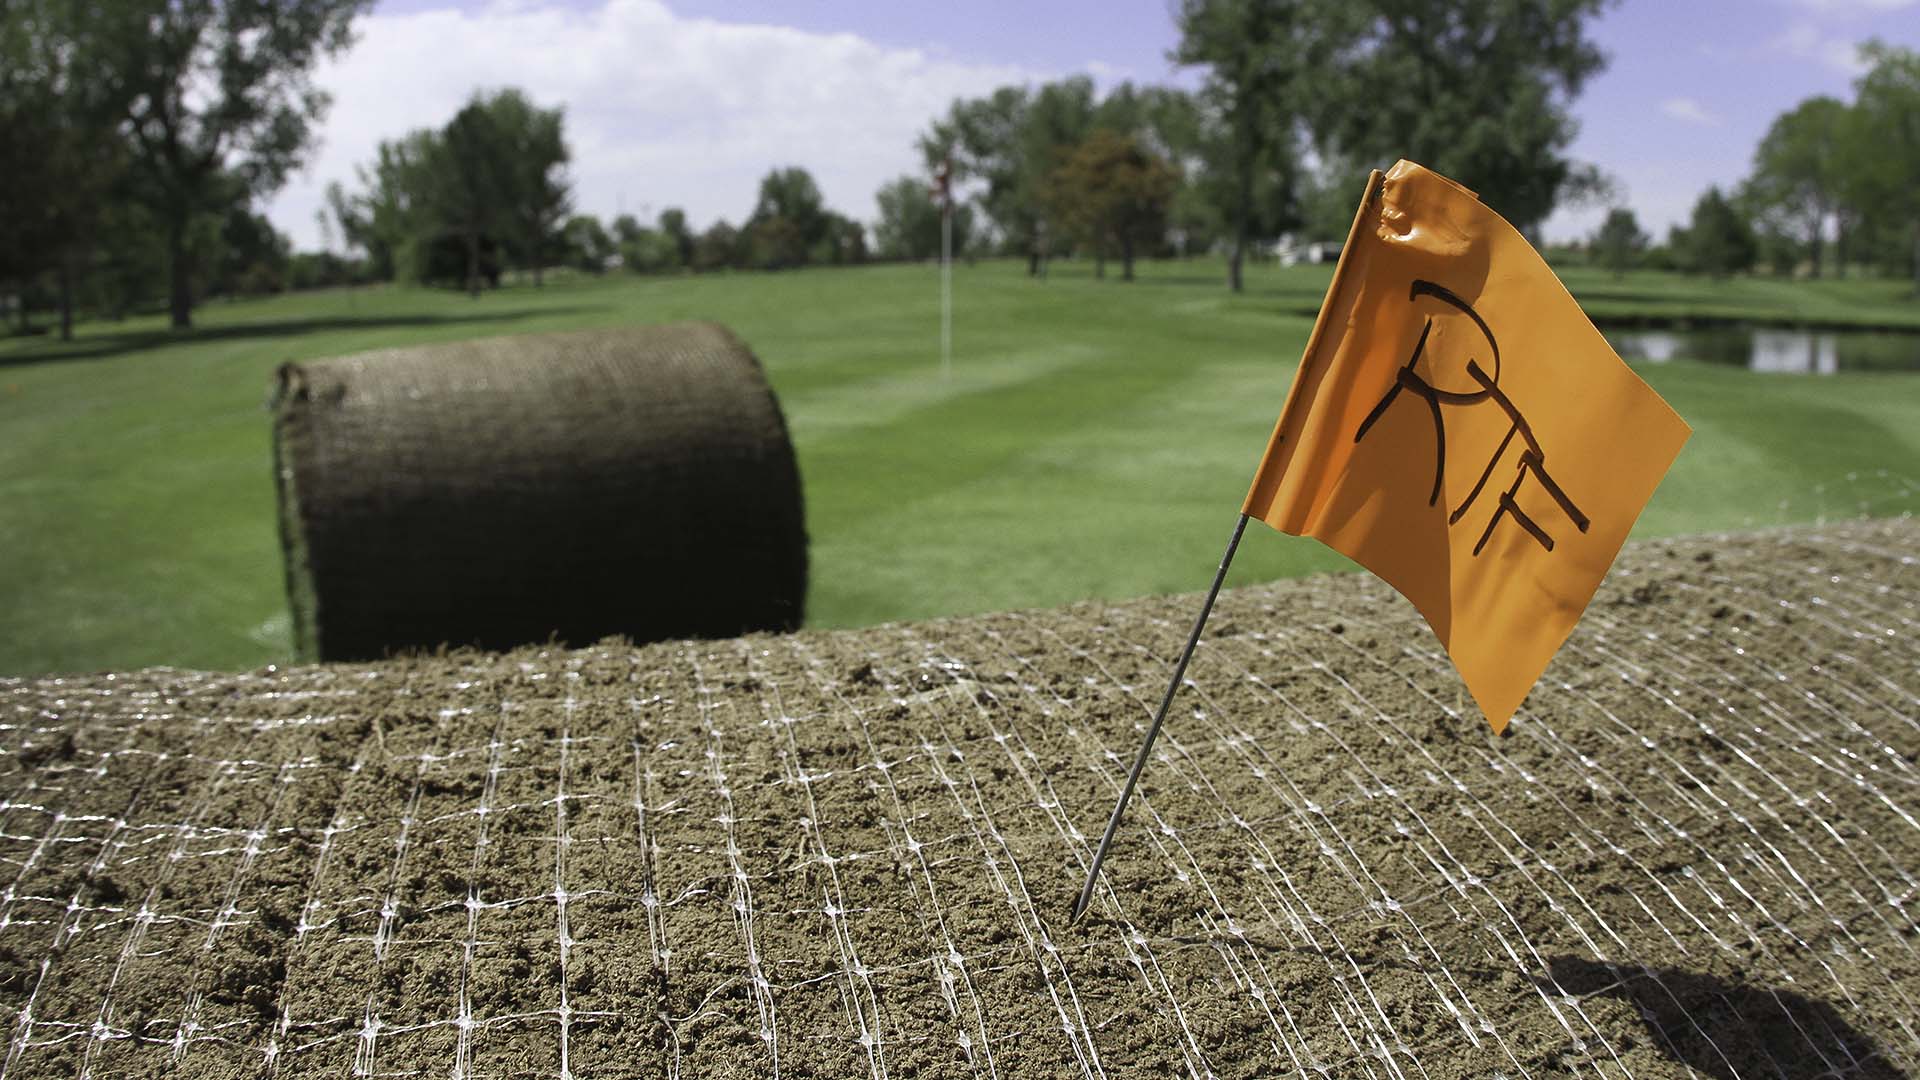
Rhizomatous Tall Fescue Sod
Drought-resistant Rhizomatous Tall Fescue (RTF) is well-suited to Colorado’s climate due to its deep root system and hardy nature. Unlike traditional tall fescue, RTF spreads through rhizomes, a horizontal underground stem system that produces shoots and roots. Rhizomes enable the grass to spread, store nutrients better, and survive extreme weather events. In addition, RTF thrives in loamy, clay, and sandy soils, adapting to a range of soil types by relying on its extensive root system.
Advantages of Rhizomatous Tall Fescue (RTF)
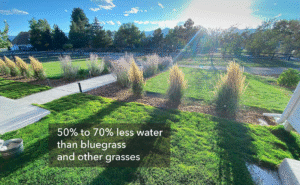
RTF’s roots grow deep into the ground, tapping moisture other roots can’t reach. Rhizomatous tall fescue also fills in bare spots naturally, so you won’t have to constantly seed and water sparse patches of your lawn. Sodding your landscape with RTF means enjoying low-water landscaping that maintains a green, healthy appearance despite stretches of dry, hot weather.
Disadvantages of Rhizomatous Tall Fescue
Due to its vigorous root system, RTF has a coarser texture compared to Kentucky Bluegrass, which could be unappealing to some landscape owners. Its self-repair capacity is less robust than that of bluegrass, which means high-traffic areas may need to be seeded regularly.
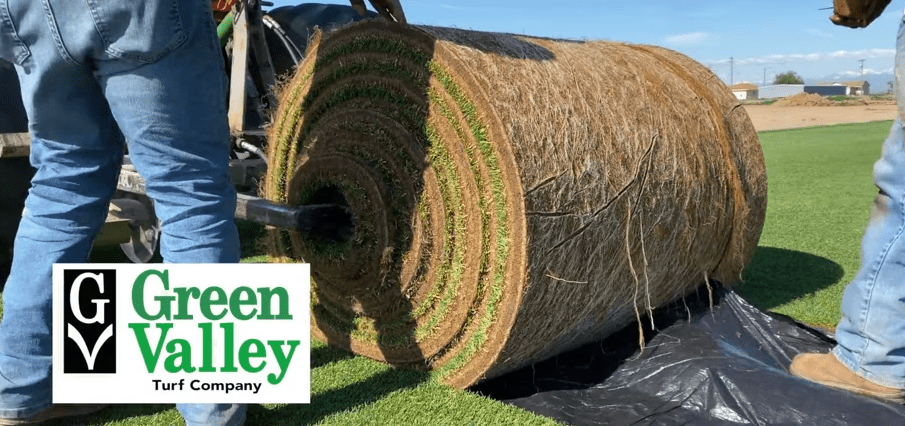
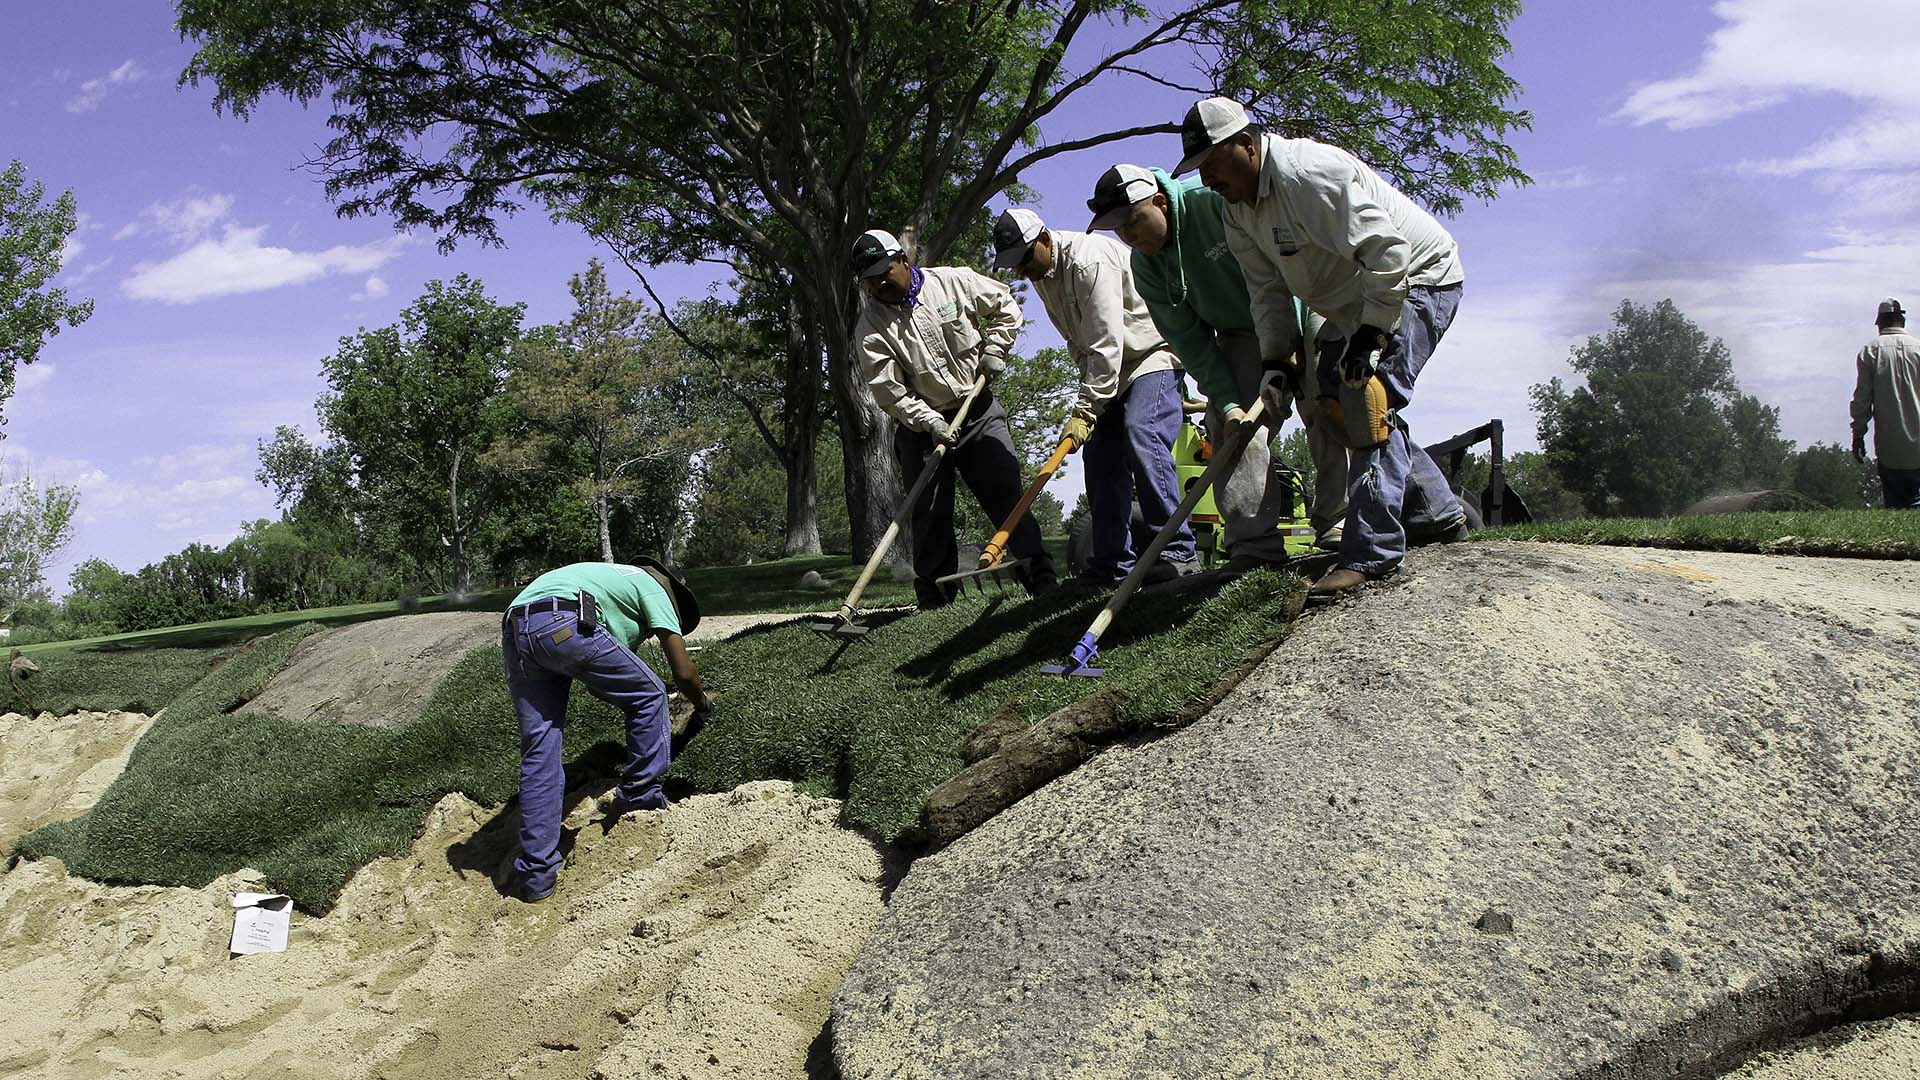
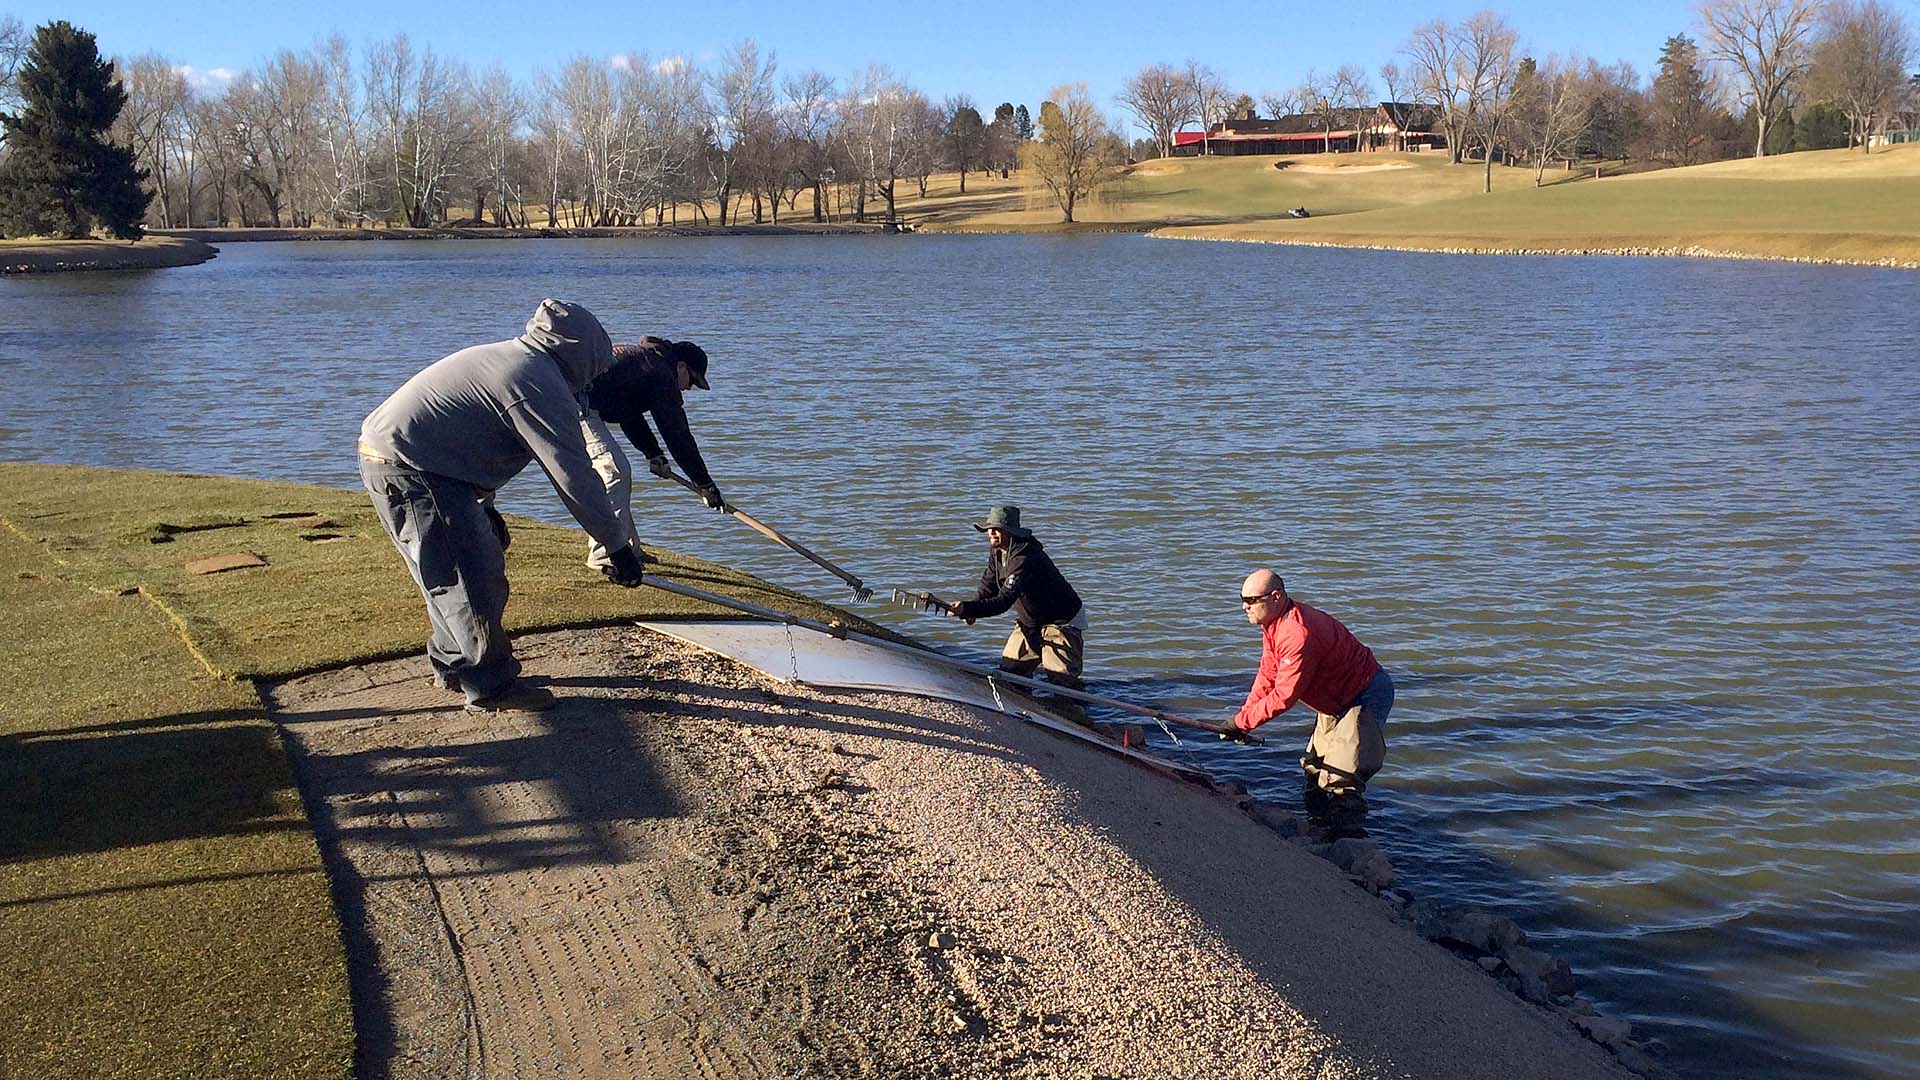
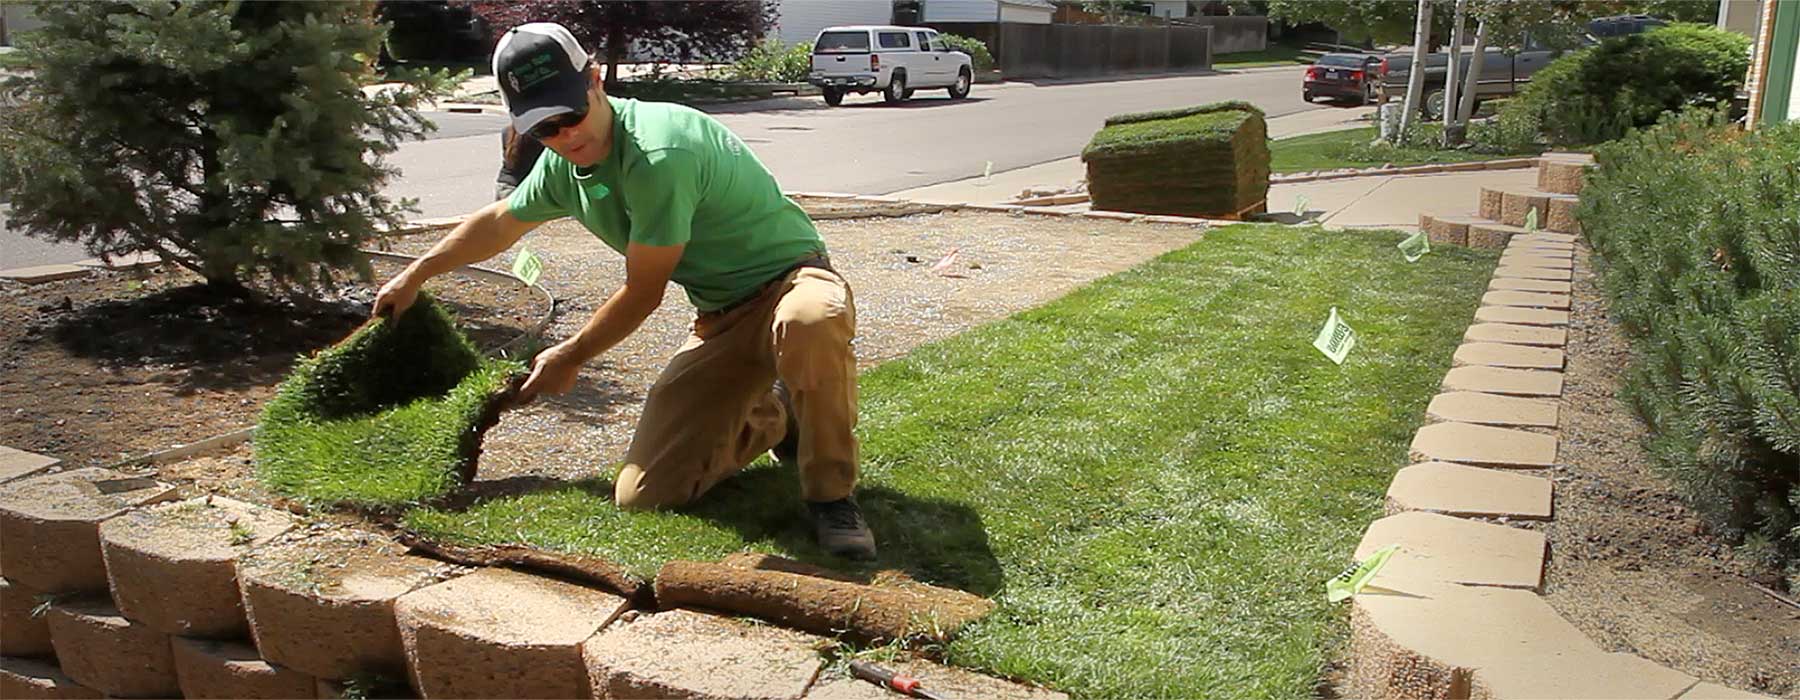
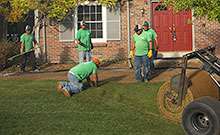
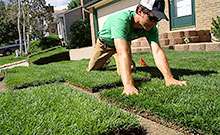
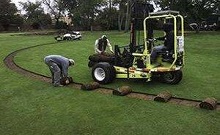
Solid Roots: Why Professional Sod Installation Is Vital for Sustained Growth
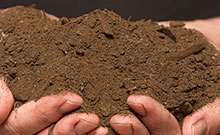
Laying sod the right way requires groundwork, in-depth knowledge of how to handle sod, and recognizing soil type. Expert sod installers will evaluate soil pH, any evidence of drainage problems, and compaction indicators prior to installation. GVT sod installers conduct advanced soil testing to identify and resolve issues promptly, saving clients time, effort, and costs.
Getting the grading right is essential for ensuring water spreads evenly across your lawn. If the surface isn’t level, water can collect in low spots while higher areas dry out quickly. Skilled sod installers take the time to shape the land, so roots can grow strong and moisture spreads evenly, helping your lawn take hold and look great around your home or business.
Why Choose Green Valley Turf When Searching for Sod for Sale Near Me?
Every inch of your lawn depends on the quality of your sod and the expertise behind its installation. Green Valley Turf’s decades of experience mean you’re choosing sod designed to handle Colorado’s sun, soil, and weather challenges throughout the year.
With more than 60 years of experience providing top-tier customer service in Colorado, GVT produces sod developed for local microclimates, elevation, and soil types. Our fresh, locally harvested sod also reduces transplant shock, promoting quicker establishment and healthier growth. Working with a trusted local partner means you get advice based on real experience and lasting results.
Call us today to learn more about where to find the best sod for sale near me. Trust GVT to transform your landscape from barren to breathtaking!
Green Valley Turf Company has Your Sod Needs Covered
Our sod headquarters is your one-stop destination for front and backyard perfection.
Check out our sod inventory, shop our online store and take advantage of our services. Better yet, give us a call at (303) 798-6764 or contact us online to learn more.
Discover the benefits of Colorado-grown sod—explore varieties and expert tips in the article.
Explore water-saving and sustainable sod options for Colorado lawns—discover eco-friendly turf solutions.