Posted on

Mowing Your Lawn In Spring
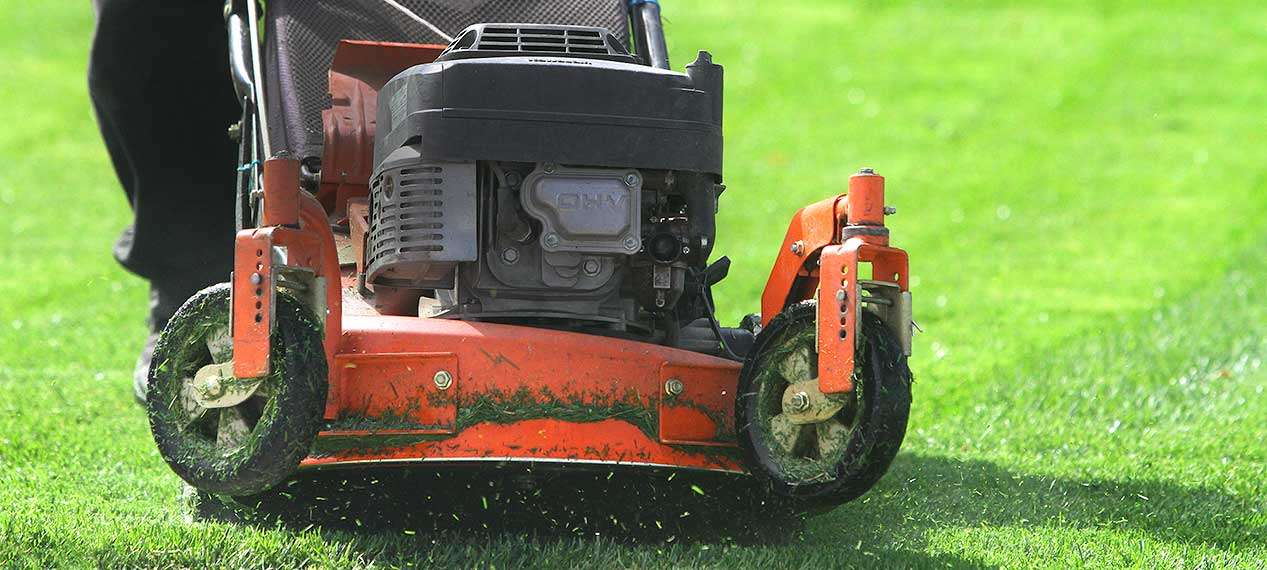
Lawn mowing in the spring plays a vital role in creating a healthy and productive growing season.

Tackling that first mow of the year is a perfect way to get moving, enjoy some fresh air and bask in that Colorado sunshine! Mowing is an important part of spring lawn maintenance and plays a vital role in creating a healthy and productive growing season. Mowing helps to remove the dead grass left over from winter, stimulates new growth, and thickens your lawn up to have a strong base before summer heat kicks in. By being proactive in the spring, you set your lawn up for success all year long!

When to Mow

It can be difficult to tell when to start mowing as your grass slowly begins to start greening up. As regions vary on when they tend to warm up, there’s no set date on when to start. However, a general rule of thumb is to let the temperature rise consistently above 40 degrees Fahrenheit so that the grass and soil have completely thawed. It’s also wise to allow at least 2-3 inches of new growth to occur so that it doesn’t shock the lawn.

Mower Maintenance

Another important step in spring lawn care is maintaining your mower. Change the oil, air filter, and spark plug. Clean off excess dirt and dried grass clippings (unplug the spark plug before working near the blade of course!) And finally, make sure that the blades are extra sharp. Mowing with dull blades tears the leaves of grass and can leave your lawn more prone to insect damage and disease.

Follow The Rule of Thirds

You never want to cut more than 1/3rd the length of the blade off when mowing. Doing so severely stresses the turf and can lead to scalping and yellowing. Even when your lawn is very overgrown, you don’t want to mow more than 1/3 of the blade off. Instead, change the height of the mower and then lower it every 2-3 days until the grass reaches the desired height. For bluegrass, you want it to be between 2-3″ and for tall fescue, you’ll want to keep it between 2.5-3.5”.
Frequency of Mowing

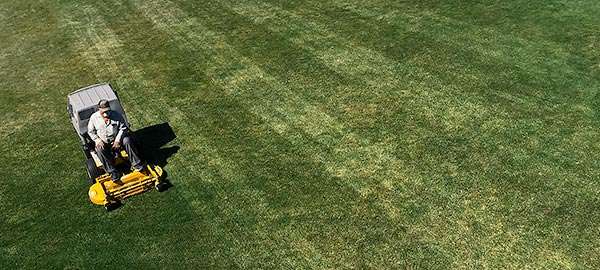
In early spring, when the grass is still growing more slowly, you can mow once every week or two. But once spring kicks into high gear and your grass really starts to grow, it’s a good idea to mow every 4 to 6 days to keep your lawn manicured. By keeping blades short, it allows more sunlight to come in and heat up the soil, which in turn promotes growth and causes the sod to thicken up. So if there are any patches or your lawn is a bit sparse, try mowing more frequently and maintaining a regular watering schedule to get it back on track.

In summary, by being mindful of your lawn and mowing it properly in spring, you can set it up for success all year long. By taking good care of your mower and paying attention to the length of your grass, you can help your lawn grow thick, resilient, and brilliantly green. So go get outside and make your lawn look beautiful as we enjoy spring here in the front range!

Posted on

Different Grasses for Colorado Lawns

A dew drop on a blade of Kentucky Bluegrass in Colorado.

Bluegrass

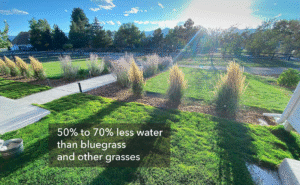
Kentucky Bluegrass is the most widely used turfgrass in the Denver metro area. About 95% of all lawns and parks are Kentucky Bluegrass. Bluegrass produces a fine, dense textured turf that can stand up to heavy traffic and use. Bluegrass is a rhizomatous turf that spreads through underground roots or rhizomes and produces new grass plants to stay dense and thick. It is deep green and is very heat and cold tolerant, and is the best choice for high elevation use. Bluegrass also is very drought-resistant and will go dormant in the heat of the summer if not watered. Once it cools down in the fall and warms up in the spring, bluegrass fills itself in. If you want a fine lawn that can take a lot of abuse from kids and dogs, bluegrass is an excellent choice.

  • Can become dormant & survive 1 to 2 months without irrigation once it is established
  • Uses 24″ to 26″ of supplemental irrigation per year for high-turf quality
  • Uses 15″ to 20″ of supplemental irrigation per year for lower turf quality
  • Best grass for high-use areas and dogs

Tall Fescue

Turf Type Tall Fescue is becoming more common in the Denver metro area due to its ability to go longer between waterings. If Tall Fescue develops a deep root system in properly amended soil, it can capture water from a greater soil depth. This can translate into less irrigation or fewer waterings per week. Tall Fescue is very heat and cold-tolerant, it has a good green color and a medium size blade. When mowed lower and more regularly, Tall Fescue can come close to a bluegrass texture and appearance. Tall Fescue can become clumpy if it is not watered or cared for properly.

  • Uses 20″ to 22″ of supplemental irrigation per year for high turf quality if rooted deeply and subsurface moisture is present
  • It can root very deep and pull water from deeper down in the soil. Deep soil prep is recommended before sodding
  • Good turf quality, medium green, medium texture

Buffalograss

Buffalograss is a native, low-growing warm-season turfgrass that, once established, uses very little water. Buffalograss develops a very deep root system and likes clay soil. Because of this deep root system, it can draw water and nutrients from a large area. Buffalograss thrives on 1/4 inch of water per week during the heat of the season. Buffalograss is light green and has a soft fine blade that stops growing around 6 inches. It is slow-growing and only needs mowing every two to three weeks or can be let go for a native look. Buffalograss spreads and fills in with stolons or above-ground runners. Buffalograss goes dormant in the fall, September/October after the second frost and greens up in April. Natural rainfall will dictate when and if additional water is required for a buffalograss lawn.

  • Uses 8″ to 10″ of supplemental irrigation per year for good turf quality that will tolerate moderate traffic
  • Not best for the traditional lawn. It is brown and dormant from October to April. More of a native-type lawn.
  • Good turf quality, light green, medium texture, very soft to the touch.
Posted on

Dog Gone Dog Spots

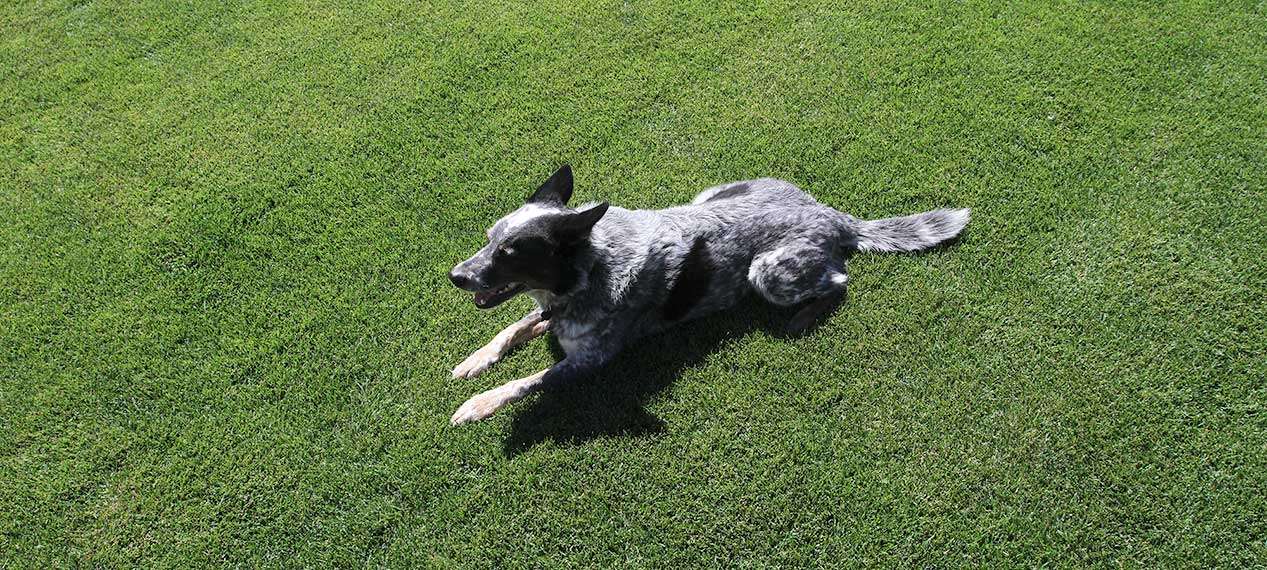
Blue heelers love to resting on bluegrass lawns. High concentrations of nitrogen present in the ammonia component of your dog’s urine damages your lawn and create dog spots.

No more of those pesky dog spots! Are you a proud owner of a furry friend? Then, you may be noticing some brown spots forming in your lawn where your dog likes to relieve itself.

High concentrations of nitrogen

This phenomenon is caused by the acidic nature of urine, which contains high concentrations of nitrogen present in the ammonia component of your pup’s potty. Female dogs cause more damage because they squat to do their business in one concentrated area. This nitrogen can be good for your lawn when diluted. You may notice around the brown spot there is a green ring. The nitrogen in the dog’s urine causes this dark, green ring of accelerated growth. A dramatic contrast of color between the lawn and the dog spot is a visual indicator of the need to fertilize the lawn.

Keep your yard healthy

Not to worry. There is a quick fix to solve this vexing issue! After Fido has gone to the bathroom, water that portion of the lawn for a few minutes or dump a bucket of water on the area. This causes the nitrogen to dilute and has a positive effect on your lawn.  Another trick is to fertilize often. Use less fertilizer, but increase the frequency that you fertilize to once every 4-6 weeks. Fertilizing keeps your yard healthy and allows the injured grass to bounce back quicker, giving your lawn that lovely green color! When you start implementing these lawn care strategies, you will quickly see a difference in the lawn.
How to fix

If your lawn is already plagued with these dog spots, cut out the brown area and patch with new sod. Re-sodding the brown areas is the quickest way to fix this issue. You can also take a 4-6 inch knife and slice into the brown spot multiple times, targeting the areas close to the green section. By cutting into the ground you will be breaking up the root system, specifically the rhizomes from which new plants grow. This allows the healthy rhizomes to reproduce and create new, green grass where Fido browns it.

Now that you know what to do, go tackle those blasted dog spots!

Posted on

Save Water, Soil Prep

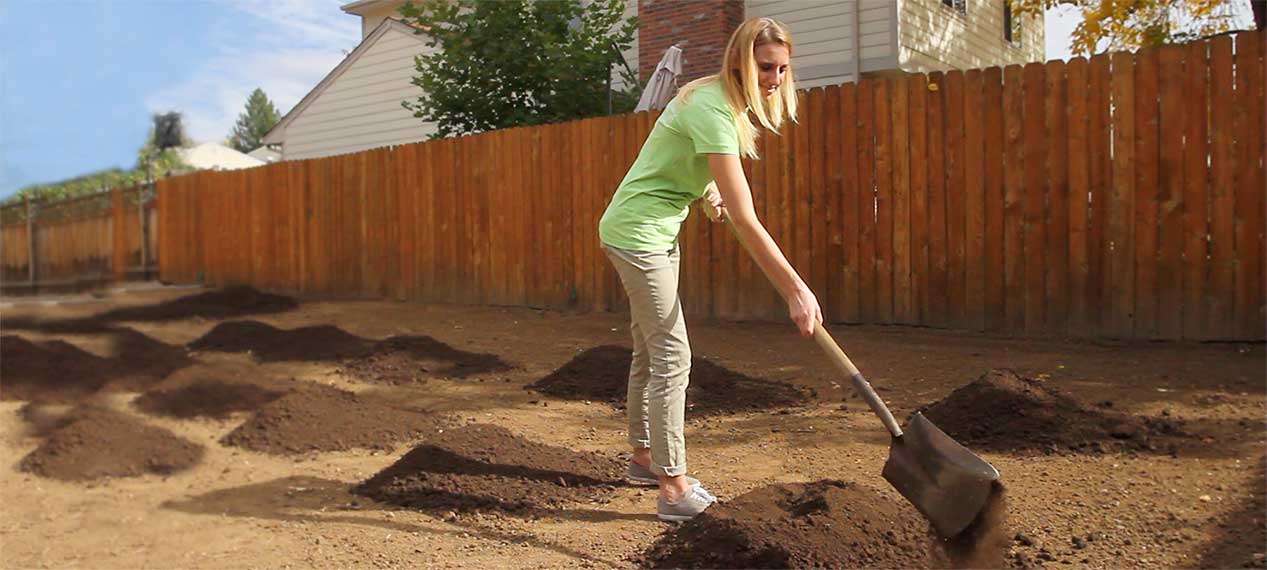
Soil preparation is the best way to use less water in your lawn before sodding.

Soil preparation or soil amendment is the most important step in growing a healthy lawn. Without the proper conditions in place, even the finest sod will have a tough time establishing a good root system.

Till in compost before sodding

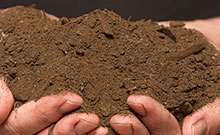
Soil prep is essentially tilling compost into the ground. Compost is important because it helps the soil already present hold water, be it sandy or clay. In Colorado, our soils are more clay based, meaning that they are very tight and compacted. By putting in compost you are breaking up the solids and infusing organic matter into the ground. By creating space in the soil, there is more room for root growth, gas exchange, and water movement. This allows the plant to get water and essential nutrients more easily. If the root system can grow to its maximum potential, the grass can fight off disease, insects, and be more efficient overall.

How to prepare the soil

You may be wondering how one performs proper soil prep. Well it all begins with the grade! Level the soil to the point where there are no low areas that may collect water to avoid puddles. After you have tackled the grade, evenly spread 3 to 5 yards per 1,000 sq. ft. of the compost over the desired area. This makes the next step, rototilling the compost 6-8 inches deep much easier. It’s important to maintain that depth so the grass can establish a deep and efficient root system. After tilling in the compost, pack the soil back down and fine grade your lawn. The last step before final sod installation is to spread some fertilizer on the soil to add nutrients and give your sod a kick-start in developing strong roots.

Open up clay soil

Don’t forget that the most important part of the plant lives underground! Soil prep opens up clay soils and allows the water to flow into the soil more easily and closes up sandy soils preventing water from draining away too quickly. By giving the soil some attention you can create an environment that will allow the lawn to effectively access the water and nutrients and have a healthy yard.

Posted on

Dinner and a Drink, (fertilizer + precipitation)

Rain and snow have a lower pH and makes it easier for your lawn to get the nutrients it needs from fertilizer.

Even plants deserve a special treat every now and then; indulge your lawn to a night out on the town by fertilizing right before a rain or snow storm!

Snow perks up your lawn

Although you might view these spring snow storms we’ve been experiencing as a drag, your lawn could not be more grateful for the free drink! All the natural precipitation helps your lawn’s root system grow deeper into the ground. A strong and deep root system allows your lawn to withstand higher temperatures and drought conditions with much more ease. If you want to see even better results in the months to come, let your lawn have the full fine dining experience by fertilizing right before a precipitation event. Fertilizer contains all of the essential nutrients your lawn needs to thrive, and water actually activates the fertilizer and allows it to penetrate into the soil. So by fertilizing right before a storm, you allow mother nature to help those added nutrients really soak in.

Snow has a lower pH than most water

Not only does the extra precipitation help your water bill, but the rain and snow is better for your lawn than treated water. Natural precipitation has a lower pH, which helps release nutrients into the soil. This makes it easier for your lawn to absorb nutrients from the fertilizer you put down before the storm. Rain water also has a higher level of nitrogen than treated water. Nitrogen is one of the main ingredients in fertilizer. So it gives the sod an extra kick! Precipitation also provides an extremely even watering and makes sure that the entirety of your lawn is taken care of and no spots have been left out.

Create a healthy lawn

It’s important to thicken up your lawn in the spring instead of during the heat of the summer. This really helps the root system grow deep into the ground. That way, the sod has better access to ground water and nutrients further into the soil and can withstand drought conditions more easily. A thicker and healthier lawn also crowds out weeds, meaning less lawn work in the long run! Creating an extremely healthy and durable lawn starts right now — with Mother Nature’s help. For a healthy lawn all summer long, treat your lawn to dinner and a drink!

Posted on

Growing Roots this Spring

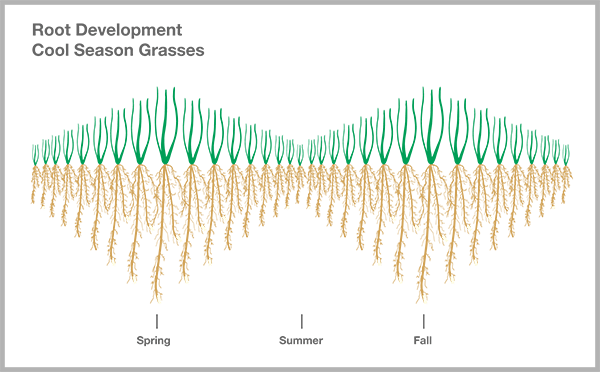
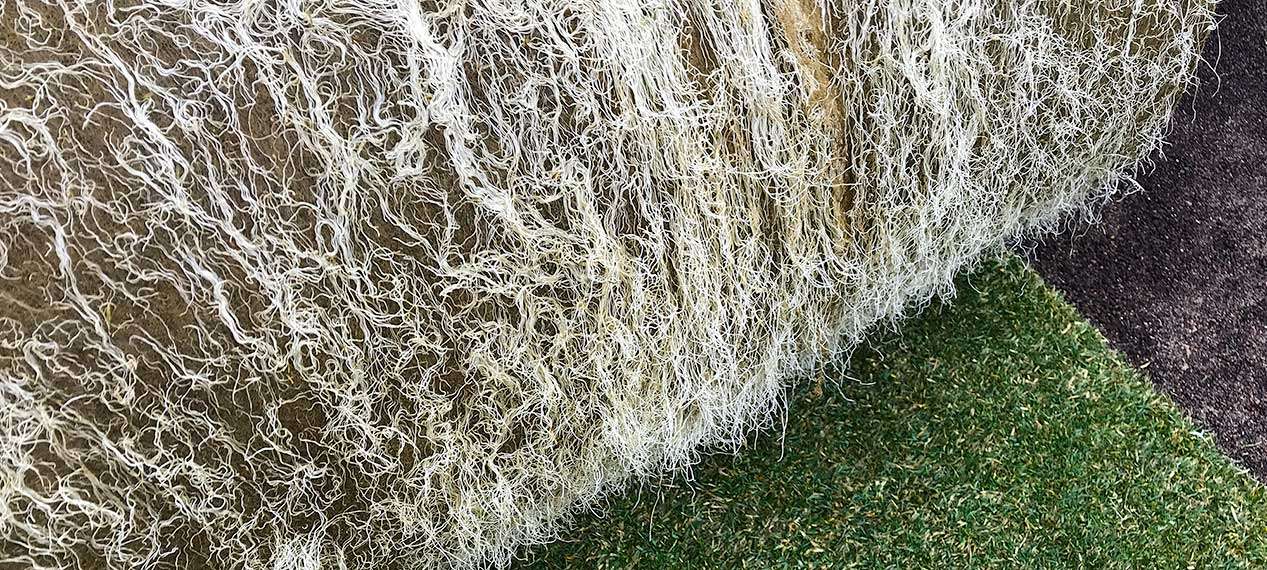
Cool-season turf grasses grow roots in the spring.

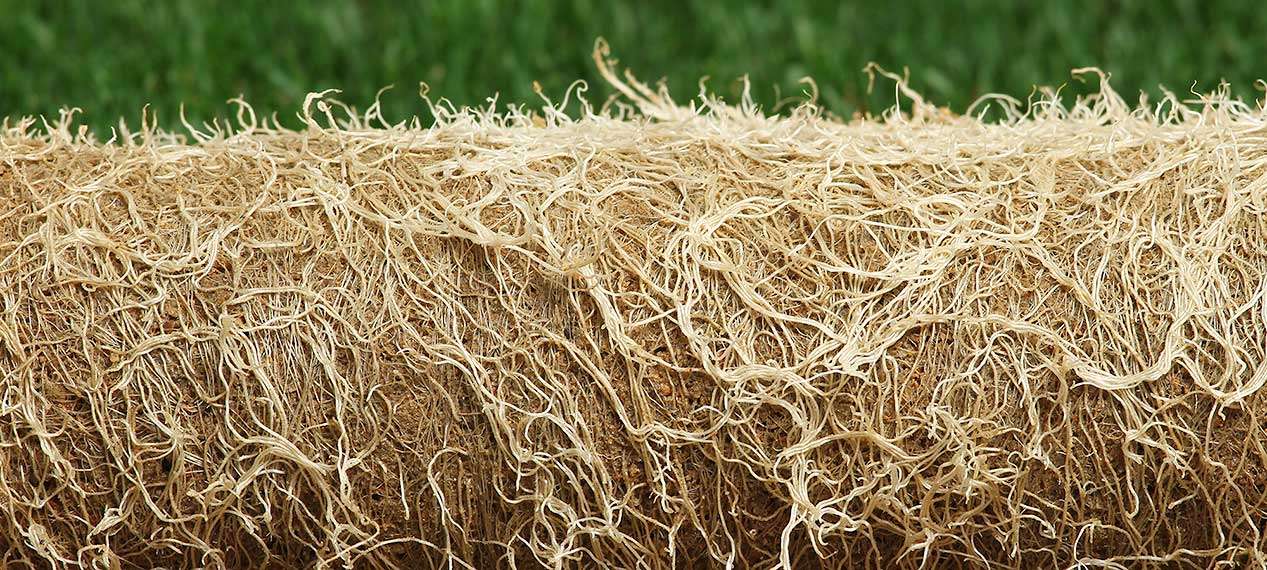
Underneath the radiant green of your lawn lies a thriving ecosystem of its own teeming with life, the root system! Every type of grass is unique, with different seasonal growth habits that affect the top growth, or leaves, that you see above ground.  Root systems vary just as much as the top growth, allowing some to be more efficient at extracting water than others. Cool-season turf grass, such as our Kentucky bluegrass, Tall Fescue and Texas hybrid bluegrasses, grow roots in the spring, making this the best time to push root growth. With some well-timed lawn care in the early spring, you can help your yard grow a deep root system that will help save water in the hotter months to come.

Stimulates root growth in your lawn

Begin the season by applying a well balanced fertilizer that contains near equal amounts of nitrogen and phosphorus. Nitrogen drives overall plant growth and phosphorus stimulates root growth and devolvement. Both of these nutrients are important in helping thicken your lawn and grow deep roots. As with all fertilizers, read the label and apply the appropriate amount. Too much fertilizer will over stimulate the top growth and divert the plant’s energy from the roots.

Aerate in the Spring

Spring is also the ideal time to aerate your lawn.  Aeration helps loosen the soil, which increases the rate and depth that water can move through the soil. Additionally, aeration helps to reduce thatch. Thatch is a tightly intermingled layer of living and dead stems, leaves, and roots which accumulates between the layer of actively growing grass and the soil underneath. Excessive thatch forms a spongy mat layer at the surface of the soil, which can make it hard for water and air to get through to the roots, resulting in weak grass.

Root Development cool season grasses

A little water goes a long way

Proper watering during the spring months also encourages a strong and healthy root system.  The goal of watering is to get the water deep into the soil and then allow the soil surface to dry before watering again. Irrigation requirements are much less in the spring so you can spread out the frequency of your watering. Be sure to keep your sprinkler clock off when you are not watering and to turn it on only when another irrigation cycle is needed.

By fertilizing, aerating, and watering in an efficient manner, you can create a healthy lawn with a deep root system that can stand up to even the harshest of Colorado’s conditions!

Posted on

Spring Sodding

Spring is the best time to sod because the root systems of grasses start growing activity.

Beat the summer heat

Spring is a terrific time to sod! Beat the summer heat and install sod now when the temperatures are cooler. In spring, the root systems of Bluegrass and other cool season grasses will come alive and will root quickly. The warm days and cool nights create a perfect environment for growing and knitting new sod together; ideal conditions for developing a root system before the summer heat hits. New sod uses less water this time of year. Irrigation cycles in spring will be shorter, and it will be easier to keep your new sod damp during its first critical two weeks.  During summer, watering becomes a critical issue as new sod can dry out quickly.

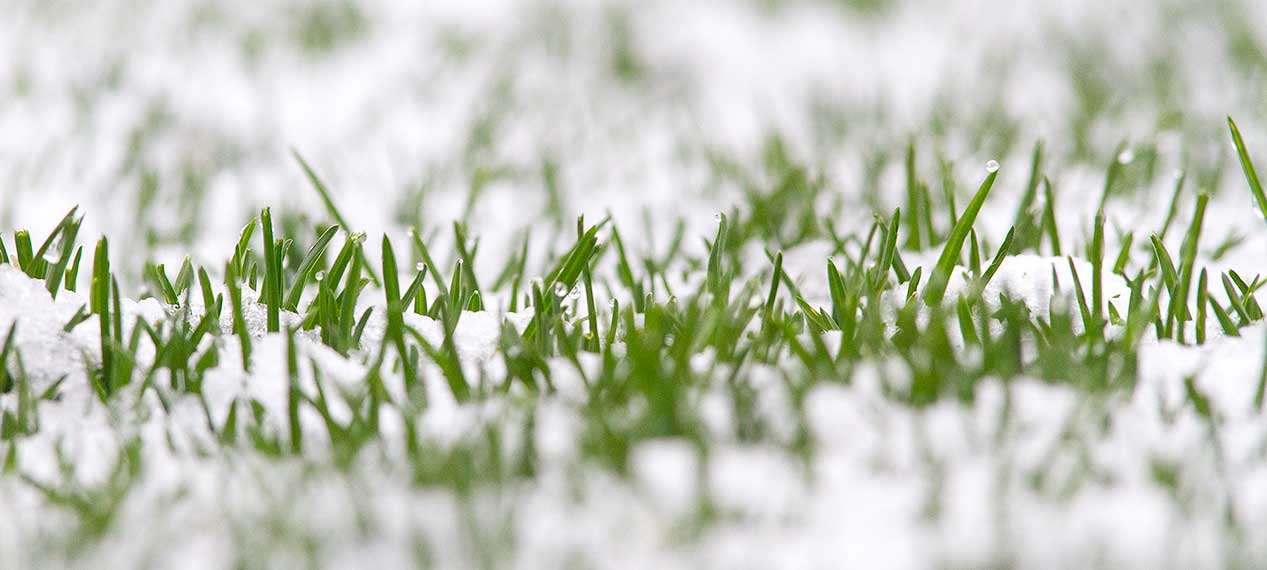
Frost or snow will not harm new sod.

Don’t worry about snow or freezing temperatures. Once the ground is unfrozen and soil temperatures are above 32 degrees, Kentucky Bluegrass, Tall Fescues, Texas Hybrids, and Fine Fescues start to grow. Frost or snow will not harm new sod. Colorado spring snowstorms will actually insulate new sod and help it grow. If we do get a cold snap, it will be short lived. So, if you are considering installing new sod this year, spring is one of the best times to establish your new lawn from sod.

Posted on

Gray Snow Mold

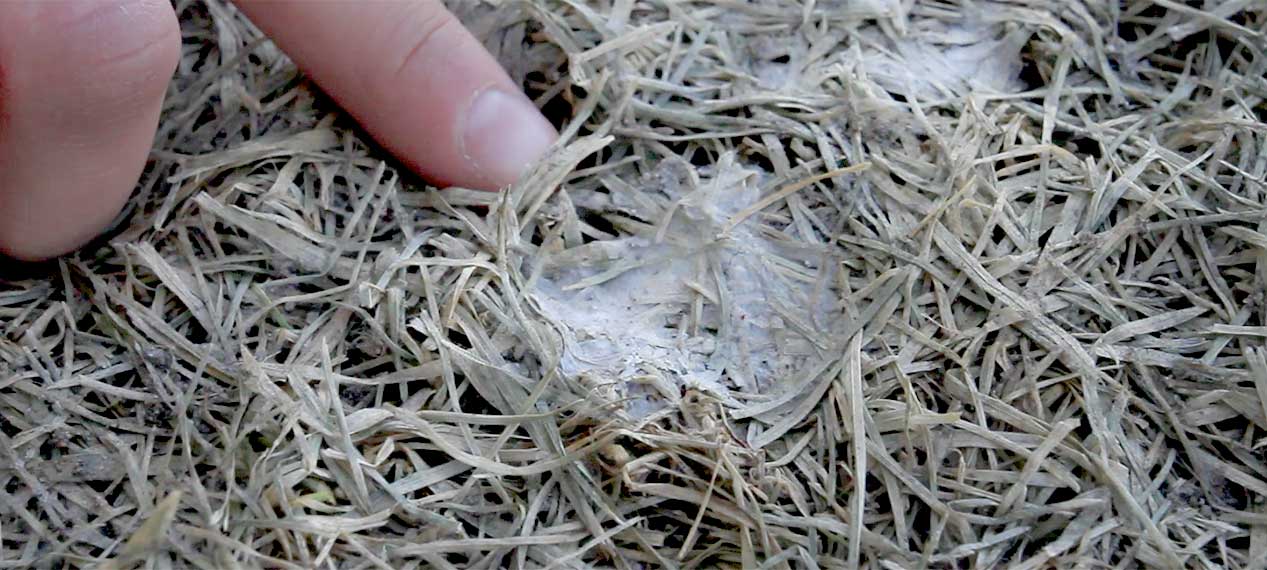
Gray snow mold is commonly found in yards in north facing areas where snow has been in the spring.

Prolonged warm snow cover

Now that the snow has melted from north facing areas, we are seeing gray snow mold. These matted areas occur when your grass is covered with snow for prolonged periods of time and temperatures are slightly below freezing.

Freeze thaw promotes snow mold

The freeze and thaw that takes place under the snow is what causes this disease to form in the spring. The damage caused by snow molds is seldom serious. Now that the snow is gone, the best thing to do is gently rake the matted turf allowing it to dry. Gray snow mold activity stops when the temperature exceeds 45° F or the surface dries. In a few weeks, your grass will be green and healthy.

Posted on 1 Comment

Sodding in the Winter

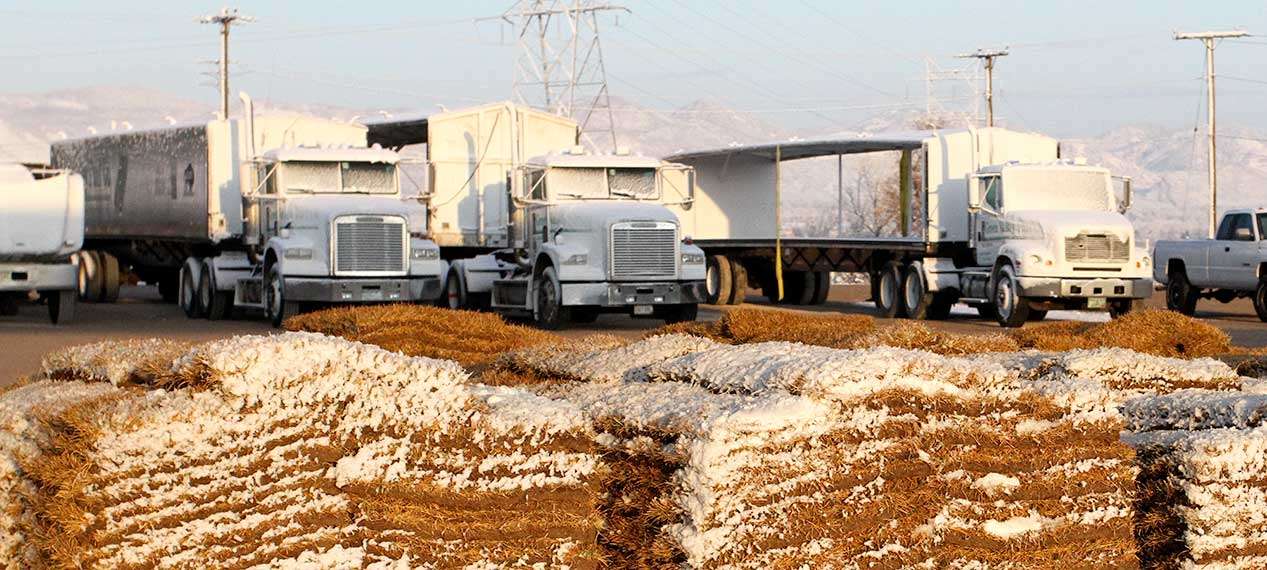
Dormant sod roots slowly over the winter.

Winter sod roots

Yes, you can sod in the winter! Dormant sod roots slowly this time of year but once the temperatures warm up, the grass will take off. So, cover up that dirt and get a jump on establishing a new lawn.

Get a jump on you new lawn

The advantages of sodding in winter are that you get a jump on establishing your lawn and you will use less water. As long as your grade is set, you can lay sod on frozen ground. As we move into spring, we get a lot of wet snow and rain that really helps establish your new yard. If you wait until spring, you may have to work around wet weather and mud. Sod needs to be unfrozen to install, making it possible to work with and cut. Frozen sod is like trying to cut through concrete. On a warm day, if the sod is frozen, warm it up in the garage or the sun.

Hand water if nessessary

All the steps are the same when you sod in the winter. Apply starter fertilizer before sodding, pull seams tight and water the sod. It might freeze after you install it but this will not harm the grass. If the weather is warm and dry, water the new sod enough that that the water soaks through. A garden hose is the preferred method of winter watering because it is easy to drain and you will not be applying that much water.  If you need to water with your sprinkler system, be sure to drain and blow out the system when you are finished. Wait until late March to turn on your sprinkler system for the season. Be sure to cover the back flow preventor and drain it if the temperatures get below freezing.

Get a jump on you new lawn this winter and allow your lawn extra time to root before summer heat hits. Take advantage of the spring snow and rain and save money on your water bill. Winter sod that gets installed while dormant and brown will root in slowly this winter and green up in the spring.

Check out our how-to videos on how to Install Sod

Posted on

GreenCo Person of the Year

Rusty Wilkins, owner and founder of Green Valley Turf Co is the GreenCo Person of the Year for 2012.

2012

JR “Rusty” Wilkins, owner and co-founder of Green Valley Turf Co is the GreenCo (Green Industries of Colorado) Person of the Year for 2012. Rusty and father-in-law K.C. Ensor started Green Valley Turf Co. in 1962. Mr. Ensor, who was a home builder and developer, needed a local source of sod for his new homes. The appeal for the new homes was that they came with a lawn. The slogan said it all. “The Homes with the Instant Lawn” and “Lay Today, Mow Tomorrow”.

50 years of innovations

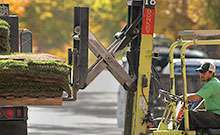
In 50 years, Rusty has built Green Valley Turf Co. from the original 5 acres to over 600 acres with farms in Littleton, Platteville and Ft. Lupton, Colorado. In the 60’s, Rusty started using pallets and fork lifts to move sod around rather than loading turf by hand. In the 70’s, Green Valley Turf began using slab harvesters to cut sod which was a quicker and easier way to harvest sod. In the early 80’s, Green Valley Turf Co. had the first fully automatic sod harvester in Colorado. In 1982, Green Valley Turf Co. hosted the ASPA (American Sod Producers Association) convention in Platteville, CO., which featured the first sod rodeo and international attendees. Also in the 80’s due to drought conditions, Rusty started experimenting with alternative grasses for turf production and grew wild flower sod. In the 90’s, he was one of the first in the area to harvest and install big rolls making sod installation more efficient with less seams.

Invaluable member of the green industry

Rusty has been an advocate for the Green Industry for 50 years. He is a founding member of the Rocky Mountain Sod Growers and has held numerous positions there. Rusty was an active member with ASPA (American Sod Producers Association) and a current members of TPI  (Turf Producers International). He was on the GreenCo legislative committee and on the board of the RMRTA (Rocky Mountain Regional Turfgrass Association) for five years. Rusty continues to be an invaluable member of the green industry and sod growers community across the United States.

Posted on

CONTROL THE VOLE

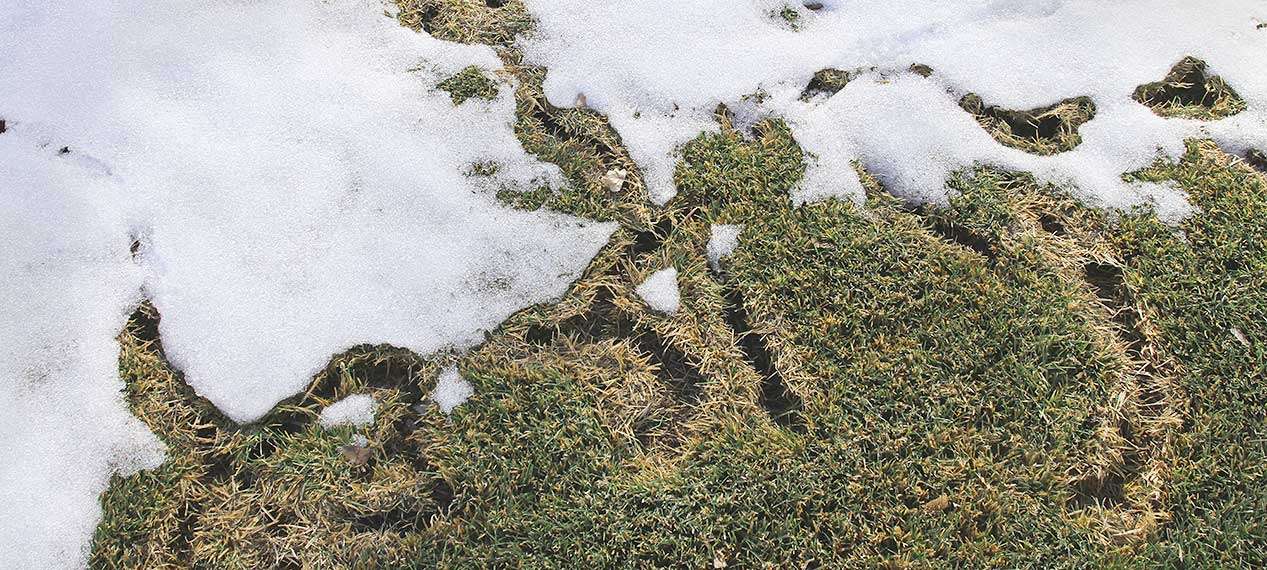
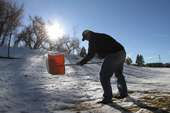
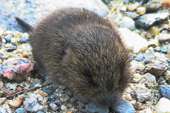
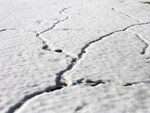
Voles make tunnels in your lawn when it is covered with snow and damage it.

Vole Damage in Colorado Lawns

If you are seeing strange patterns in your snow covered lawn or discovered tunnels through your grass blades, you may have Voles. Voles or Meadow Voles live along the Front Range and are a small mouse-like creature, 3 to 8 inches long. Voles like to make tunnels in your lawn when it is covered with snow and remove all the grass blades leaving dirt trails. These little rodents like damp marshy areas and will come into your lawn from open fields. Voles eat a variety of grasses, trees and shrubs, especially during the fall and winter. Most damage occurs in the winter when voles move through their grass tunnels under the protection of snow. Their excellent burrowing and tunneling ability gives them access to sensitive areas without clear or early indication.

Vole snow removal

Vole meadow

vole tunnel snow

Voles Reproduce Quickly

Voles reproduce very quickly and have average litters of 5 to 10 youngsters. Due to this short reproduction cycle, vole populations can grow very large within a very short period of time. A single pregnant vole in a yard can result in a hundred or more active voles in less than a year. Voles eat succulent root systems and will burrow under plants or ground-cover and eat away until the plant is dead. Bulbs in the ground are a favorite meal for voles.

Snow Covered Lawns

So, if you see tunnels in your snow-covered lawn, break them up and remove any piles of snow. Damage to lawns can be reduced by close mowing in the fall before snow arrives and by removing tall grassy cover near lawns. If the problem is extreme, mousetraps can be placed in the tunnels or near burrow holes. The most effective control is to remove the snow from the lawn and they will retreat. To repair tunnel damage in your lawn, rake up the dead grass, fertilize with 20-20-10 and water the effected areas early in spring. This will help the bare areas re-grow from the roots deep in your lawn and it will fill in.

Posted on

BROWN SPOTS?

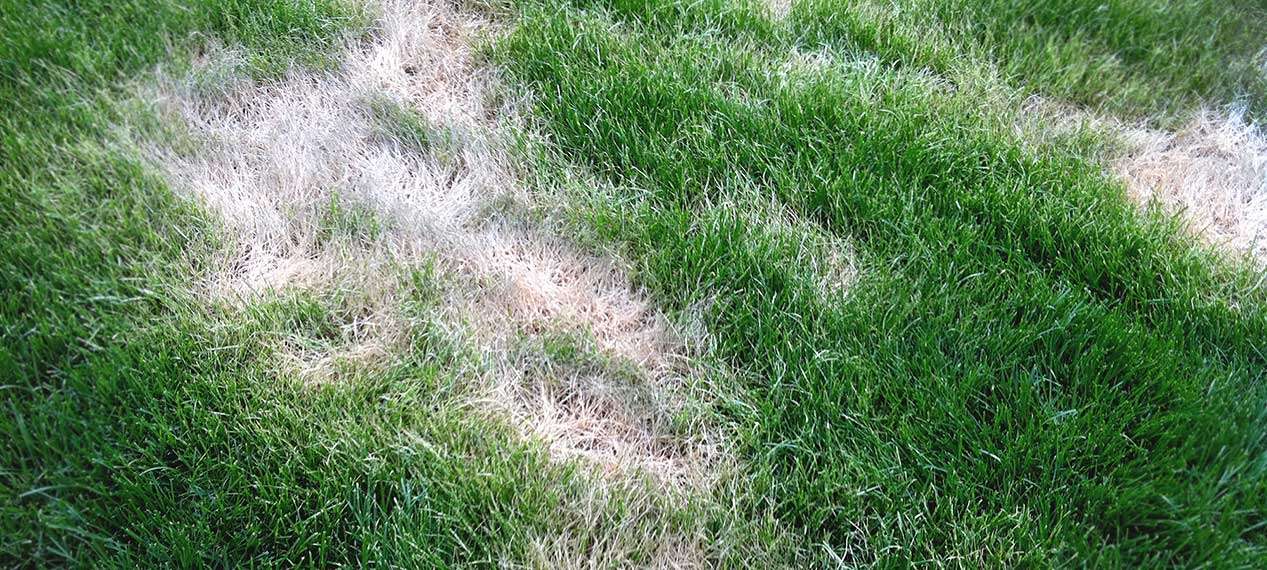
Brown spots appear in newly sodded yards due to a lack of water.

Brown spots appear due to lack of water

One of the most common problems we see in lawns during the heat of the summer are brown spots. Most of the time, these mysterious spots appear due to a lack of water. Hot windy afternoons and lack of rain dry out grass, and these spots show where your lawn is drying out first. It is not a bad thing to see a few brown spots here and there because it lets you know you are not over watering. In new sod, even if the soil is damp, the top can dry out and the grass blades can wilt, thus creating brown spots. New sod does not have an established root system, so more frequent waterings are necessary.

Clogged sprinkler nozzles

Brown spots often result from a poor irrigation system. If brown spots start to appear, check your sprinkler heads for clogged nozzles and even coverage. You can test your sprinkler system by placing the same size cans, bowls or rain gauges in the good lawn area and in the area with the brown spots. Run your system and compare the collected amounts of water to see if the areas are receiving the same amount of coverage. You may find that specific zones need to run for different lengths due to shade, sun, slope and exposure.

How to water fix

To revive brown spots, hand water these areas in the afternoon and increase the watering time in this area of the lawn. Be sure not to over water. Flooding the area will not make it recover any quicker. Remember, that the most effective time for summer watering will be in the early morning or later evening when temperatures are cooler and less of your water will evaporate. Watering adequately this summer may mean watering 2-3 times each week and long enough to penetrate 2-3 inches into the ground. Your goal in watering should be to reach as far into the root zone as possible. Avoid runoff by not watering too much, too quickly. To do this, water your lawn for half of the usual time and let it soak in for an hour before running the second half of the cycle. Make sure to take advantage of the rain we have been getting in Colorado and skip watering until your lawn needs it.

Posted on

MUSHROOMS & YOUR LAWN

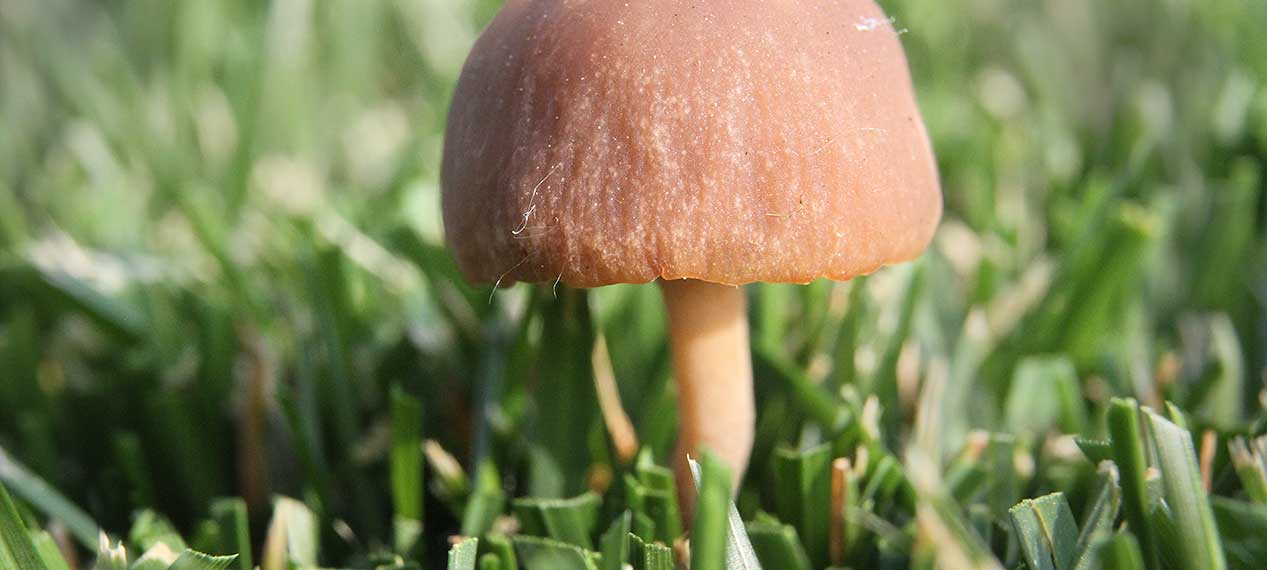
Your lawn is too wet if you have Mushrooms.

Wet monsoonal lawn conditions

Mushrooms in your Lawn? Don’t panic. We are getting a break from the hot and sunny weather with monsoonal thunderstorms. The cloudy cooler weather and rain is bringing on mushrooms in turf areas. Finding mushrooms in your yard is a sign your lawn is too wet. This is common in newly sodded lawns, especially when the weather cools down and it rains for a few days. When temperatures are in the high 90’s and you are establishing new sod, it can be tough to water just the right amount. If mushrooms show up, back the water off a little bit. If you are getting rain, turn off the sprinkler system. Once your lawn starts drying up, turn the system back on. You also may need to adjust your sprinkler clock when it cools down for a few days, using the seasonal adjust to decrease lawn watering.

Where do they come from

Mushrooms come from fungi that live in your lawn’s soil. The mushrooms you see in your yard are the fruiting body of naturally occurring fungi living within the soil. Mushrooms grow up very quickly and are a great indicator that your lawn is too wet. Let your yard dry out and the mushrooms will disappear quickly. Never eat lawn mushrooms because some are poisonous. If you have children or pets in the yard, you can rake them up or pull by hand to insure your yard is safe for play.

Posted on

DANDELION TIME

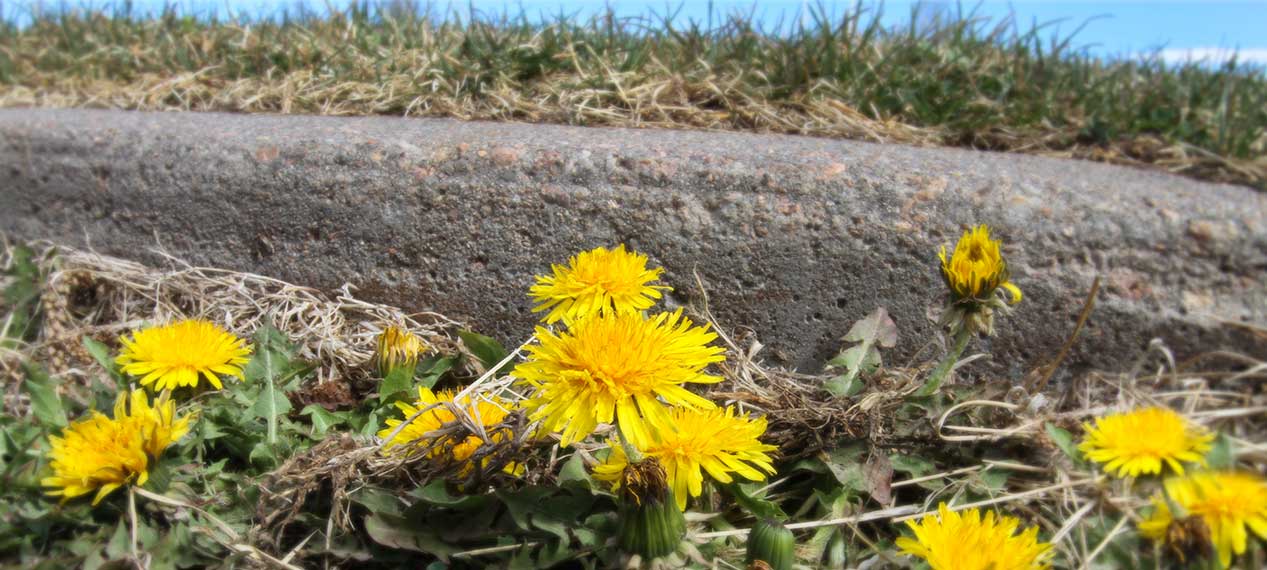
Dandelions and other broad leaf weeds are in full bloom in spring due to warmer soil temperatures.

Ground temperatures warming up

Dandelions and other broad leaf weeds are in full bloom this spring. When we see these colorful yellow weeds all over the place, we know summer is just around the corner. Ground temperatures are warming up and there is enough moisture in the ground for broad leaf weeds to start growing. Dandelions are found all around the world and like full sun to partial shade and moist conditions. The best way to keep them out of your lawn is through good spring cultural practices of water, fertilization, aeration and mowing. A thick healthy lawn will crowd them out due to too much competition. Never fear, dandelions are easy to control!

Where do they come from

Broad leaf weed seed comes from all over the place. Weed seeds can be transported several miles by wind, water, birds, etc… Broad leaf weed seed can also lay dormant in the soil for 30 years or more and take advantage of a thin lawn when conditions are favorable or if they are brought to the surface by traffic, pets or digging. Cheap grass seed is another source of weed seed. Always check the seed label to see what you are really getting. Dandelions, which have a flowerhead made up of many small flowers, spread their seeds with tiny parachutes that can travel many, many miles. So if a few Dandelions sprout up in your yard, don’t panic.

How to control Dandelions

Dandelions and other broad leaf weeds can be controlled by pulling or digging them up or by spraying them with herbicides. If you want to remove them the old fashion way or are concerned about using herbicides, simply pull them or use a weed digger and try to get as much of the root as possible. Even if you do not get the entire root, this will set the dandelion back and your grass can take over and crowd it out. Spot spraying with a broad leaf herbicide is the easiest way to get dandelions out of your yard. Products like Weed-Be-Gone, Trimec and Speedzone do a great job killing dandelions and other broad leaf weeds. I suggest spot spraying just the weeds and not the entire yard. The turf herbicides listed above only kill weeds that are growing so if you see it, spray it. The best time to spray is in the morning when there is no rain in the forecast for 24 hours and no wind. At this time of day, the plant is open and can absorb the weed killers better than when it’s hot during the middle of the day. Follow the directions on the bottle and do not over spray. If you do not kill the weeds the first time, spray again in 5 to 7 days and they will die off.

If your yard has a history of a lot of weeds or crabgrass, this is a sign you need to thicken up your yard. Water, fertilizer, aerate and mow. You may also want to use a preemergence or a crabgrass preventer to keep weeds and grassy weeds from moving in. Keep you yard healthy and dandelions and other broad leaf weeds will come and go quickly.

Posted on

SPRING FEED N-P-K

Your lawn needs to be fertilized after winter dormancy.

Fertilized after winter dormancy

Lawns in Denver are starting to green up and if you have not fertilized your yard, it’s time. After winter dormancy and a dry winter, your yard may be hungry. Fertilizer is food for your lawn and the last time it had any nutrition was probably last fall. Cool season grasses like to fill in this time of year and an application of fertilizer goes a long way to improving your root system and filling in weak spots. Spring fertilization will set your yard up for summer. Your lawn gets nitrogen from rain and snow.  After a dry winter, give your yard some nutrition.  Have a look at your yard and rate it. Good condition (even and dense), OK condition (could be thicker with a few problem areas), or Poor condition (thin & bare, not healthy). Now, let’s talk about fertilizer.

Understanding Fertilizer

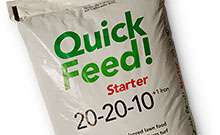
There are many different types and brands of lawn fertilizer, but one aspect they all have in common are the 3 numbers on the front of the bag. The 3 numbers represent the ratio of the three nutrients that make up most fertilizers. This is called the N-P-K ratio. A 20-20-10 is made up of 20% Nitrogen, 20% Phosphorus and 10% Potassium.

N for Nitrogen, makes grass grow and become greener. This generally is the most important nutrient to having a nice lawn. Traditional release nitrogen will work fast but only stay in the soil for a few weeks due to plant uptake and leaching. This is not necessarily bad if your lawn is hungry. Slow release nitrogen stays around a few months and feeds your lawn more evenly. Organic Nitrogen sources feed very slowly and may take 1 to 2 months to see results.

P for Phosphorus, stimulates roots and new plant development. Phosphorus is important to the root system and will help thicken up your yard. Phosphorus will stay in your soil for at least a year.

K for Potassium, promotes disease and drought tolerance. Potassium prepares your lawn for the heat of the summer as well. Potassium stays in the soil for several months.

What type of Fertilizer?

There are many lawn fertilizers to choose from. Look for a fertilizer that is made for Colorado soils. Using a fertilizer with 20% nitrogen is easier to spread evenly than a fertilizer with 46% nitrogen because you have more products to work with. Smaller bags of fertilizer (10 lbs. to 20 lbs.)  tends to mean higher nitrogen numbers, less Phosphorus & Potassium numbers, cost less, are not as effective in our dry climate.

Traditional, Slow Release and Organic lawn fertilizer

20-20-10 1fe
This is a fast release fertilizer that has a fast release Nitrogen with plenty of Phosphorus & Potassium. Full analysis or balanced fertilizer has close to all three nutrients stated by the numbers, the N-P-K. If your yard is in Poor or in OK condition, or if your yard is in Good condition and you want to green it up quickly, use a full analysis fertilizer. This is a good safeguard because now your yard is getting all the nutrients and will not have a nutrient deficiency later. Remember, Phosphorus and Potassium stay around in the soil longer than nitrogen. Iron (fe) and sulfur are good for you lawn as well.

20-5-5 1fe Slow Release
This is a slow release fertilizer. The nitrogen source in this fertilizer is half slow release and half traditional. Also notice the Phosphorus and Potassium are only 5’s. This is because if you fertilize 2 to 3 times a year, your soil should have enough P and K in it. Slow release fertilizers promote even growth so you do not get a growth surge right after you fertilize. Use slow releases fertilizers if your lawn is in Good condition. If your yard is in OK condition and you’re not concerned with winning the best yard on the block award, this is also a good choice.

8-2-1 100% Organic
Organic nitrogen in this case, is derived from dried poultry manure, releases very slowly over months and may be around for up to a year. Notice it is 8% nitrogen meaning you will need to use more products to get the same amount of food for your lawn. There is less nitrogen in this fertilizer and it will release very slowly over months. When you use an organic fertilizer, it takes a while to see the results and you will use more pounds of fertilizer to make up the difference. Organic fertilizers can be used with traditional lawn fertilizer to help condition and build nutrients into your soil. One more thing, the earth’s atmosphere consists of 78 percent nitrogen.  Now get out there and feed your yard!

Posted on

PULL SOME PLUGS

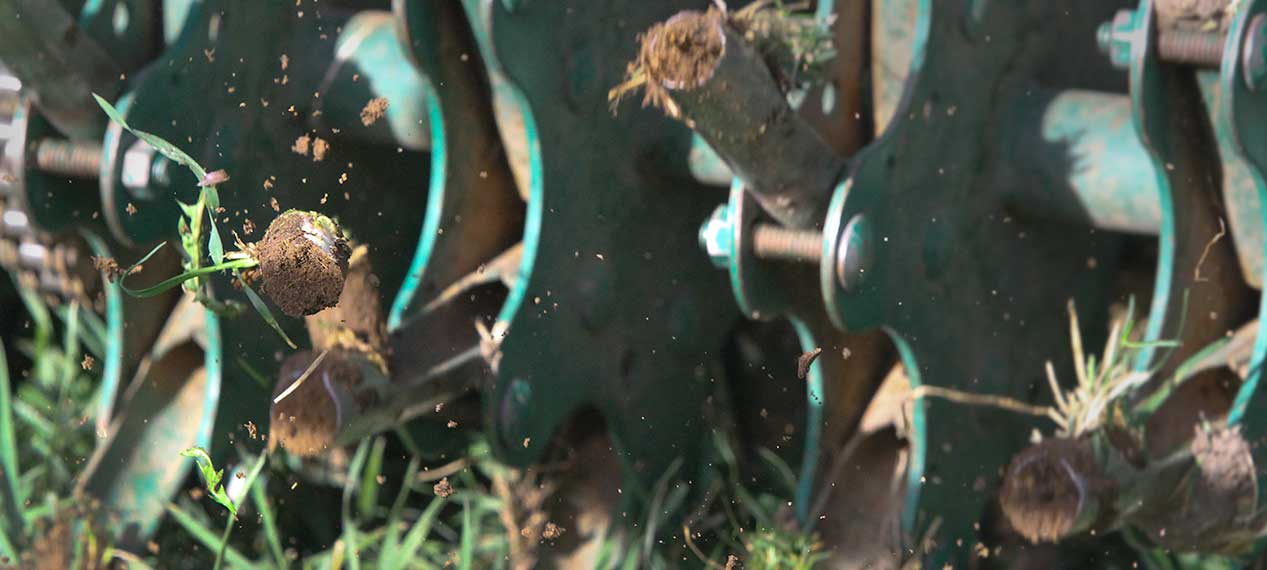
Core aeration opens up the ground and allows air to get into the root system of your lawn.

Core lawn aeration has many benefits

Spring has hit the Denver metro area and it is time to aerate your lawn. Core aeration is a great spring practice for many reasons. Aeration opens up the ground and allows air to get into the root system. Your lawn and soil need air to stay healthy and thrive. Aeration also helps get water and fertilizer deep into your root system. It reduces soil compaction and helps control thatch in your yard. Kentucky bluegrass generates new grass plants when underground runners or rhizomes are cut. Cut the rhizome and you get two new grass plants. If your lawn is weak or thin, aerating will help thicken it up. Water, aerate and fertilize. In a few weeks your lawn will be thick and lush.

Different types of Aerators

There are three common ways to aerate your yard. Core aeration uses a round hollow tine blade that pulls a 2” to 4” long plug of turf out of your lawn. This is the most common and beneficial method. Core aeration will get more air into your yard and is the best at reducing thatch. The second method uses a blade tine that slices open your turf. Slicing your lawn also helps to thicken it up. The third method is spike aeration.  Spike tines punch holes in your yard using a solid spike. This is the least visible method. In most cases, core aeration is the best and don’t worry about the plugs, they will disappear in a week or two.

Aeration tips and tricks

Your yard needs to be soft enough to push a screwdriver in a few inches but not overly wet. The day before you are going to aerate, water the ground to soften it or time the aeration with natural precipitation. Flag all sprinkler heads so you can avoid hitting them. Now core aerate your yard. Depending on the spacing of the tines, you may need to make three to four passes. If you have thick thatch, the more holes the better. It is best to leave the plugs on the yard unless you have compacted soil. Rake up the plugs to relax compacted soil. If not, leave the plugs. After a heavy aeration, you can break up a thick layer of plugs using a leaf rake or drag a piece of chain link fence over the area. Spreading out the plugs helps reduce the thatch layer. Now it is time to fertilize and get some food into your lawns’ root system.

Posted on

SPRING INTO IRRIGATION

Check your sprinklers heads when you turn on you sprinkler system in the spring.

When to turn on your sprinkler system in the Spring.

It is time to fire up your sprinkler system. With temperatures in the 60’s and high winds in the Denver area, lawns, plants and trees are drying out. Even though there is a chance it could snow, temperatures typically will not get cold enough to damage your sprinkler system. If it does get cold after you have charged your irrigation system, cover you back flow and don’t worry about the pipes or heads in the ground freezing. Also, if you have new sod from last year, now is the time to water. Lawns that are a year or less old have a shallower root system. Spring is a great time to grow those roots down so when the temperatures rise, your grass is ready for the heat. Bluegrass produces new shoots or rhizomes primarily in the spring and fills in weak spots. A little water now will help thicken up your yard and have it looking great this summer.

Turn on the water to your sprinkler system

1 – First, open the valves on the back flow preventor and close the drains. The back flow preventor is typically on the outside of your house. If you have drains in your valve boxes, close them as well.

2 – Make sure your sprinkler clock has a fresh battery and is plugged in and working. Turn on a sprinkler zone so when you turn on the water, the air in the system has somewhere to go.

3 – Slowly open the valve that supplies water to your sprinkler system. Air, then water should come out of the zone. Run until all the air is out of the system.

Check your sprinklers heads

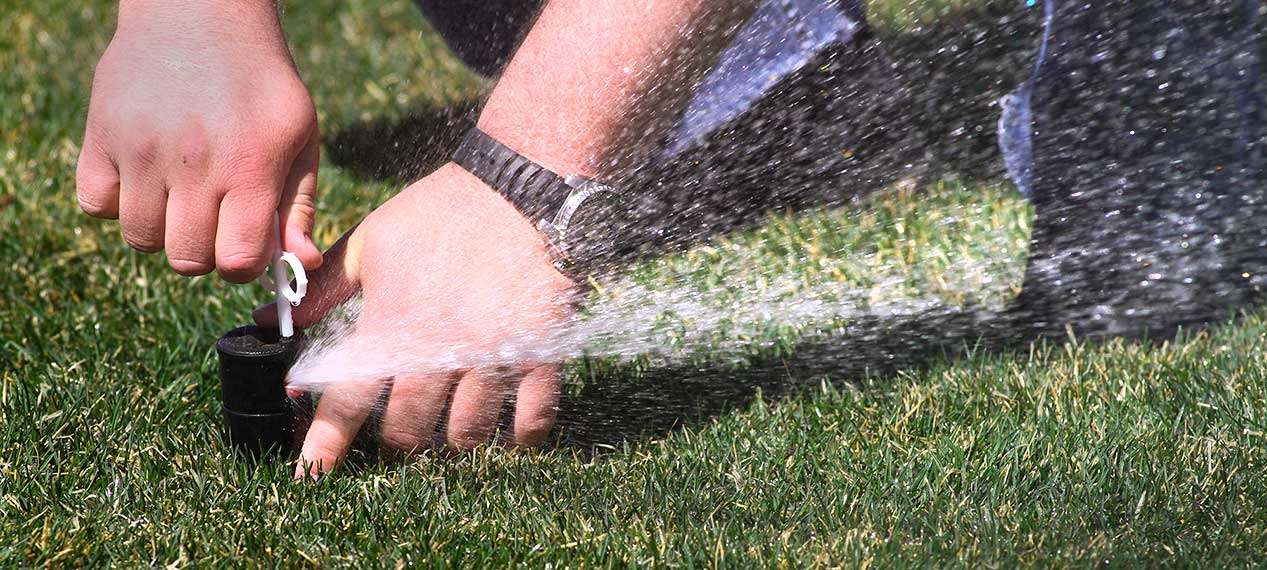
Now that you have water in your sprinkler system, run each sprinkler zone and check for clogged nozzles and adjust heads. Look at the water coming out of each sprinkler and if the spray pattern does not look uniform or not much water is coming out, it may have some debris in it. If this is the case, take the nozzle off and clean. This is also a great time to determine if you may need new nozzles or upgrade to modern heads that can put the water on slower helping achieve deeper watering and better water conservation. If you have old metal or brass sprinklers heads or nozzles, it could be time to replace them with new heads that can save a lot of water! Contact a sprinkler company if you need help. Precise irrigation is the key to saving water and having a great lawn!

Posted on

CONTROL CRABGRASS

March is the best time to apply preemergence herbicide for crabgrass and broadleaf weeds.

March is the time

March is the time to apply preemergence if crabgrass or weeds were a problem in your yard last season. Use a preemergence herbicide or “Crabgrass Preventer” now before weeds and grassy weeds start germinating. Temperatures are very warm this March and lawns are greening up. This means weeds and grassy weeds will be showing up soon.

How it works.

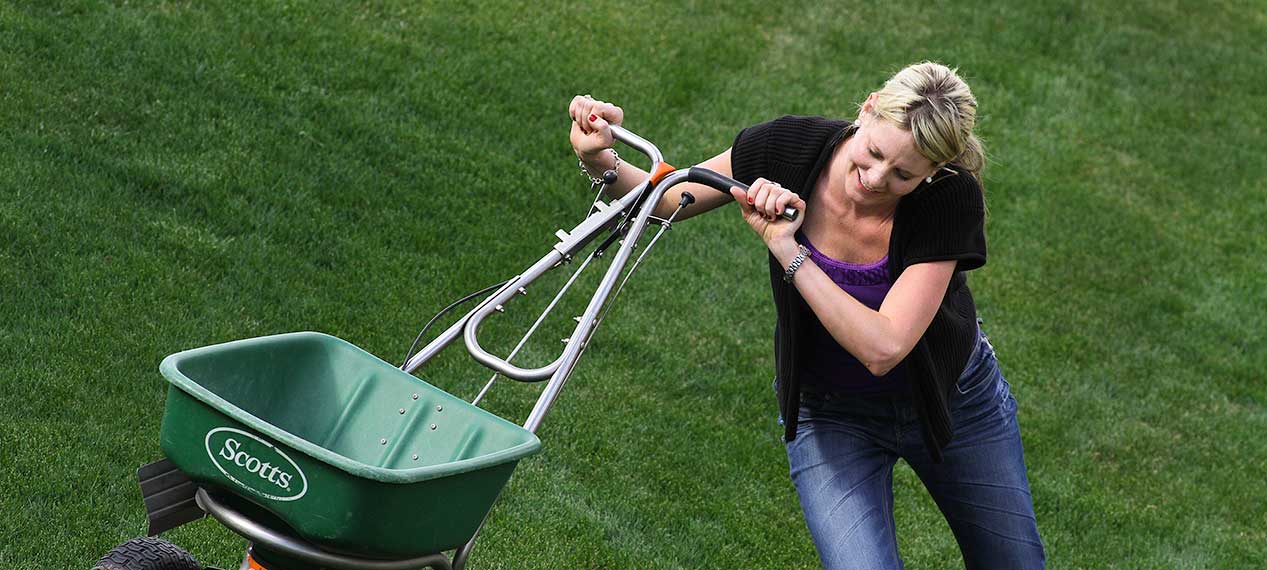
Crabgrass preventers stop most weed and grassy weed seeds from germinating. These products keep all the unwanted seeds that end up in your yard from sprouting. Most of these products last 6 to 8 weeks, so a second application is recommended in May, especially if your yard has a history of various weed problems. After you apply this granular product with a fertilizer spreader, water it in to your yard within a day. If you have not turned on your sprinkler system, use a hose and water in by hand or apply before we get some precipitation. A quick application of Crabgrass control will cut down on spring lawn care and let you enjoy your lawn this spring!