How to Prepare for Sod: A Comprehensive Guide
How to Prepare for Sod: Your Complete Guide to a Lush Green Lawn
Are you dreaming of a lush, green lawn that is the envy of your neighbors? Achieving that perfect lawn starts with proper preparation for sod. In this comprehensive guide, we will walk you through the essential steps you need to take to ensure your sod has the best possible chance of thriving.
Understanding the Importance of Sod Preparation
Before we dive into the steps, it's crucial to understand why proper how to prepare for sod is essential. Sod is a significant investment, and like any investment, you want to protect it. By taking the time to prepare your soil correctly, you are setting the foundation for your sod to root deeply and establish itself more quickly. This leads to a healthier, more resilient lawn that is better equipped to handle stressors like drought, pests, and disease.
The Science Behind Sod
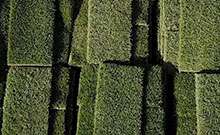
Sod is a type of grass that is grown and harvested in sections, including the roots and a layer of soil. When you lay sod, you're essentially laying down a carpet of mature grass instead of planting individual seeds. This is beneficial because it provides an instant lawn and reduces the time and effort required to establish a new lawn from seed.
Step 1: Test Your Soil
The first step in preparing for sod is to test your soil. A soil test will provide valuable information about your soil's pH, nutrient levels, and organic matter content. This information will help you understand what amendments your soil may need to create the ideal growing environment for your sod. You can purchase a soil test kit at your local garden center or hire a professional to conduct the test for you.
Step 2: Clear the Area
Once you have your soil test results, the next step is to clear the area where you will be laying your sod. Remove any rocks, roots, or other debris that may interfere with the sod's ability to root properly. If you have existing grass or weeds, they will need to be removed as well. You can do this by using a sod cutter or a glyphosate-based herbicide.
Step 3: Amend Your Soil
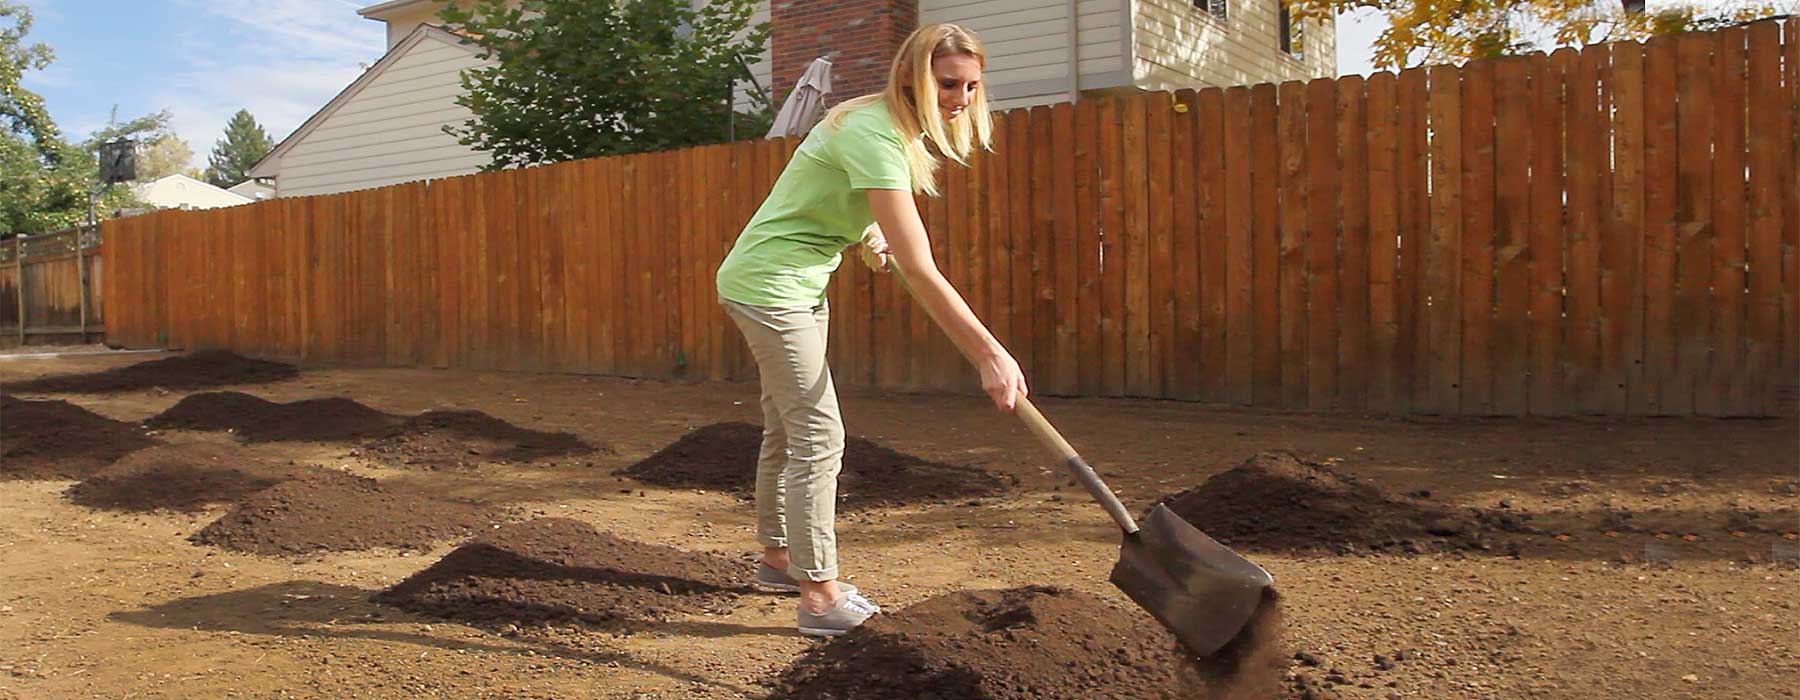
Based on your soil test results, you may need to add amendments to your soil to create the ideal growing environment for your sod. Common amendments include lime to raise the soil's pH, sulfur to lower the pH, and organic matter like compost to improve soil structure and nutrient content. Be sure to follow the recommendations provided with your soil test results.
Step 4: Grade and Level the Soil
Once you have amended your soil, the next step is to grade and level the area. This is an essential step in ensuring proper drainage and preventing water from pooling in low spots. Use a grading rake to create a gentle slope away from buildings and other structures. Be sure to fill in any low spots and remove any high spots to create a smooth, even surface.
Step 5: Pre-Water the Soil
Before laying your sod, it's important to pre-water the soil. This will help settle any loose soil and provide a moist environment for the sod to root into. Be sure to water the soil thoroughly, but avoid creating puddles or overly wet areas.
Step 6: Lay Your Sod
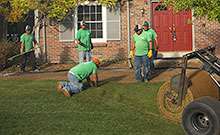
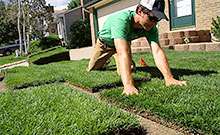
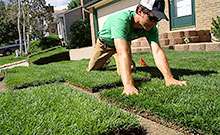
Now that you have prepared your soil, you are ready to lay your sod. Start by laying the sod along a straight edge, such as a driveway or sidewalk. Be sure to stagger the seams of the sod, similar to how bricks are laid. This will help create a more stable surface and prevent the sod from shifting. Be sure to butt the edges of the sod tightly together to prevent gaps, and use a sod roller to remove any air pockets and ensure good soil contact.
Step 7: Water Your New Lawn
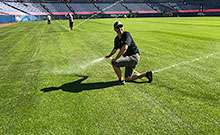
Once your sod is laid, it's important to water it thoroughly. The first watering should be deep enough to saturate the sod and the top 4–6 inches of soil. This will help ensure that the roots of the sod can penetrate deeply into the soil. Be sure to keep the sod consistently moist for the first few weeks until it has rooted completely. You can check the rooting progress by gently lifting a corner of the sod. If it is difficult to lift, the roots have started to establish themselves.
Additional Tips for Sod Success
In addition to the steps outlined above, here are some additional tips to help ensure the success of your sod:
- Choose the right type of sod for your climate and soil type. Consult with a local sod supplier, like how to prep for sod, to help you make the right choice.
- Be sure to follow the recommended watering and mowing schedule for your specific type of sod.
- Avoid walking on your new lawn for the first few weeks until the sod has rooted completely.
- Consider hiring a professional to lay your sod if you are not comfortable doing it yourself. This can help ensure that the job is done correctly and that your sod has the best possible chance of thriving.
Maintaining Your New Lawn
Once your sod has rooted, it's important to maintain it properly to ensure its long-term health and beauty. Here are some tips for maintaining your new lawn:
- Water your lawn deeply and less frequently to encourage deep root growth.
- Mow your lawn regularly, but avoid cutting more than one-third of the grass height at a time.
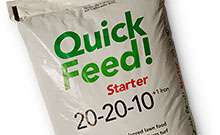
- Fertilize your lawn according to the recommendations for your specific type of grass.
- Control weeds promptly to prevent them from competing with your grass for nutrients and water.
- Aerate your lawn annually to improve soil structure and allow water and nutrients to penetrate more deeply.
- Consider overseeding your lawn every few years to improve its density and appearance.
Conclusion
Preparing for sod is a crucial step in achieving a lush, green lawn. By following the steps outlined in this guide and incorporating the additional tips, you will be well on your way to enjoying a beautiful, healthy lawn that will be the envy of your neighbors. Remember to consult with a professional if you have any questions or concerns along the way. Good luck!
Related Articles

